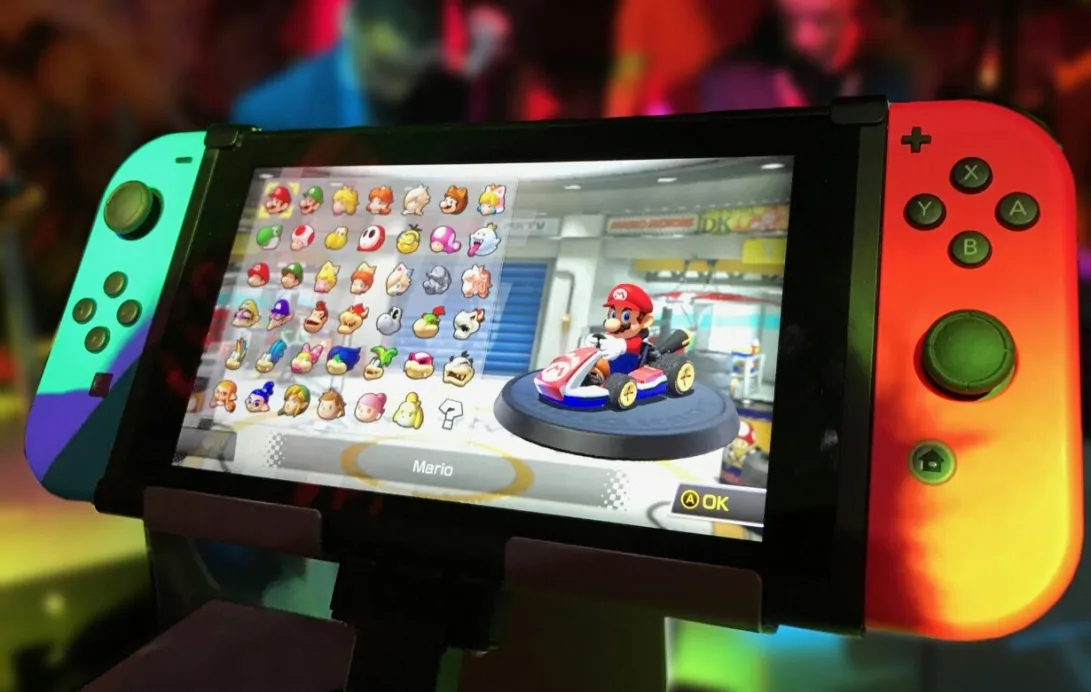
You have a stunning 24-inch iMac with a 4.5K Retina display sitting on your desk. Next to it sits your Nintendo Switch. It seems like the perfect marriage: playing The Legend of Zelda on that gorgeous, color-accurate Apple screen. You grab an HDMI cable, look at the back of your iMac, and realize… nothing happens.
It is a frustration shared by millions of Apple users. While your iMac has amazing visuals, Apple removed "Target Display Mode" years ago, turning your all-in-one computer into a closed garden. But don't lose hope. In 2025, there is a workaround that is fast, affordable, and delivers near-zero latency. The secret lies in a specific tool: an HDMI to USB-C capture card. Here is the ultimate guide to turning your iMac (or MacBook) into a high-end gaming monitor.
1. The Problem: Why Can't I Just Plug in an HDMI Cable?
Before we dive into the solution, it is crucial to understand the technical limitation. This will save you from buying the wrong cables in the future.
The "Output Only" Limitation
The Thunderbolt / USB-C ports on the back of your iMac (M1, M3, and Intel models) are bi-directional for data, but strictly Output-Only for video.
- What they can do: Send your iMac's screen to a second monitor.
- What they cannot do: Accept a video signal from an external device (like a Switch or PS5) and display it on the iMac's screen.
The Death of Target Display Mode
Long-time Mac users might remember a feature called "Target Display Mode" that allowed old iMacs (2009-2014) to act as monitors. Apple killed this feature with the introduction of 5K Retina displays because, at the time, a single cable couldn't carry the bandwidth needed to drive such high pixel density.
The Result: If you plug a standard HDMI-to-USB-C adapter into your iMac and connect your Switch, the screen will remain black. The iMac simply ignores the signal.
2. The Solution: The "HDMI to USB-C Capture Card" Trick
So, how to Connect Switch to iMac if the ports are blocked? We have to trick the iMac.
We need to convert the Nintendo Switch's HDMI video signal into a data stream that the iMac understands—specifically, a Webcam signal.
This is where an HDMI to USB-C capture card comes in.
- Ingest: The card takes the HDMI video and audio from the Switch.
- Process: It converts the video into a UVC (USB Video Class) signal.
- Display: Your iMac sees the capture card not as a monitor input, but as a "High-Quality Webcam."
- Play: You open a software window (like QuickTime or OBS) to view this "webcam" feed full-screen. Voila! You are playing games on your iMac.

3. Choosing the Right Gear: Why Native USB-C Matters
Not all capture cards are created equal, especially for Mac users.
The "Dongle Hell" of MacBook Users
Most capture cards in the market are designed for Windows PC towers. They have bulky bodies and use USB-A connectors.
If you are looking for a MacBook capture card or one for your slim iMac, buying a USB-A card means you also need a USB-A to USB-C adapter (dongle).
- The Issue: Every adapter you add introduces potential signal degradation and physical stress on the port. It also looks messy on a clean Apple desk setup.
The NearStream Advantage: Designed for Mac
This is why we recommend the NearStream capture card as the best capture card for this setup.
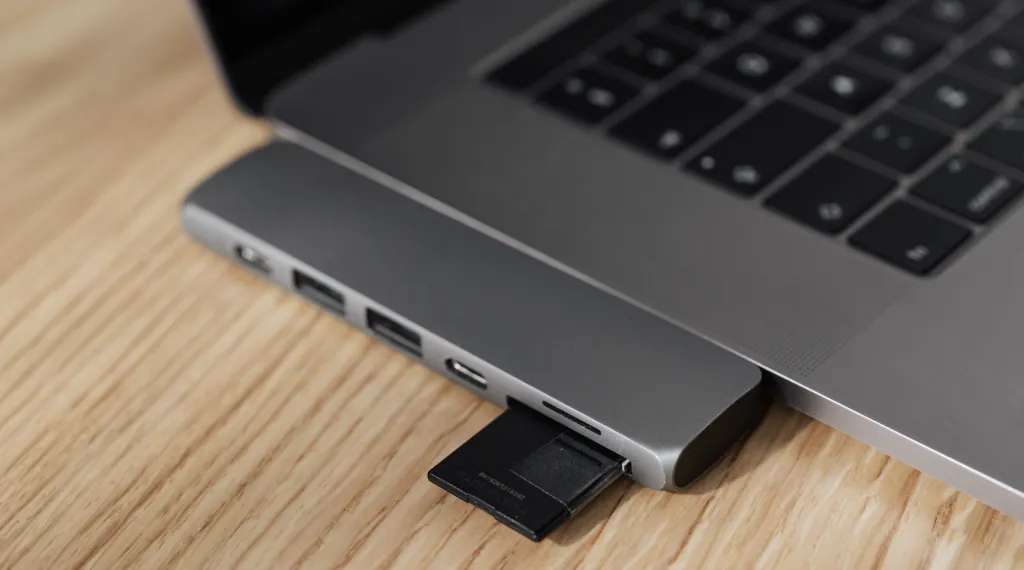
- Direct Connection: It features a native USB-C interface. You plug it directly into the Thunderbolt port of your iMac or MacBook. No dongles, no sag.
- Premium Ultra-Low Latency: When playing games via a software preview window, latency (input lag) is the enemy. NearStream’s USB 3.1 architecture minimizes the delay between pressing a button and seeing Mario jump.
- Retina-Ready Color: Mac screens are unforgiving with bad color. NearStream supports YUY2 uncompressed formats, ensuring the vibrant colors of Nintendo games look correct on P3 color gamut screens.
Comparison: NearStream vs. Generic Adapter
| Feature | Generic USB Stick ($20) | NearStream Capture Card |
|---|---|---|
| Interface | USB-A (Need Dongle) | Native USB-C |
| Latency | High (100ms+) | Ultra-Low (\<50ms) |
| Resolution | 1080p30 (Fake 60fps) | 1080p60 / 4K30 |
| Color Space | MJPEG (Compressed) | YUY2 / NV12 (Uncompressed) |
| Mac Experience | Clunky | Seamless |

4. Step-by-Step Tutorial: How to Connect Switch to iMac
Ready to play? Follow this guide precisely to ensure you get 60fps smoothness and synced audio.
Phase 1: The Hardware Setup
- Dock Your Switch: Place your Nintendo Switch into its official Dock. (Handheld mode via USB-C does not output HDMI video).
- Connect HDMI: Plug one end of a high-speed HDMI cable into the Switch Dock, and the other end into the HDMI IN port of the NearStream capture card.
- Connect to Mac: Plug the USB-C connector of the NearStream card directly into one of the Thunderbolt/USB-C ports on the back of your iMac.
- Tip: If you are using a MacBook, use a port on the left side (often has better bandwidth on older models), and ensure the laptop is charging.
Phase 2: The Software Setup (The "Secret Sauce")
You have two main options here. QuickTime is easier, but OBS Studio is better for gaming.
Option A: The QuickTime Method (Easiest, but higher latency)
- Open QuickTime Player (Command + Space, type QuickTime).
- Go to File > New Movie Recording.
- A window will appear (probably showing your face via the FaceTime camera).
- Click the small down-arrow (v) next to the Record button.
- Camera: Select "NearStream Capture Card".
- Microphone: Select "NearStream Capture Card".
- Important: Do not click Record. Just make the window full screen. This is your game view.
Option B: The OBS Studio Method (Recommended for "No Lag")
For the true "No Lag" experience, OBS Studio is superior because it uses GPU acceleration.
- Download OBS: Get OBS Studio for macOS (make sure to select the "Apple Silicon" version if you have an M1/M2/M3 iMac).
- Grant Permissions: When you first open OBS, macOS will ask for permission to access the Camera and Microphone. Click Allow. This is critical.
- Add Video Source:
- Click the + icon in the "Sources" box at the bottom.
- Select Video Capture Device.
- Name it "Switch".
- Device: Select NearStream Capture Card.
- Preset: Uncheck "Use Preset". Set Resolution to 1920x1080 and Frame Rate to 60.
- Input Format: Choose YUY2 if available for best colors.

Phase 3: The Audio Setup (Solving the "No Sound" Issue)
This is where 90% of users get stuck. By default, OBS records audio but doesn't play it through your speakers. You need to turn on Monitoring.
- In the Audio Mixer section of OBS, look for your "Switch" audio bar.
- Click the three dots (gear icon) next to it and select Advanced Audio Properties.
- Find your Switch source.
- Under Audio Monitoring, change "Monitor Off" to Monitor and Output.
- Result: You should now hear the Switch game audio coming through your iMac's high-quality speakers.
5. Optimization: How to Achieve "Zero" Latency
Even with the best capture card, software processing adds a tiny bit of delay. Here is how to minimize it so you can parry in Dark Souls without issues.
1. Use "Game Mode" on macOS Sonoma
If you have updated to macOS Sonoma, turn on "Game Mode." While this is designed for native Mac games, it prioritizes Bluetooth sampling rates (for your controller) and reduces background activity, which can help OBS run smoother.
2. Check Your USB Cable Speed
The NearStream capture card is a USB 3.1 device. Ensure you are plugging it into a Thunderbolt port (marked with a lightning bolt) on your iMac. Do not plug it into a slow USB 2.0 hub or the USB ports on your keyboard.
3. OBS Buffer Settings
- Right-click your "Switch" source in OBS > Properties.
- Uncheck "Buffering" (set to Auto-Detect or Disable). Buffering adds delay to smooth out recordings, but for playing live, you want raw speed.

6. Why NearStream is the Perfect Companion for MacBook Users
While this guide focuses on the iMac, this setup is even more powerful for MacBook Air and MacBook Pro users.
- Dorm Room Gaming: Students with limited desk space don't need a TV. A MacBook Pro + NearStream = A high-end portable gaming station.
- Travel Friendly: The NearStream card is small and metal. Throw it in your bag with your Switch. When you are at a hotel, use your MacBook as the screen.
- Battery Efficiency: Unlike software-heavy solutions, the NearStream card handles the encoding load, meaning your MacBook won't overheat or drain battery instantly (especially on M-series chips).
If you search for a MacBook capture card, you will find that USB-C native options are rare. NearStream fills this gap perfectly.
7. Troubleshooting: Common Issues on Mac
Issue 1: Black Screen in OBS
- Cause: macOS Privacy settings or HDCP.
- Fix A: Go to System Settings > Privacy & Security > Camera. Ensure OBS is toggled ON.
- Fix B: (For PS5/Xbox users) Turn off HDCP in the console settings. The Switch usually doesn't need this, but try redocking the Switch.
Issue 2: Audio is Delayed (Lip Sync Issue)
- Fix: In OBS Audio Mixer > Advanced Audio Properties, you can set a "Sync Offset" (in ms). However, with the NearStream card's ultra-low latency, this is rarely needed. Usually, restarting OBS fixes the drift.
Issue 3: Colors look "Washed Out"
- Fix: In the Source Properties in OBS, change "Color Range" from Default to Partial. Alternatively, change "Color Space" to Rec. 709. Mac screens use P3 color, so sometimes forcing Rec. 709 aligns the Switch's output better.

Conclusion
While Apple may have removed the physical ability to use an iMac as a monitor, the HDMI to USB-C capture card workaround has matured into a perfect solution. It is no longer a "hack"; it is a legitimate way to integrate your gaming life into your Mac workspace.
By choosing a high-performance, native USB-C device like the NearStream capture card, you eliminate the lag, the dongles, and the headaches. You get to enjoy your favorite Nintendo titles on one of the best displays on the market, with a clean, minimalist setup that would make Steve Jobs proud.
Don't let your iMac's beautiful screen go to waste. Plug in, set up OBS, and start playing.
FAQ
Q1: Will there be input lag? Can I play competitive games like Smash Bros?
A: With a high-quality USB 3.1 card like NearStream, latency is typically under 50ms, which is roughly 3 frames at 60fps. For Zelda, Mario, or Pokemon, it is imperceptible. For competitive Smash Bros or Splatoon, casual players won't notice, but pro players might prefer a direct TV connection.
Q2: Can I use this method to connect a PS5 or Xbox to my iMac?
A: Absolutely. The setup is identical. However, remember that most iMac screens are 60Hz. Even if the NearStream card captures 120fps, your iMac will likely only display 60fps.
Q3: Does the NearStream capture card work with Intel Macs, or only M1/M2/M3?
A: It works with both! However, M-series (Apple Silicon) Macs are generally better at handling the video decoding in OBS without getting hot or spinning up fans.
Q4: Can I stream to Twitch from my iMac while playing?
A: Yes! Since you are already using OBS to view the game, you are just one click away from streaming. You can add your FaceTime camera as a webcam layer and start broadcasting to Twitch or YouTube immediately.
Q5: Why is my MacBook asking for permission to use the microphone?
A: Capture cards send audio to the computer via the USB Audio class. macOS treats this as a "Microphone." You must allow OBS/QuickTime to access the "Microphone" to hear the game audio.