Podcast Equipment Guide for Beginners: What You Need & How to Choose
Starting a podcast is easier than ever—but the sheer volume of gear advice out there can make it feel overwhelming.
podcast topics
podcast eqiupment
Updated: Oct 27, 2026 · 8 minutes read
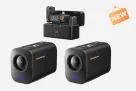
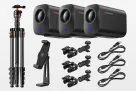
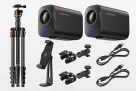
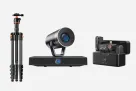
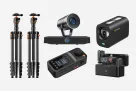
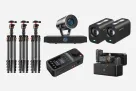
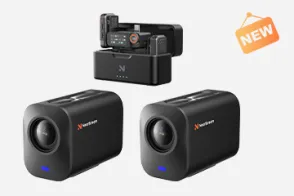
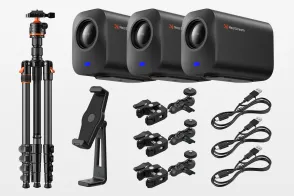
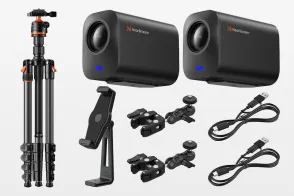
Modular Video Kits for Growing Business.
Podcast listening will hit record numbers by 2026. Content creators are quickly jumping in to grab their share of the audience. Many newcomers face one big question: what podcast gear do they really need? Starting with budget gear or going all-in with pro equipment can make a huge difference in sound quality.
A good microphone, quality headphones and reliable recording software are must haves. Many new podcasters go for versatile mics like the Samson Q2U which has both USB and XLR connections. Over 70% of podcaster’s wear headphones while recording to monitor audio quality.
Whether you’re just starting or wanting to upgrade this guide has got you covered. This complete article shows you everything in podcast equipment that fits your budget. We'll look at options ranging from starter gear to high-end professional setups. You'll discover the tools and technologies needed to create professional-sounding podcasts in 2026 and beyond.
What Equipment Do You Need to Start a Podcast?
Every podcast—audio or video—is built on four essential pieces of equipment. Get these right, and everything else is optional.
Equipment
Why You Need It
What to Look For
Explore the Guide
Microphone
Captures your voice clearly—the most important part of any podcast setup.
USB vs. XLR, dynamic vs. condenser, polar pattern, and your recording environment.
Your microphone is the single most important equipment decision you’ll make. Here’s how each technical choice affects the sound your audience hears.
USB vs. XLR Microphones Think of this as the difference between plugging a lamp directly into a wall outlet versus hiring an electrician for custom studio lighting.
USB mics are the “plug-and-play” option. They connect directly to your computer’s USB port and are incredibly easy to set up—perfect for solo podcasters and beginners who want simplicity above all else.
XLR mics are the professional standard. They require a separate piece of equipment called an audio interface, but offer superior sound quality, durability, and the flexibility to grow into a multi-person studio. For any podcast with two or more hosts in the same room, XLR is the way to go.
Dynamic vs. Condenser Microphones
This choice should be a direct response to your recording environment. Most beginners don’t have a soundproofed studio—and that’s okay, if you choose the right mic.
Dynamic mics are the workhorses of radio and podcasting. They excel at rejecting background noise, picking up primarily the sound directly in front of them (your voice) while ignoring the dog barking downstairs or the hum of your air conditioner. In a typical bedroom, office, or living room, a dynamic mic is your best friend.
Condenser mics are more sensitive. They capture a richer, more detailed range of sound, which is why they’re used in professional music studios. However, that sensitivity means they pick up everything—every echo, every chair squeak, every distant siren. They require a quiet, well-treated room to shine.
For most new podcasters, a dynamic microphone is the smarter, safer choice. It actively solves the problem of an imperfect recording space.
Understanding Polar Patterns
A microphone’s polar pattern determines where it “listens.” Cardioid patterns focus on sound coming from the front and cut down background noise—ideal for most podcasters. Omnidirectional patterns pick up sound equally from all directions. Bidirectional patterns capture sound from the front and back, which can work for face-to-face interviews with a single mic.
Frequency Range and Resolution
A microphone’s frequency range shows what sounds it can reproduce. Most professional podcast microphones cover 20 Hz to 20 kHz, matching the range of human hearing. Resolution—measured in bit depth and sample rate—determines how much detail is captured. Standard podcast recordings use 16-bit or 24-bit depth with 44.1 kHz or 48 kHz sample rates. Recording in 24-bit gives you improved dynamic range and less quantization noise than 16-bit.
Microphone Picks: Quick Recommendations
This guide focuses on how to choose rather than what to buy—but if you want a shortcut, here’s the typical beginner landscape:
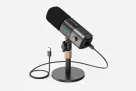
Budget: A USB/XLR hybrid dynamic mic with built-in noise cancellation (like the NearStream AM15X, with its super-cardioid pattern and ≥125dB SPL) covers most beginners and untreated rooms.
Mid-range: A multi-pattern USB condenser like the NearStream AM10U (8-microphone array, 70dB vocal SNR, three switchable pickup patterns) works well in quieter spaces.
Mobile recording: A wireless microphone system suits creators who record on the go with phones or cameras.
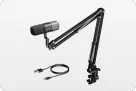
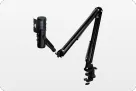
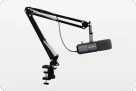
If you're on a low budget, check out the Studio Quality All-In-One USB & XLR Dynamic Microphone. This affordable option boasts a super cardioid pickup pattern and SPL of ≥125dB ensuring crisp clear sound. The microphone includes in-built noise cancellation with AI suppression technology to cut out bothersome background noises like keyboard sounds. A rugged metal boom arm holds up to 3.3 pounds without a shake and lets you shift it 180° vertically and 360° horizontally.
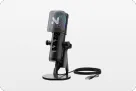
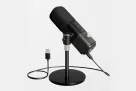
If you have a medium-range budget, go for the NearStream AM10U USB Condenser Microphone. It features an 8-microphone array and beamforming technology that is high-end and helps capture clear and detailed audio. You'll get a whopping 70dB vocal signal-to-noise ratio that captures clean audio within a 3-meter radius. The mic switches between three pickup patterns - omnidirectional, cardioid, and bi-directional - so you can switch based on your recording needs.
For high-budget premium users, the USB & XLR Condenser Microphone stands out. The premium users will love the AM15X dynamic microphone with high clarity through its super-cardioid pattern and high SPL of ≥125dB. The 4-in-1 smart knob in this variant gives you delicate control over gain and noise cancelation.
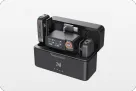
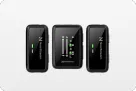
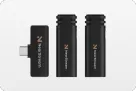
If you have a higher budget, consider the Premium Multi-Purpose Wireless Microphone. This device excels in mobile recording and works with iPhone, Android, PC/Mac, and DSLR cameras. Podcasters who need flexibility will appreciate this portable choice that produces high-quality audio.
Choosing the Best Podcast Headphones
Professional podcast headphones are essential monitoring tools for audio production. We tested various technical specifications to help you pick the right pair for your podcasting needs.
Frequency Range
Sound reproduction depends on the frequency range. Professional headphones usually work between 20 Hz and 20 kHz. This range will give a perfect balance of low bass tones and high treble frequencies that lets you control audio quality while recording and editing.
Open-back vs. Closed-back Headphones
Open-back and closed-back designs each have their strengths. Open-back headphones create natural sound and a wider soundstage that works great for mixing and mastering. As with closed-back models, they shine at sound isolation and prevent audio leakage during recordings.
Comfort and Fit
Comfort and fit are crucial for long recording sessions. The right combination of adjustable headbands, replaceable ear cushions, and lightweight designs reduces fatigue. Your ear cup size should cover your ears to create a proper seal and steady audio monitoring.
Wired vs. Wireless
Wired connections provide reliable, uninterrupted signal flow without delay issues. Wireless options give you mobility but might cause slight delays or need battery management. Wired headphones deliver better performance for professional podcast production.
Microphone Type (attached or not)
Standalone headphones produce superior sound than gaming headsets with internal microphones. Dedicated podcast microphones produce superior sound than inbuilt microphones of headphones.
How to Choose Podcast Headphones
Professional podcast headphones are monitoring tools, not listening toys. Here’s what the specifications actually mean for your recordings.
Low Budget: Audio Technica ATH-m20x
The Audio Technica ATH-m20x is perfect for new podcasters who want to grow professionally. Its closed-back design and 40mm drivers deliver clear audio monitoring with a frequency response range of 15-20,000 Hz. The headphones perform well at sound isolation with the circumaural design. The build is rugged and can handle regular studio usage.
Mid Budget: Sony MDR7506
Sony's MDR7506 has become a standard in the industry, without doubt, because of its flat frequency response and accurate sound reproduction. The headphones pack 40mm drivers with neodymium magnets that deliver pristine audio across the 10-20,000 Hz range. They fold easily and come with a carrying case, which makes them great for studio and remote recording.
High Budget: Shure SRH1540
The Shure SRH1540 delivers premium audio monitoring quality. These high-end headphones use 40mm neodymium drivers housed in carbon fiber and aluminum alloy. The alcantara ear cushions keep you comfortable for those long editing sessions. Their broader frequency response of 5-25,000 Hz captures subtle audio details that are vital to professional podcasting.
Model
Type
Frequency Range
Key Feature
ATH-m20x
Closed-back
15-20,000 Hz
Isolation
MDR7506
Closed-back
10-20,000 Hz
Portability
SRH1540
Closed-back
5-25,000 Hz
Premium Audio
Podcasting Computers: What to Look for
Your computer is the central hub that handles recording, editing, and storing your content. Four things matter:
Storage space
The amount of storage space decides how many episodes you can store and edit at once. SSDs with at least 500GB are a great way to get quick file access and better reliability compared to traditional hard drives. External drives or cloud storage can help with long-term storage needs.
Portability and Battery Life
Battery life and portability become crucial when you record podcasts on location. Your laptop should run for at least 6 hours under a heavy workload. Power-efficient processors strike a balance between performance and mobility. Good cooling systems prevent overheating during long recording sessions.
Operating System
Your choice of operating system impacts software compatibility and workflow. MacOS comes with built-in audio tools that work smoothly with professional recording software. Windows lets you use more hardware options with better customization. Linux systems are affordable alternatives with special audio production versions.
Processor and RAM
Your processor must handle multiple audio tracks without lag, which calls for multi-core capability. You’ll want at least 16GB of RAM to run recording software alongside other apps smoothly.
Choosing a Camera for Video Podcasts
The visual quality of a video podcast determines whether viewers stay. Five factors matter:
Type of Camera
The right camera choice is vital for video podcasting success. There are three main camera types: DSLR/mirrorless cameras, webcams, and dedicated streaming cameras. Each offers different benefits based on your needs and budget.
Video Resolution
Video resolution needs to keep changing. 4K is now becoming the norm. You need at least 1080p resolution at 30 frames per second to get professional quality output. Higher resolutions let you edit better in post-production and future-proof your content.
Frame Rate
Frame rates affect how smooth your video looks. While 30fps works as a starting point, 60fps creates much smoother motion that's perfect for dynamic content. Higher frame rates also let you create slow-motion segments to add creative flair.
Autofocus and Low-Light Performance
Video quality depends on autofocus and low-light performance. Advanced autofocus systems keep your subjects sharp throughout the recording. Better low-light capabilities mean consistent image quality even when lighting conditions change, and you won't need as much extra studio lighting.
Portability
Size, weight, and battery life matter for mobility. Compact cameras make mobile recording easier, but professional cameras give you better image quality at the expense of portability. Your battery should last as long as your recording sessions, and you might want external power options for longer shoots.
Camera Picks: Quick Recommendations
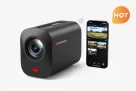
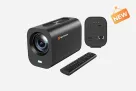
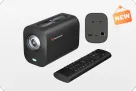
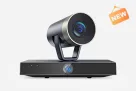
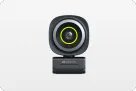
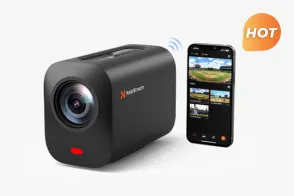
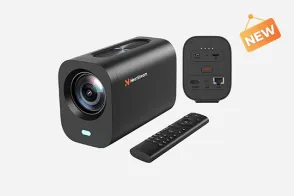
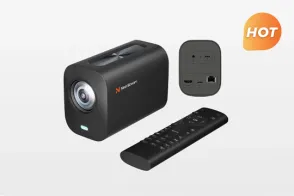
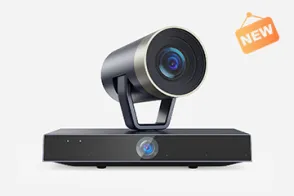
Your choice of camera directly impacts your video podcast's visual quality. NearStream offers three excellent cameras at different price points that give content creators distinct advantages.
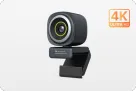
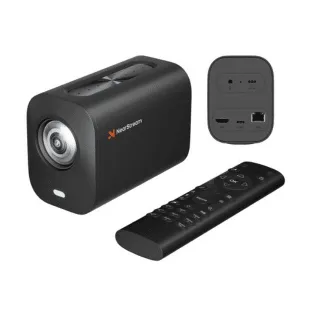
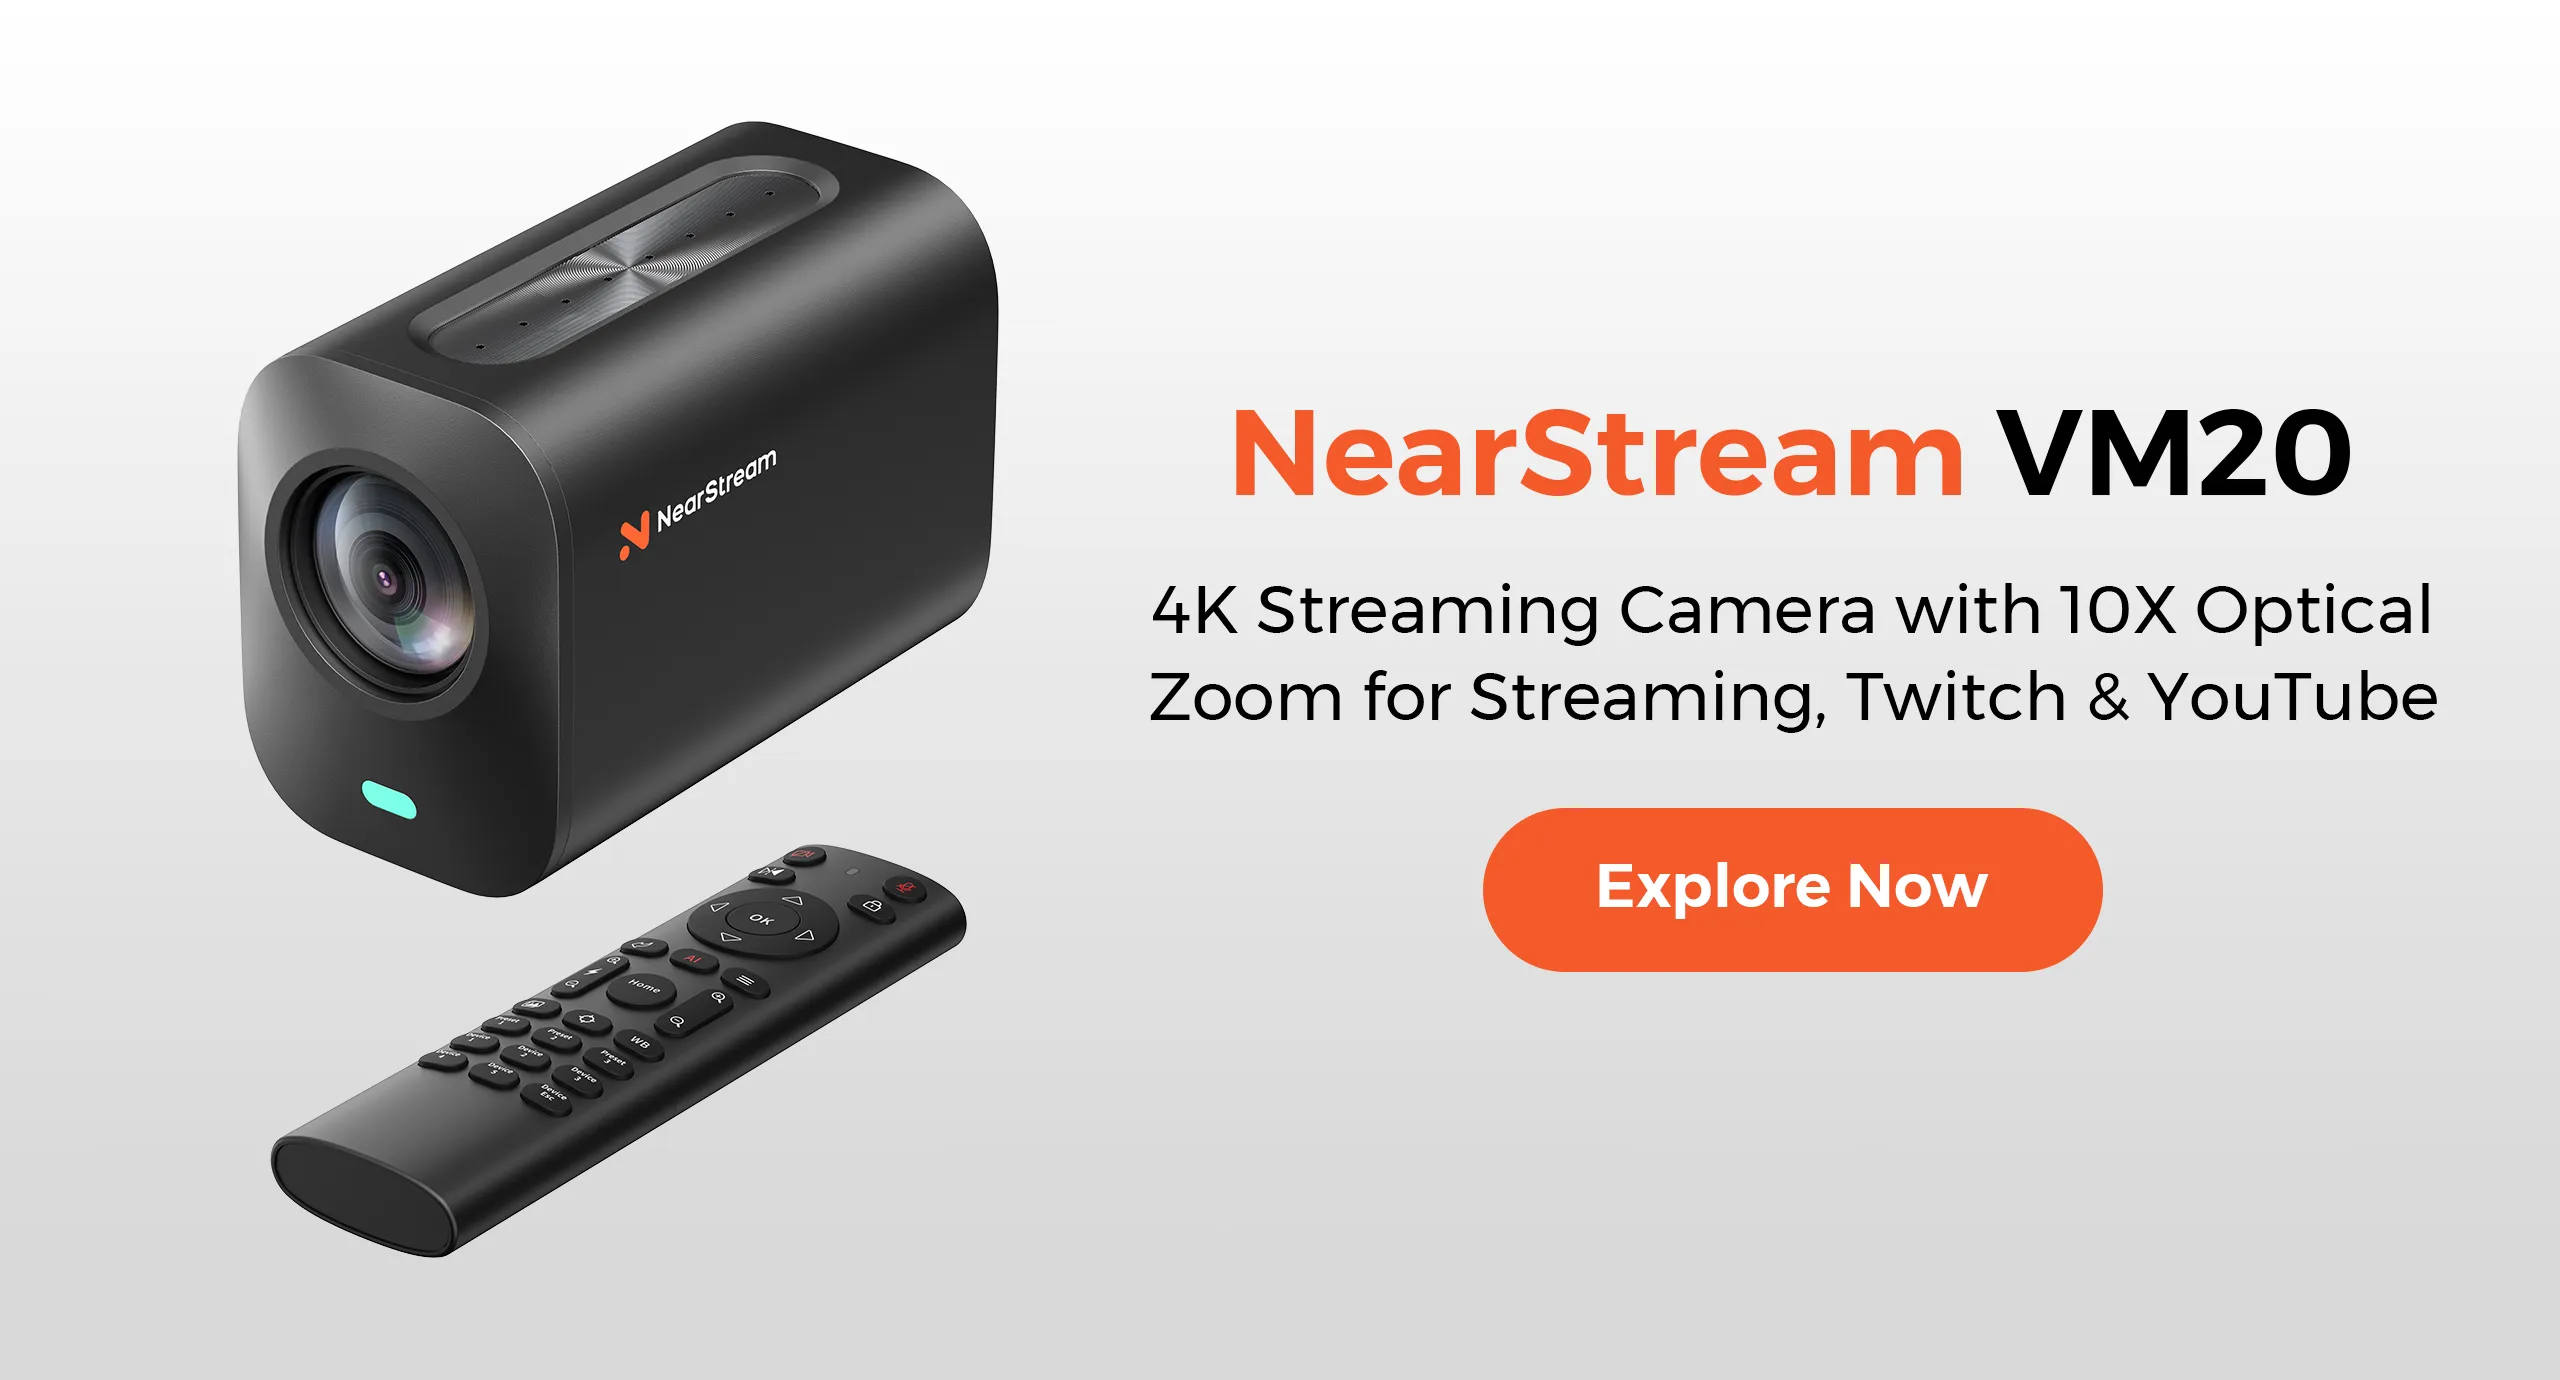
The NearStream VM20 is a great starter camera with professional features. This DSLR-quality optical streaming camera records 4K video at 30fps and comes with state-of-the-art auto-focus technology. Its built-in noise reduction system will give you crystal-clear audio, which makes it perfect for solo podcasters and small studios.
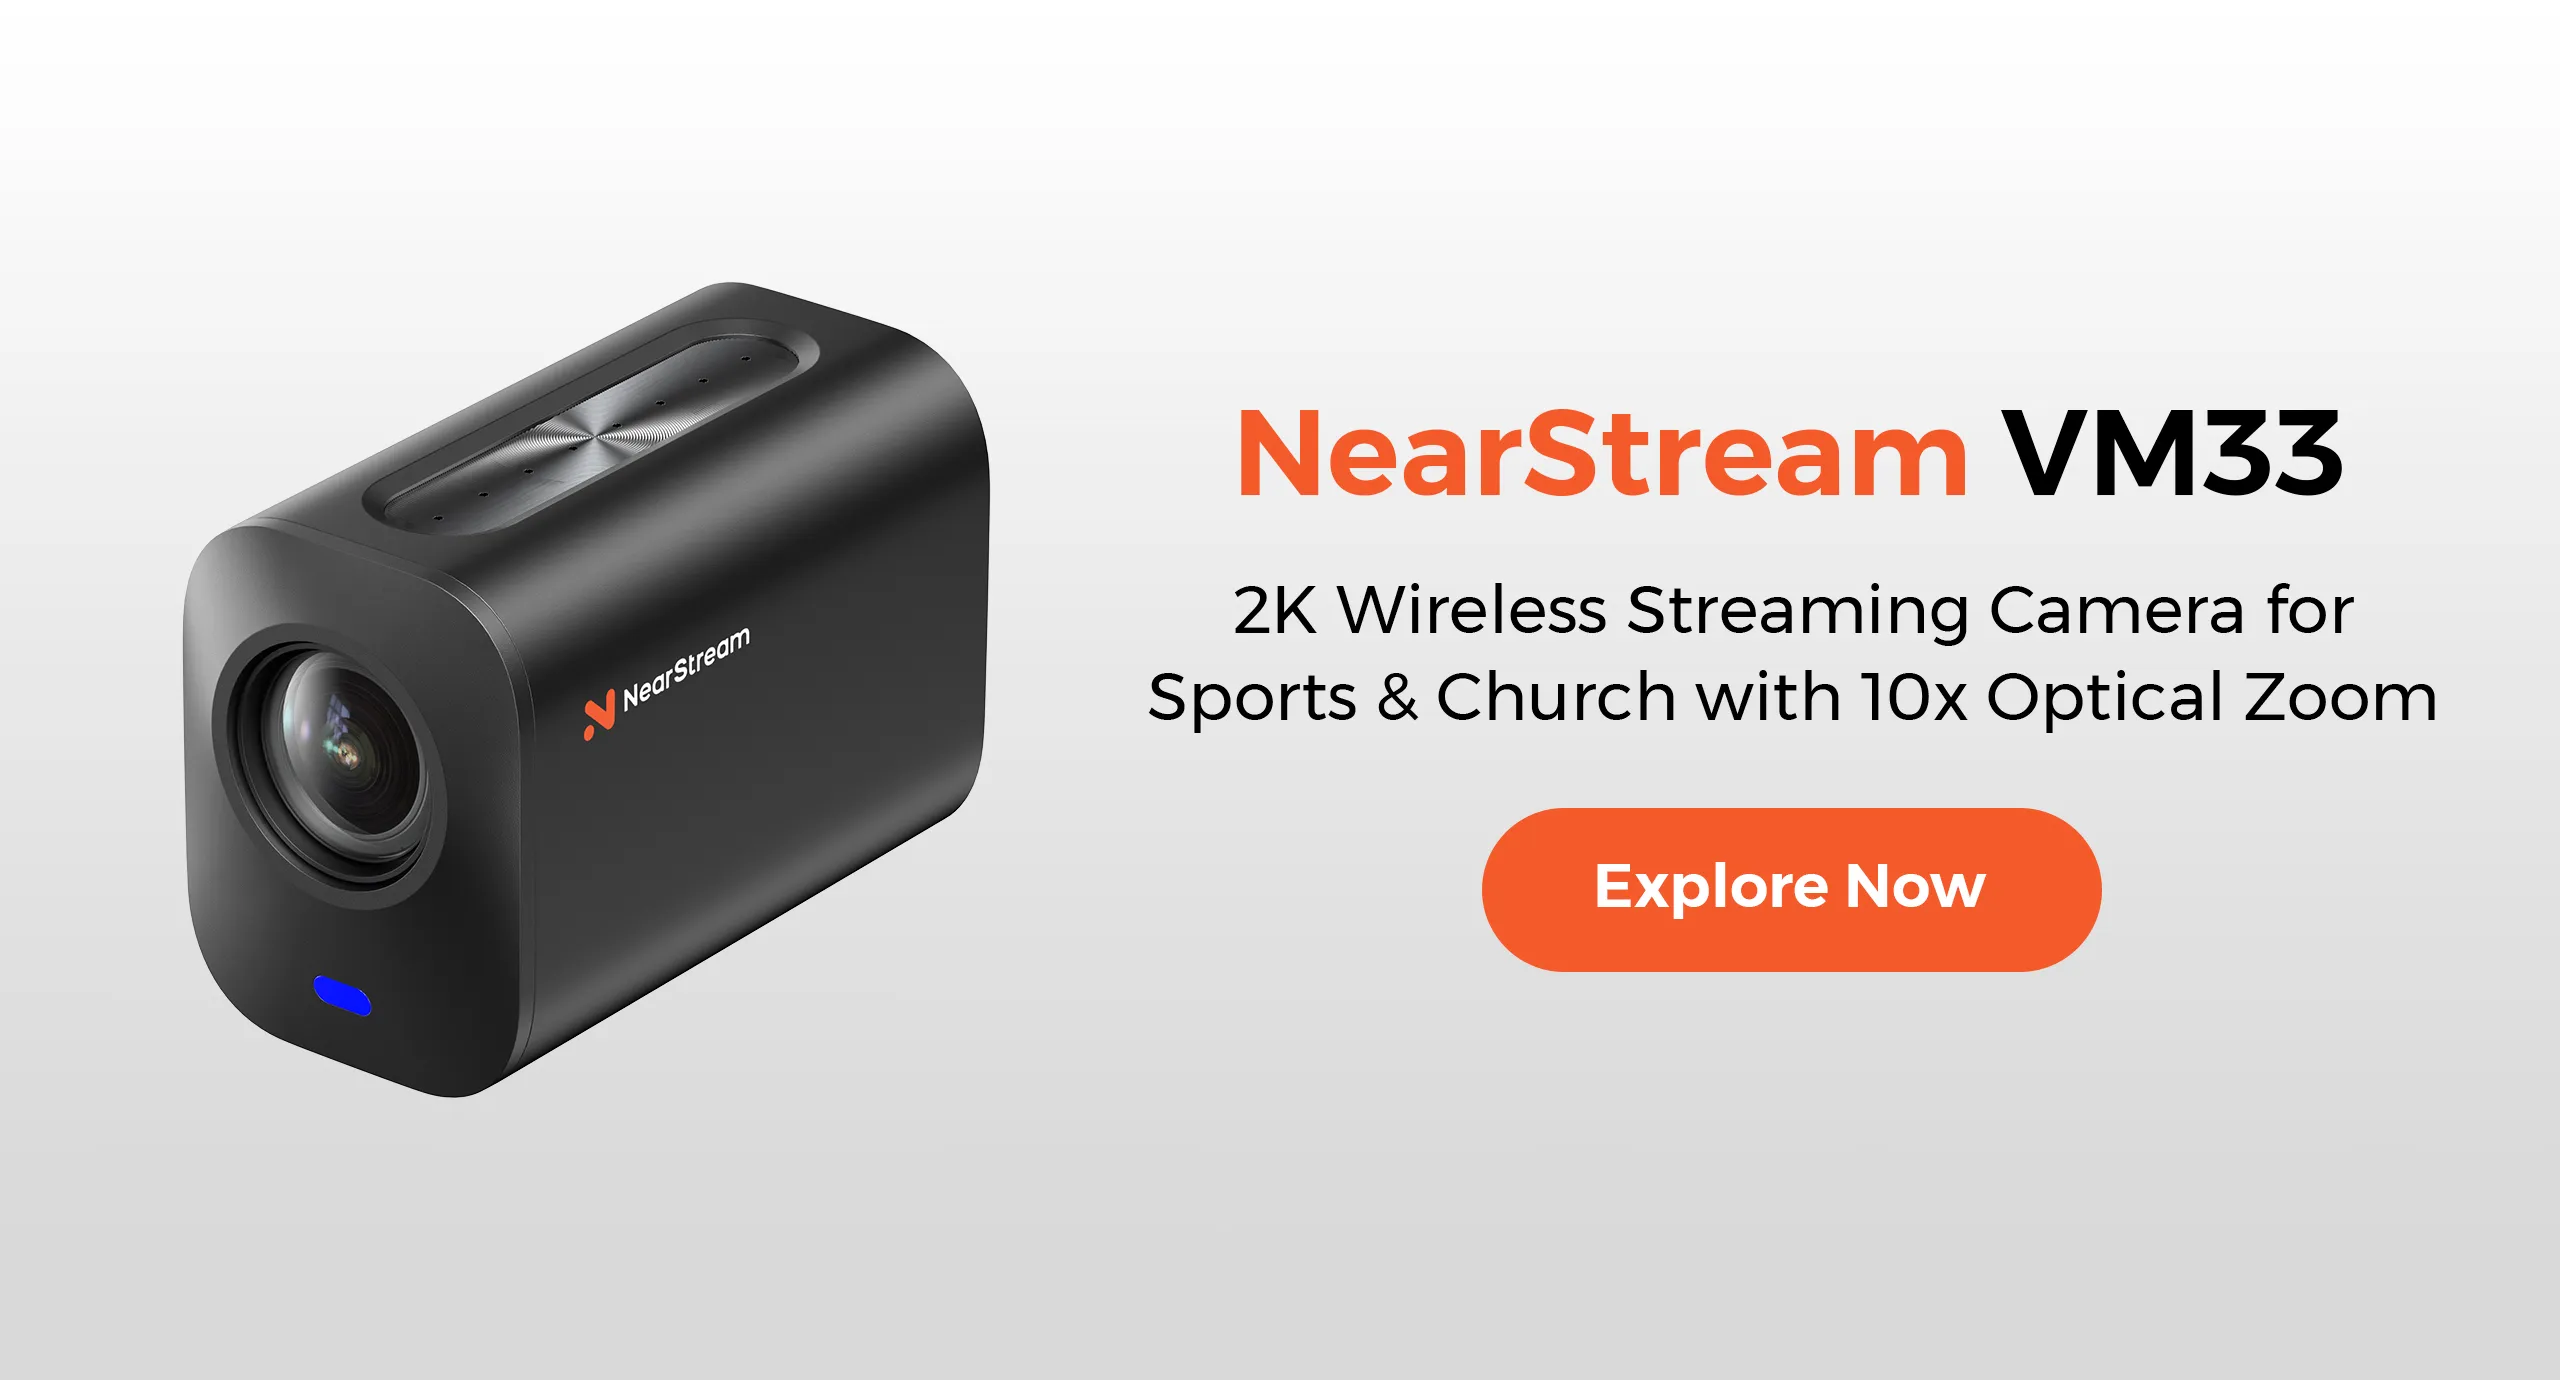
The NearStream VM33 takes things up a notch with its impressive 10X optical zoom. This wireless streaming camera blends mobility with professional features and captures footage at 4K/60fps with advanced image processing. You can control camera movements smoothly during live recordings with its remote functionality.
Professional podcast studios will love the state-of-the-art NearStream VM46. This AI-powered camera uses smart tracking algorithms to follow subjects automatically and keeps perfect framing throughout your sessions. Its PTZ (pan-tilt-zoom) control system allows precise adjustments, while superior low-light performance maintains consistent image quality in any studio lighting condition.
Do You Need an Audio Interface?
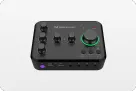
If you use XLR microphones—especially with two or more hosts—an audio interface is the non-negotiable hub of your setup. This “magic box” does three critical jobs:
It provides power. Professional XLR microphones need phantom power to operate, which an interface supplies.
It converts the signal. It takes the analog audio from your microphones and converts it into a digital format your computer can record.
It gives you control. Separate inputs and gain knobs for each microphone let you set the perfect level for every host independently.
Industry-standard models like the Focusrite Vocaster Two or Scarlett 2i2 are built specifically for creators and are known for their reliability and ease of use.
Accessories That Complete Your Setup
Don’t overlook the small stuff—accessories are what separate a hobbyist setup from a professional workflow:
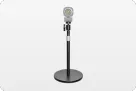
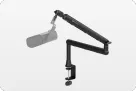
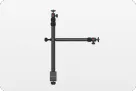
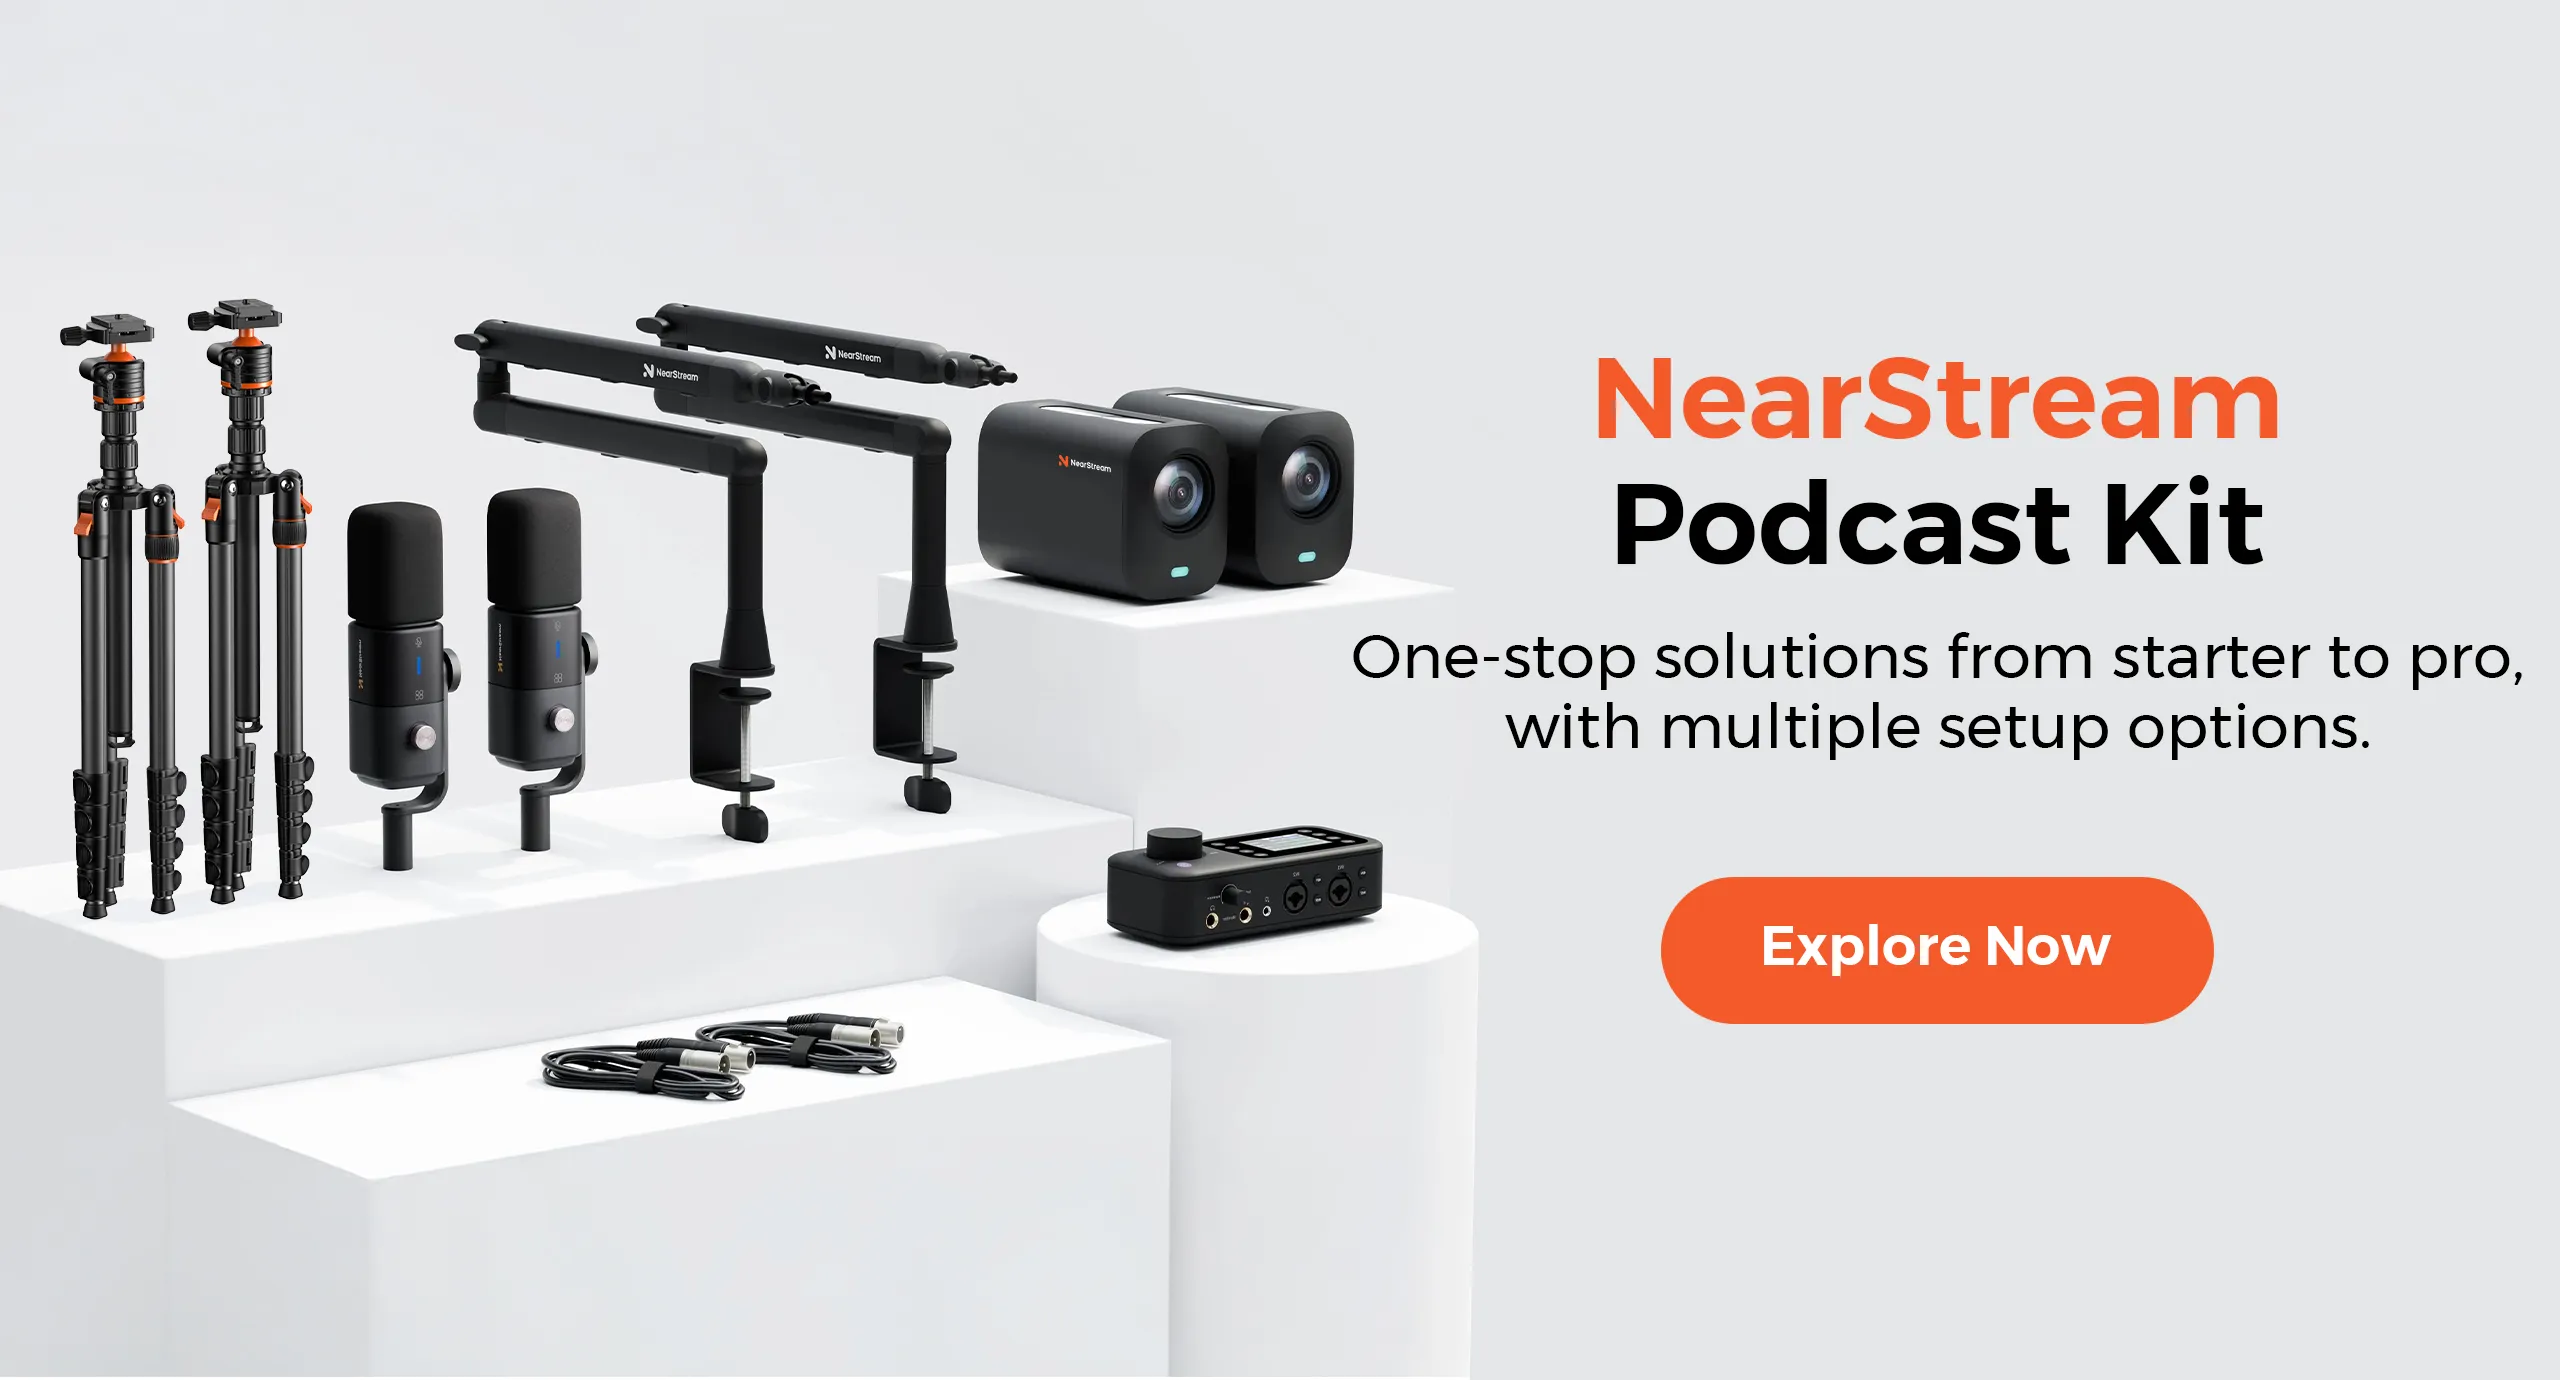
Boom arms and mic stands hold your microphone in the perfect position, free up your hands, and reduce desk vibrations. Quality boom arms rotate 360 degrees and manage cables internally.
Shock mounts suspend the microphone in elastic bands, blocking vibrations and handling noise from reaching the capsule.
Pop filters are mesh screens that sit between you and the mic, diffusing the bursts of air from “p” and “b” sounds. Nylon filters are affordable; metal mesh offers better durability.
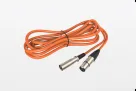
XLR cables—one quality cable per microphone if you go the XLR route.
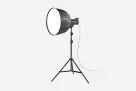
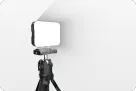
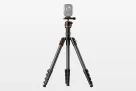
For video podcasters: LED panels or softbox lighting, and a stable tripod (consider weight capacity, height range, and head type).
Optimizing Your Podcast Equipment with Recording And Editing Software
Creating a professional-quality podcast requires more than just high-end equipment; it also relies on the software you use to record and edit your content. Even the most expensive microphones and cameras will fall short if the software compresses your recording, resulting in poor audio and video quality. Using the right tools ensures you get the most out of your equipment, delivering top-notch content to your audience every time.
Choosing the right software for podcast recording and editing is crucial to producing high-quality audio. The best tools offer clear sound capture, intuitive interfaces, and robust editing features. Here are some top choices:
Adobe Audition – A professional-grade DAW (Digital Audio Workstation) with advanced noise reduction and multi-track editing.
Audacity – A free, open-source option with powerful editing tools for beginners and pros alike.
GarageBand – Ideal for Mac users, offering an easy-to-use interface with essential mixing and editing features.
Reaper – A budget-friendly, highly customizable DAW with excellent plugin support.
Hindenburg Journalist – Designed specifically for podcasters, featuring automatic audio leveling and voice optimization.
Each of these options helps enhance your podcast’s audio quality while streamlining the editing process.
What is NearStream? How to Set Up Your Studio with NearStream
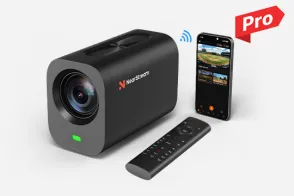
For those looking to optimize their podcasting setup, NearStream is another excellent tool that can help. This App makes multi-camera podcast production easier with several key features. It supports HEVC/H.265 recording for high-quality video and has an auto-director function for smooth camera transitions. Users can customize device buttons for quick control and integrate third-party accounts for a more streamlined workflow.
This NearStream App works on both iOS 13+ and Android 7+ devices and lets you stream instantly to major platforms. NearStream's interface helps podcasters mix audio from multiple cameras' onboard systems while adding custom graphics and lower thirds.
Setting up a studio for your podcast is easy with NearStream. Here’s how to set it up:
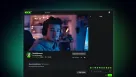
Log in to NearStream – Sign in to your account to access the platform.
Create a New Studio – Click the "+" icon to create a new studio. Give it a name that represents your podcast and select your recording preferences, including whether you want to record both audio and video or just audio.
Adjust Your Settings – Once you’re in the studio lobby, set your camera and audio settings to ensure everything looks and sounds great. Choose your language for transcription and decide if you’re using headphones.
Invite Guests – If you’re recording with others, click the “Invite” icon, input their email addresses, or share the studio link directly with them.
Start Recording – When all participants have joined, hit the “Record” button to begin capturing your podcast.
By following these steps, you'll be on your way to recording a professional-quality podcast that’s sure to impress your listeners.
FAQs About Podcast Equipment
People starting their podcast journey often ask about equipment and costs. Let's look at the most common questions with current market insights.
How Much Does It Cost to Start a Podcast?
A basic podcast setup will cost you between USD 100.00 and USD 350.00. Professional and branded shows need larger investments that range from USD 500.00 to USD 5000.00. New podcasters can begin with minimal gear and focus on the basics like a microphone and simple editing software.
Do I Need a Microphone to Start a Podcast?
Phone microphones have improved by a lot, but dedicated microphones produce better audio quality. External microphones cut down background noise and capture vocals more clearly. You can get entry-level dynamic microphones for USD 50.00 to USD 150.00.
Can I Record a Podcast on My Phone?
Modern smartphones make podcast recording easier than ever. Phones with external microphones can create professional-quality audio. Recording apps come with features like:
Multi-track recording capabilities
Built-in editing tools
Direct publishing options
How Can I Achieve Studio Quality Without the Studio?
You can create professional audio at home with smart room choices and proper treatment. Pick rooms that have minimal outside noise and soft furnishings. Sound treatment with acoustic panels and correct microphone placement improves audio quality by a lot. Small, furnished spaces help absorb sound reflections and create cleaner audio without expensive studio setups.















 sales@nearstream.us