


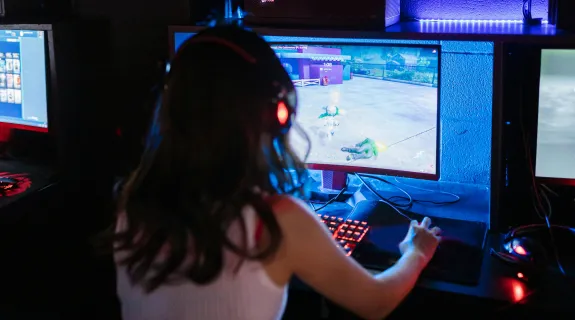
If you are downloading your Twitch VODs to make TikToks or YouTube Shorts, you are hurting your growth. Twitch compresses your stream to a low bitrate, making fast-paced gameplay look blocky and pixelated. When you zoom in for a vertical video, it looks even worse.
The solution? Dual Track Workflow.
In this guide, we will show you how to stream to Twitch at standard quality while simultaneously recording a pristine, high-bitrate master file to your hard drive. We will cover the best OBS settings, audio track splitting, and why the NearStream capture card is the secret to cinema-quality recordings.
The Trap of How to Save Streams on Twitch VODs
Most beginners search for how to save streams on twitch and stop there. They enable the "Store past broadcasts" setting in their Creator Dashboard and think they are safe.
However, a Twitch VOD is not a master file; it is a backup.
Twitch limits your bitrate to 6,000 Kbps (or 8,000 Kbps if you are lucky). While this looks okay on a phone screen live, it falls apart when you try to edit it.
Why VODs Fail for Content Creation
- Compression Artifacts: Fast motion (like in Apex Legends or Valorant) turns into "confetti" or pixelation because the bitrate is too low.
- Audio Mixing: In a VOD, your game sound, your microphone, and your copyright-safe music are all flattened into one audio track. You cannot separate them later.
- Resolution Limits: You are stuck with whatever resolution you streamed at (usually 936p or 1080p compressed).
To grow on TikTok or YouTube, you need to record locally.
Table 1: Twitch VOD vs. Local Recording
| Feature | Twitch VOD (Download) | Local Recording (Dual Track) |
|---|---|---|
| Bitrate | Capped at ~6,000 Kbps | Unlimited (20,000+ Kbps) |
| Visual Quality | Compressed / Blocky | Lossless / Crisp |
| Editing Potential | Poor (Zooming creates blur) | Excellent (Zooming remains sharp) |
| Audio Tracks | 1 Track (Mixed) | Multi-Track (Game/Mic Separated) |
| Dependency | Requires Internet | Offline / Safe on Hard Drive |
The Secret to Growth: Record High Quality While Streaming
The "Holy Grail" of streaming is to satisfy two audiences at once:
- Live Viewers: They need a stable stream that doesn't buffer (Low Bitrate).
- YouTube/TikTok Viewers: They demand crystal clear 4K/1080p visuals (High Bitrate).
To record high quality while streaming, you need to configure OBS to perform two distinct tasks simultaneously. This is called Dual Encoding.
The Workflow
- Encoder 1 (Streaming): Compresses video heavily to fit into the narrow internet pipe (CBR 6000 Kbps).
- Encoder 2 (Recording): Uses a higher quality preset to write massive amounts of data to your SSD (CQP or VBR).
Why Hardware Matters Here
This process is demanding. If your source video is bad, recording at high quality is useless. This is "Garbage In, Garbage Out."
This is where NearStream shines.
- The Perfect Source: NearStream capture cards deliver Uncompressed YUY2 video to OBS.
- Why it matters: Because the signal coming into your PC is uncompressed, your local recording captures every single detail of color and shadow. If you were using a cheap MJPEG capture card, your "High Quality" recording would still look muddy because the source was already compressed. NearStream ensures your local file is cinema-grade.
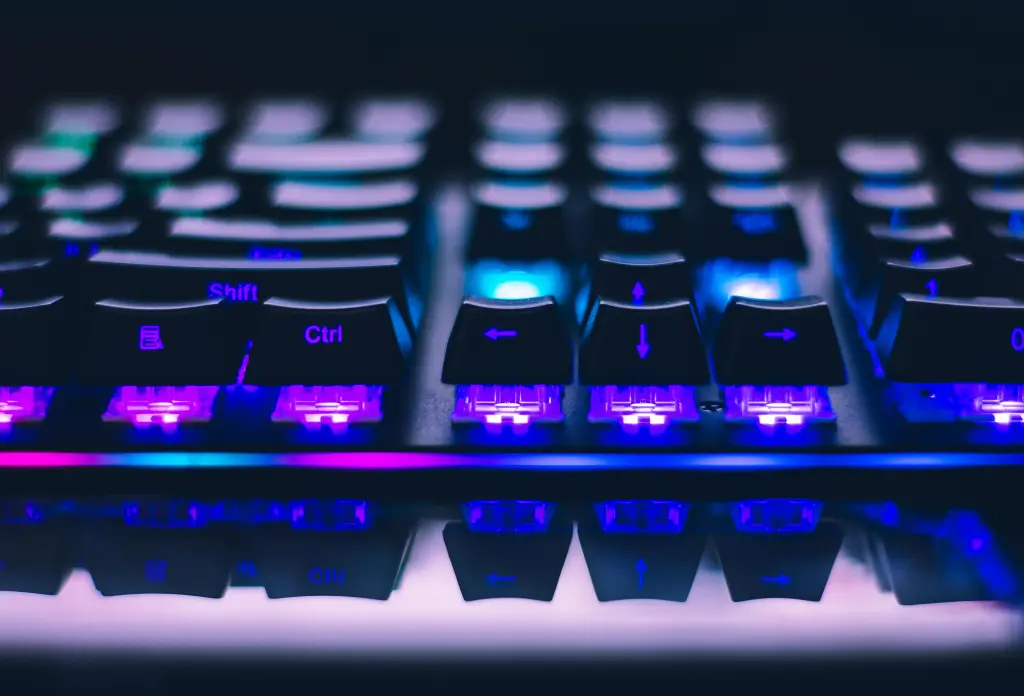
Best OBS Settings for Recording and Streaming (Step-by-Step)
Here is the exact configuration you need to set up inside OBS Studio to achieve this hybrid workflow.
Go to Settings > Output and change "Output Mode" to Advanced.
Tab 1: Streaming Settings (For Twitch)
This is for your live audience. We want stability here.
- Audio Track: 1
- Encoder: NVIDIA NVENC H.264 (New)
- Rate Control: CBR (Constant Bitrate)
- Bitrate: 6000 Kbps (Twitch Limit)
- Keyframe Interval: 2s
- Preset: P5: Slow (Good Quality)
- Tuning: High Quality
- Multipass Mode: Two Passes (Quarter Resolution)
Tab 2: Recording Settings (For Your Hard Drive)
This is for your TikTok/YouTube edits. We want raw quality here.
- Type: Standard
- Recording Path: Select a fast SSD (HDD might lag).
- Recording Format: MKV (Never use MP4; if OBS crashes, MP4 corrupts, MKV saves what you have).
- Audio Track: Check 1, 2, and 3 (We will explain why later).
- Encoder: NVIDIA NVENC HEVC (H.265) - Use HEVC for recording to save space with better quality.
- Rate Control: CQP (Constant Quantization Parameter) - This is better than bitrate for recording.
- CQ Level: 18 - 20 (Lower is higher quality. 18 is near-lossless).
- Preset: P6: Slower (Better Quality)
Table 2: Streaming vs. Recording Settings Cheat Sheet
| Setting | Streaming (Twitch) | Recording (Local Master) |
|---|---|---|
| Goal | Stability & Speed | Fidelity & Editing |
| Rate Control | CBR (Constant) | CQP (Quality Based) |
| Target Value | 6000 Kbps | CQ Level 18-20 (approx 20k-40k Kbps) |
| Encoder | H.264 (Compatibility) | H.265 / HEVC (Efficiency) |
| Resolution | 1664x936 or 1920x1080 | 1920x1080 (Source) |
Understanding Capture Card Loop Recording
When users search for capture card loop recording, they are often referring to the Passthrough capability (the loop) that allows you to play the game while recording it.
The Signal "Loop"
Your NearStream capture card sits in the middle of your setup.
- Console Out: Game goes into NearStream.
- The Loop (Passthrough): Signal goes OUT to your TV.
- The Capture: Signal goes via USB to OBS for recording.
Why NearStream is Essential for this Workflow
To record high quality while streaming, your PC is already doing double work (encoding twice). You cannot afford to waste CPU power on processing the video signal itself.
NearStream Offloads the Stress:
- Color Processing: NearStream handles the color space conversion (YUY2) on the hardware level before it reaches OBS.
- Stability: A generic capture card might overheat or stutter when you push your PC to dual-encode. NearStream’s aluminum chassis ensures the video feed remains stable even during 10-hour recording sessions.
- Zero-Lag Loop: The HDMI Loop-out ensures that even if your PC is struggling to record at CQP 18, your gameplay on the TV remains 100% smooth and lag-free.

Advanced Trick: Splitting Audio Tracks
A "High Quality" recording isn't just about video; it's about audio control. You don't want your copyright-safe "Stream Music" to be permanently burned into your YouTube video.
How to Split Tracks in OBS:
- Define Tracks:
- Track 1: Stream Mix (Everything).
- Track 2: Game Audio (NearStream).
- Track 3: Microphone.
- Track 4: Music (Spotify).
- Advanced Audio Properties: Right-click the Audio Mixer > Advanced Audio Properties.
- Check all boxes for Track 1 (Stream).
- For Track 2 (Recording), ONLY check Game + Mic. Uncheck Music.
- The Result: When you drag your MKV recording into Adobe Premiere or CapCut, you will see separate audio layers. You can delete the music, boost your voice, or lower the game volume after the fact.
Troubleshooting Encoder Overload
Streaming and recording at high quality simultaneously puts a heavy load on your GPU. If you see "Encoding Overloaded" in OBS, follow these steps.
1. Use Separate Encoders (If possible)
If you have a powerful CPU (Ryzen 9 / i9) and an NVIDIA GPU:
- Stream with x264 (CPU).
- Record with NVENC (GPU).
This balances the load across your entire system.
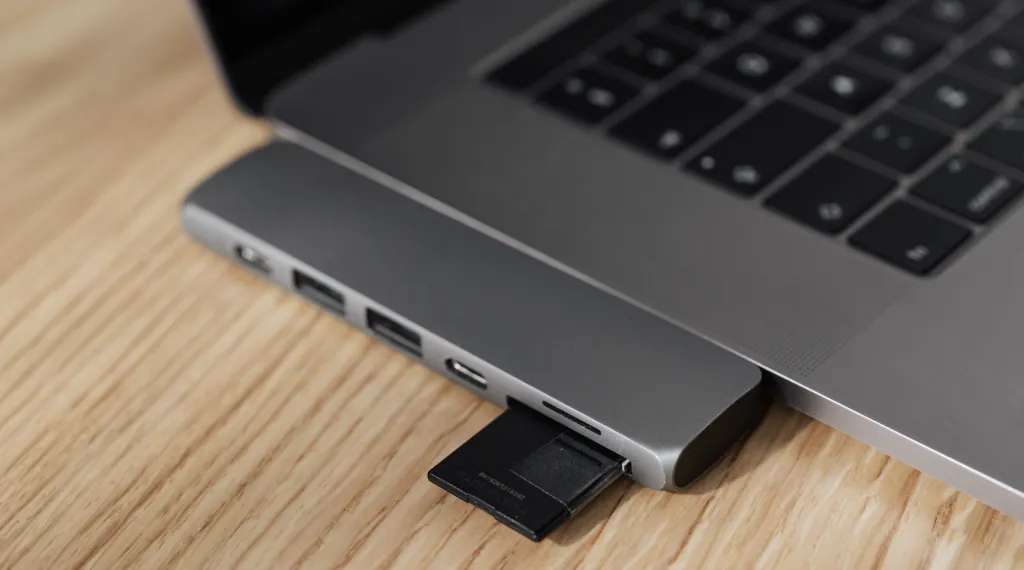
2. Check Your Source (NearStream Advantage)
Ensure your NearStream card is plugged into a USB 3.0 port.
If you use a USB 2.0 port, the computer has to work harder to decode the compressed MJPEG signal. Using USB 3.0 allows the raw YUY2 data to flow directly into memory, reducing CPU overhead.
3. Administrator Mode
Always run OBS as Administrator. This tells Windows to prioritize OBS over other background apps, preventing frame drops in your recording.

Conclusion
Content creation has evolved. You are no longer just a "Streamer"; you are a multi-platform creator. Relying on fuzzy, compressed Twitch VODs for your TikTok content is a recipe for stagnation.
By implementing the Dual Track Workflow with the best obs settings for recording and streaming, you ensure that your content looks professional on every platform.
However, remember that software settings can only do so much. The foundation of a crisp recording is a pristine video source. By using a NearStream capture card with its uncompressed YUY2 capabilities, you ensure that your local recordings are cinema-quality assets, ready to go viral.
Don't let your best moments get lost in the compression algorithm. Record it right, record it locally.
FAQ: Frequently Asked Questions
Q1: Can I record in 4K if I only stream in 1080p?
A: Yes, IF your capture card supports it. If you have a 4K NearStream card, you can set your Base (Canvas) Resolution in OBS to 4K (3840x2160). Then, in the Streaming tab, set "Rescale Output" to 1080p. In the Recording tab, leave "Rescale Output" unchecked. This records full 4K to your drive while sending 1080p to Twitch.
Q2: My recordings take up too much space. What should I do?
A: High-quality CQP recording uses a lot of data (sometimes 10GB per hour).
- Fix 1: Buy a large 4TB HDD specifically for footage.
- Fix 2: Use HEVC (H.265) as your recording encoder. It provides the same quality as H.264 at half the file size.
- Fix 3: Increase the CQP level to 23 or 25. It’s still better than Twitch, but smaller file size.
Q3: Why do I need to record to MKV? Can't I use MP4?
A: Never record directly to MP4. If OBS crashes, your PC freezes, or the power goes out, the entire MP4 file becomes corrupt and unreadable. You lose everything. MKV files are "bulletproof"—if the power cuts, everything up to that second is saved. You can instantly convert MKV to MP4 in OBS by going to File > Remux Recordings.
Q4: Will dual recording make my game lag?
A: It depends on your PC. It will not affect the console game lag if you use the NearStream HDMI Passthrough to your TV. However, it might lower the FPS of PC games played on the same computer. If you are a single-PC streamer, test your GPU usage. If it hits 100%, cap your in-game FPS to leave room for OBS.
Q5: How do I edit these files for TikTok?
A: Import your high-quality MKV (remuxed to MP4) into a video editor like CapCut Desktop or Adobe Premiere. Set your project sequence to 1080x1920 (9:16 Vertical). Because your source file is high bitrate 1080p or 4K, you can zoom in significantly to center the gameplay without the image becoming blurry.


