How to Set Up a Podcast: Step-by-Step Equipment Wiring Walkthrough
A beginner-proof walkthrough for physically wiring podcast microphones, cameras, and a mixer to your computer — with a connection map, OBS configuration, and a pre-recording chain-trace routine.
how to set up a podcast
podcast setup diagram
OBS podcast setup
Updated: 19 sept. 2026 · 8 minutes read
Modular Video Kits for Growing Business.
Once the gear is on your desk, setting up a podcast is one signal chain: mics feed a mixer over XLR, the mixer and camera each reach the computer over USB-C, and OBS ties it together. This guide wires that chain port by port, configures the software, and ends with a five-minute chain-trace test.
Key Takeaways
The whole rig is four cables: two XLR from mics to mixer, one USB-C from mixer to computer, one USB-C from camera to computer — no capture card when the camera is a UVC device like the VM20 Pro.
Set each mic channel's gain so normal speech peaks near -12 dB on the mixer's LCD; signal that touches 0 dB clips permanently and no plugin can rebuild it.
In OBS, the mixer appears as one Audio Input Capture device and the camera as one Video Capture Device — a two-host studio is two sources, not a routing project.
A pre-flight chain trace — tap each mic, watch the mixer LCD, then the OBS meters, then record 60 seconds — catches dead cables before your guest hears them.
How to Set Up a Podcast: Step-by-Step Equipment Wiring Walkthrough
Most guides about how to set up a podcast stop at the shopping cart. They tell you which microphone, which camera, which mixer to buy — then leave you alone with three boxes, a tangle of ports, and a guest arriving in an hour. This guide picks up exactly where those end: the physical wiring. Below is the complete path from microphone capsule to recording software, one connector at a time, using a typical two-host video rig (two mics, a mixer, a camera, a computer). If you're still choosing gear, start with our podcast equipment guide or the podcast equipment checklist — then come back here when the boxes arrive.
What You Need on the Desk
This walkthrough assumes a standard two-person video podcast kit. Every device below is wired in the steps that follow:
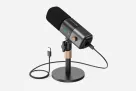
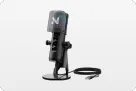
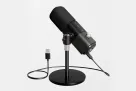
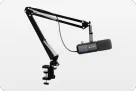
2× microphones — one per host. The steps use the NearStream AM25X, a USB/XLR condenser mic.
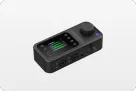
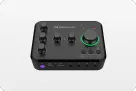
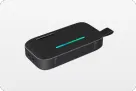
1× audio mixer — the AMIX40U, with dual XLR/6.35 mm inputs, 48 V phantom power, and an LCD level display.
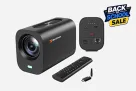
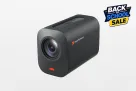
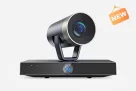
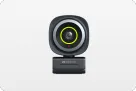
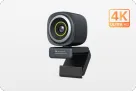
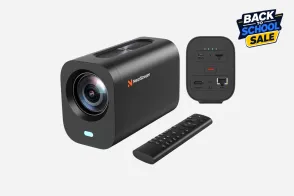
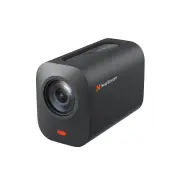
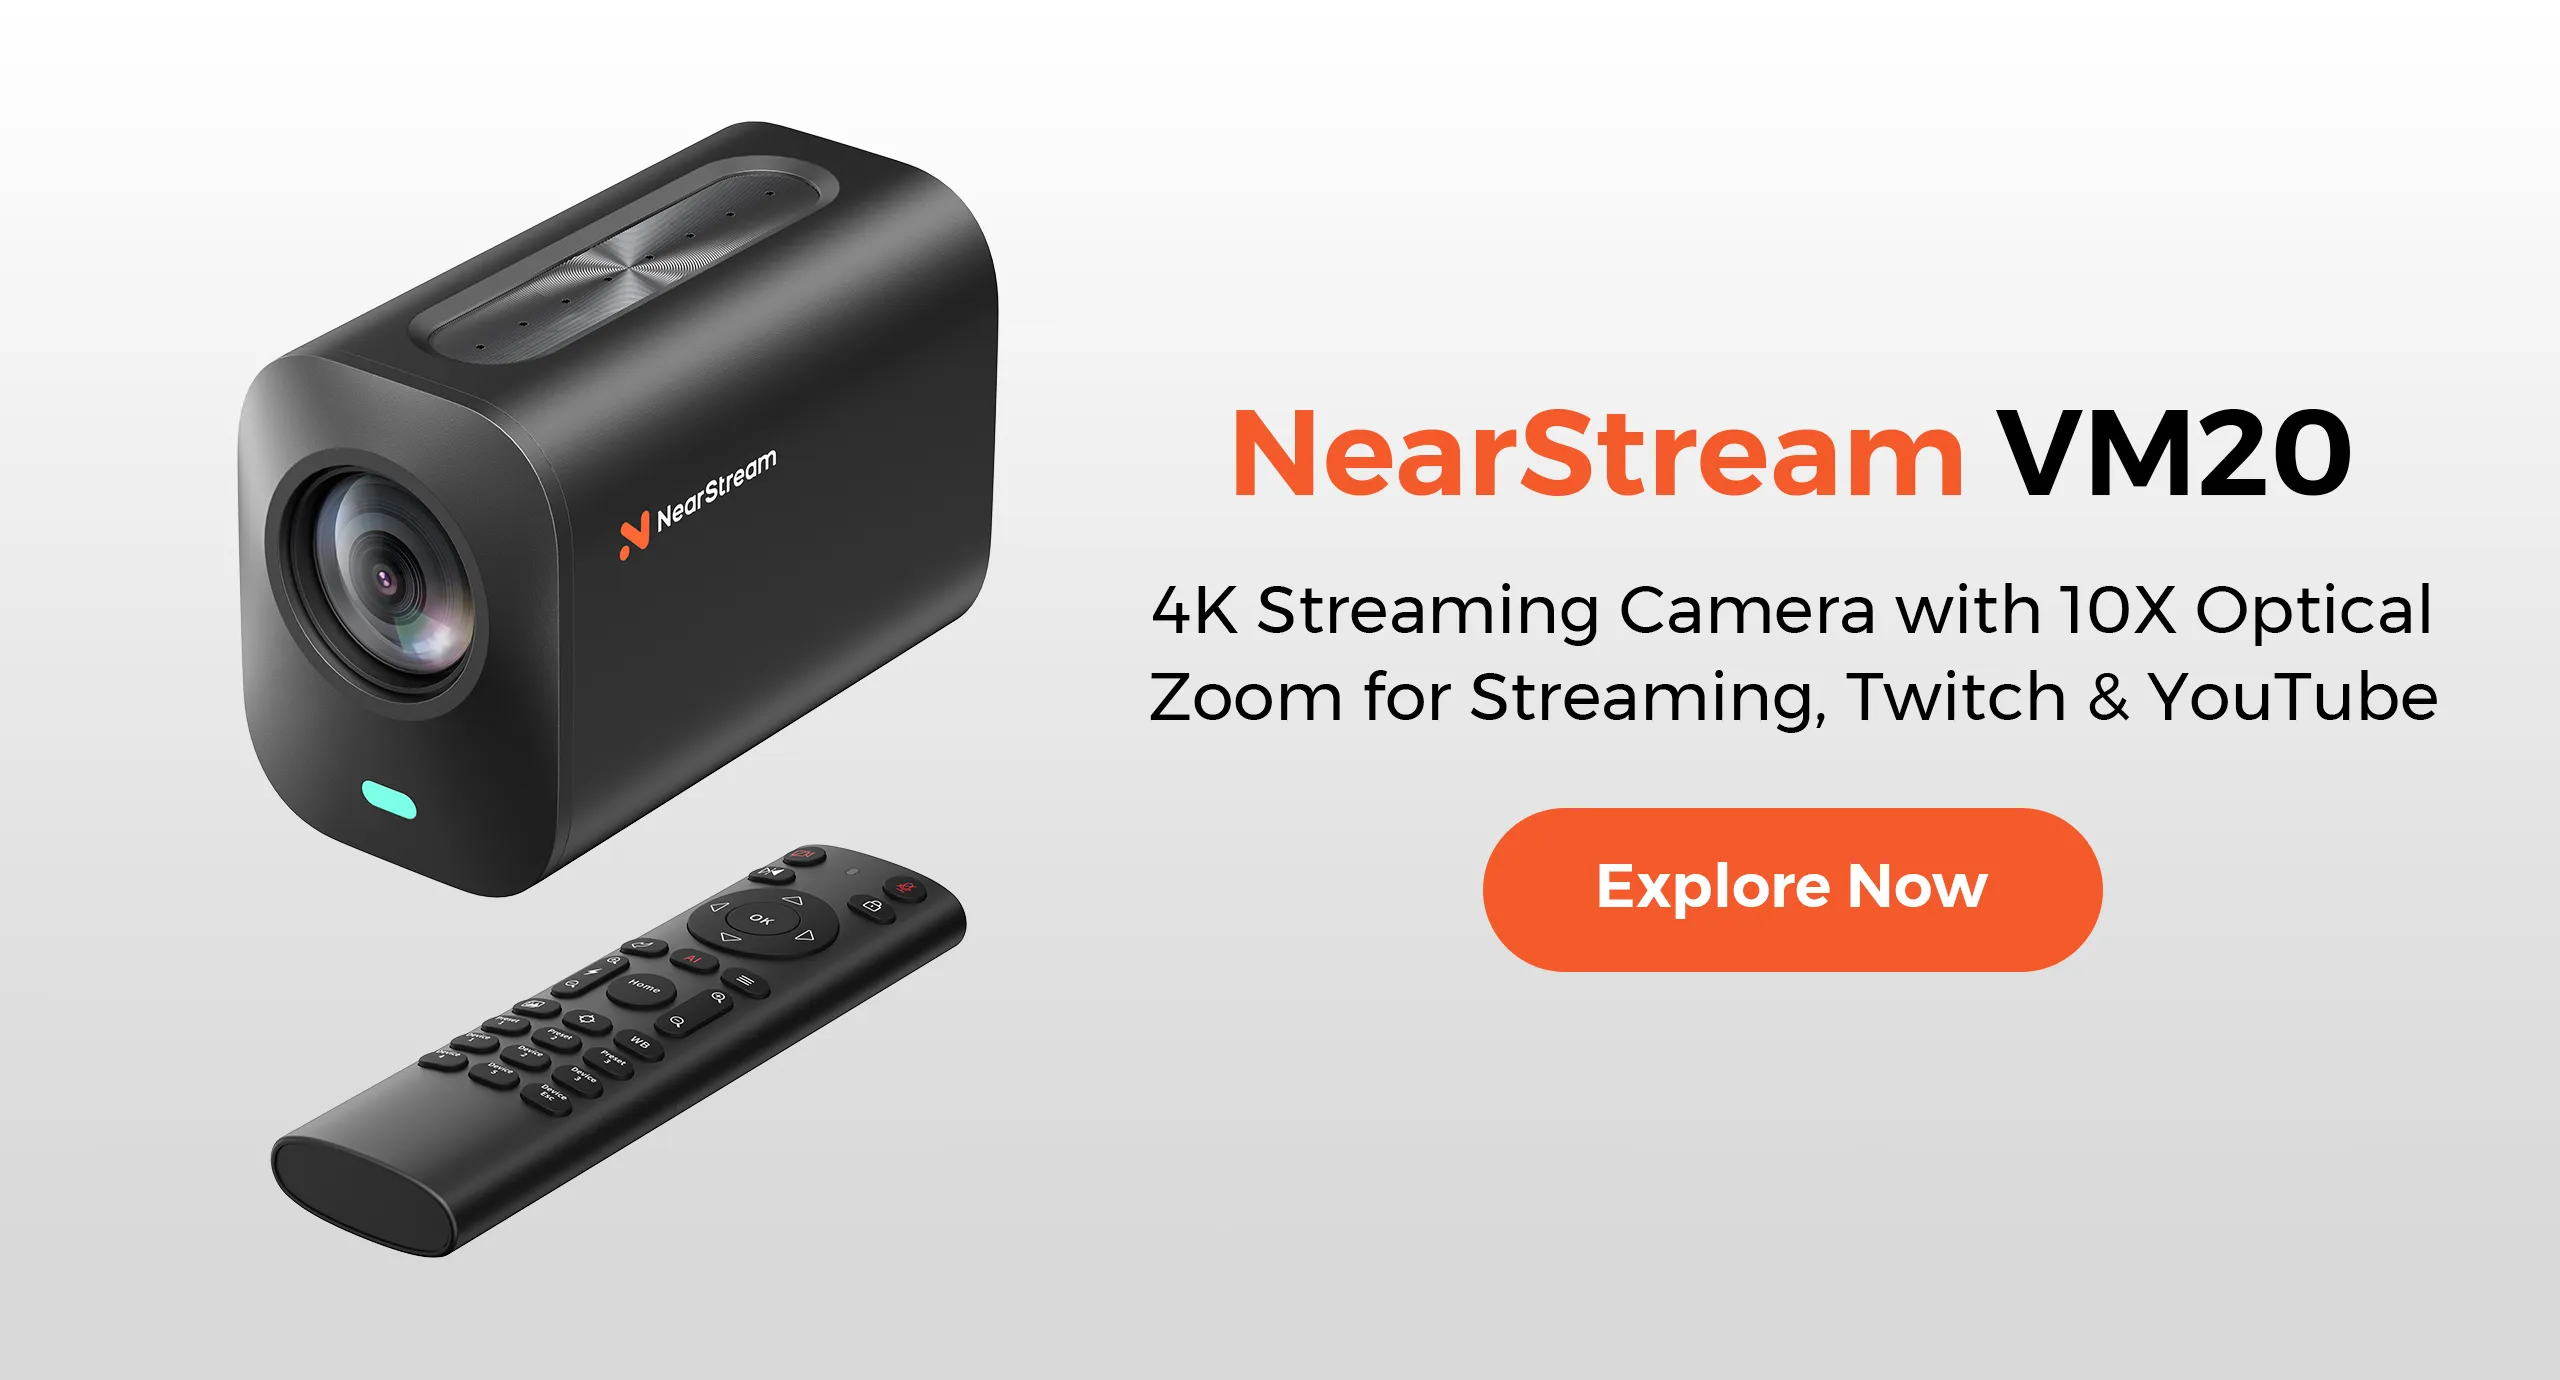
1× camera — the VM20 Pro, a 4K streaming camera with a 50MP 1/2" Sony sensor and 10x optical zoom.
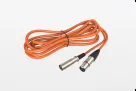
2× XLR cables — balanced mic cables like the NearStream XLR line 2-pack.
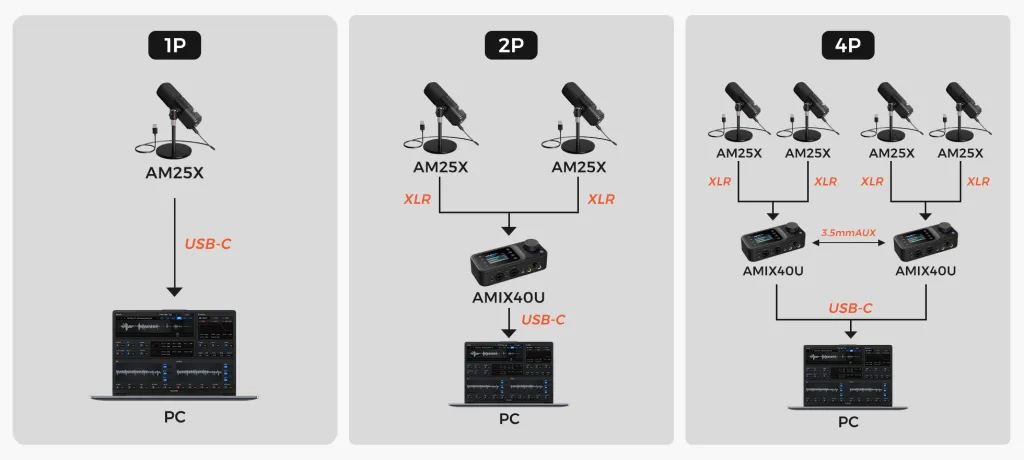
Solo creator? Everything below still applies — you'll simply skip the second mic, and you can connect a single AM25X straight to the computer over USB instead of through the mixer. Our solo podcast setup guide covers that one-person chain in detail.
Podcast Setup Diagram: Every Cable Before You Touch One
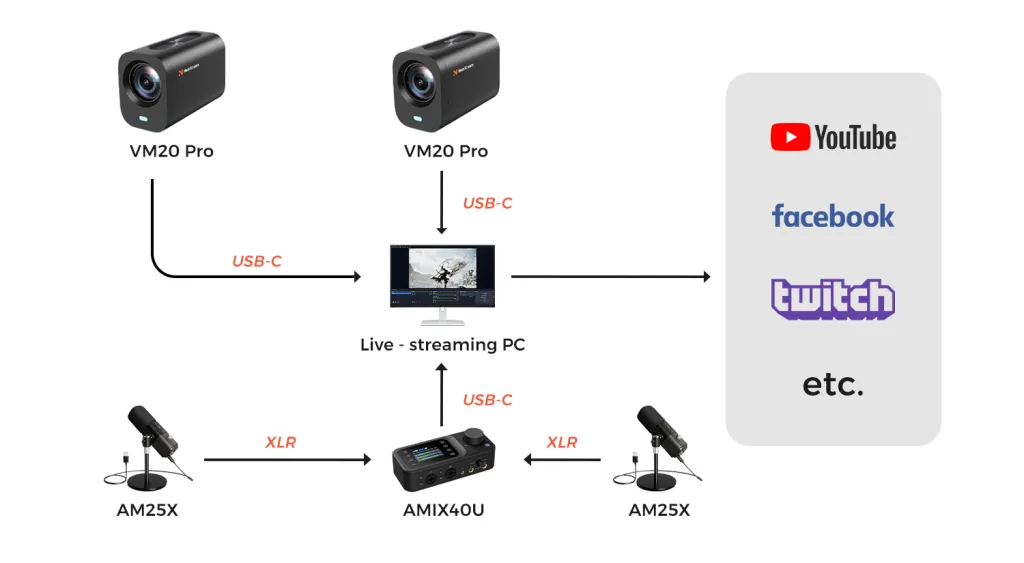
Here is the entire podcast setup diagram for a two-host video rig. Four cables, four connections:
 AM25X mic 1 ──XLR cable──> AMIX40U input 1 ┐
                                            ├──USB-C──┐
 AM25X mic 2 ──XLR cable──> AMIX40U input 2 ┘         ├──> Computer (OBS) ──> Recording / Stream
 VM20 Pro camera ─────────────USB-C───────────────────┘
Audio flows left to right along the bottom: each mic enters the mixer on its own XLR cable, gets its own gain knob, and the combined signal rides one USB-C cable to the computer. Video flows along the top: the camera's single USB-C cable carries 4K picture straight into the same computer. Keep this map in your head and the remaining steps are just plugging in one line at a time.
Step 1: Mount Everything Before Running Cables
Cable lengths and routing only make sense once the gear is in its final position, so mount first, wire second.
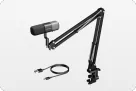
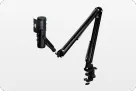
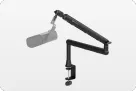
Clamp each ST20 boom arm to the desk and attach a mic with the included 5/8" adapter. Swing the mic to 4–8 inches from where each host's mouth will be, tilted slightly off-axis to soften plosives. The AM25X's supercardioid capsule picks up cleanly out to about 40 cm (15.7 inches), but closer is always better for rejecting room sound.
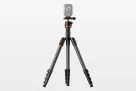
Mount the VM20 Pro on the ST30 tripod at eye level, 3–6 feet from the seats. Thanks to the 10x optical zoom, the camera can sit at the edge of the room — out of the hosts' eyeline — and still frame a tight head-and-shoulders shot. Frame it now using the included remote, before any cables constrain where the tripod can stand.
Step 2: Wire the Microphones to the Mixer
This is the step that intimidates beginners learning how to use podcast microphone connections, and it's genuinely five moves:
Plug the female end of an XLR cable (the end with three holes) into the mic's XLR port until it clicks. Plug the male end (three pins) into input 1 on the AMIX40U. Repeat with the second mic on input 2.
Turn both channel gain knobs fully counterclockwise before powering anything on.
Enable 48 V phantom power for both channels — the AM25X is a condenser mic and needs it over XLR. (Dynamic mics simply ignore phantom power.)
Set gain with real speech. Have each host talk at genuine conversation volume while you raise their channel's gain until the LCD meter peaks around -12 dB. Big laughs should stay under -6 dB. A meter that touches 0 dB means clipping — distortion that no editing tool can remove — so back off.
Toggle the mic's noise reduction if the room has fan or HVAC hum; the AM25X's onboard AI chip handles steady background noise in real time.
Step 3: Connect the Camera with One Cable
A modern podcast camera and mic setup involves no capture cards and no HDMI converters. The VM20 Pro is a UVC device: run one USB-C cable from the camera to a USB port on the computer, and the operating system treats it exactly like a webcam. That is the entire camera wiring job.
Two optional touches while you're here:
Insert an SD card (the camera supports up to 1TB) so it saves an independent local copy of the video — insurance against computer crashes.
Verify framing with the remote one last time after the cable is routed, since a taut cable can nudge the tripod.
Step 4: Run the Mixer to the Computer
Connect the AMIX40U to the computer with a single USB-C cable, plugged into a direct port on the machine rather than an unpowered hub. The mixer registers as a standard USB audio device on Windows and macOS with nothing to install — both mic channels you just gain-staged now travel this one cable.
Count the cables on your desk: two XLR, two USB-C. Four cables is the whole studio. A traditional HDMI-camera rig covering the same two hosts would need HDMI runs, capture cards, camera power adapters, and a switcher — well past ten connections, each one a future troubleshooting session.
Step 5: Configure OBS Studio
Hardware done; now teach the software where to look. In OBS:
Add the camera: Sources → + → Video Capture Device → select the VM20 Pro. Set 3840×2160 for 4K recording, or 1920×1080 for smaller files.
Add the audio: Sources → + → Audio Input Capture → select the AMIX40U. (Solo over USB? Select the AM25X directly instead.)
Confirm levels: speak while watching OBS's audio mixer panel — the meters should move in step with the mixer's LCD. If they don't, you've selected the wrong device in step 2.
Check lip sync: record a few seconds of speech and play it back. USB sources rarely drift, but if they do, apply an offset under Advanced Audio Properties.
Set a crash-safe format: Settings → Output → Recording → choose MKV, then use File → Remux Recordings to produce MP4s afterward.
For a second camera angle, add another Video Capture Device for the second VM20 Pro and build scenes — wide shot, host close-up, guest close-up — switchable with hotkeys while you record.
Step 6: The Five-Minute Chain Trace
Before any real episode, trace the signal chain from end to end. Each check proves one link:
Mic → mixer: tap each mic gently; the corresponding channel jumps on the AMIX40U's LCD. No movement? Reseat that XLR cable.
Camera → computer: the OBS preview shows a sharp, correctly framed image.
Full chain: record 60 seconds of normal conversation, play it back in headphones, and confirm clean audio with synced lips.
Monitoring: both hosts hear themselves through headphones plugged into the mixer — no echo, no hiss.
Five checks, five minutes, and every common failure is caught while it's still free to fix.
How to Set Up a Podcast Rig That Grows to Three or Four Hosts
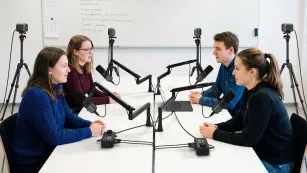
The same diagram scales without new skills. Mics three and four plug into a second AMIX40U, which links to the first over a 3.5 mm AUX cable — the computer still sees one USB-C audio feed. Extra VM20 Pro cameras each add one USB-C cable. The wiring logic, gain ritual, and OBS configuration stay identical; you're repeating lines on the diagram, not learning a new one. Our multi-person podcast setup guide walks through the roundtable geometry and soundcheck discipline that four open mics demand.
Wiring Comparison: HDMI Rig vs. USB-C Kit
Here's what the two approaches look like at the port level for a two-host video show:
Connection
Traditional HDMI rig
NearStream USB-C kit
Camera to computer
HDMI out → capture card → USB-A, per camera
One USB-C cable, per camera
Camera power
Dummy battery or AC adapter
Powered over the same USB-C cable
Mics to computer
XLR → interface → USB
XLR → AMIX40U → one USB-C
Multi-camera switching
Hardware switcher (e.g., ATEM Mini)
Scenes in OBS, free
Total connections, 2 hosts
10+
4
Operator needed
Often a second person
The host
A hardware switcher still earns its place in broadcast-style productions with graphics playback and HDMI sources. For conversation podcasts, the USB-C path removes the two most failure-prone layers — capture cards and HDMI runs — without giving up anything audible or visible.
Common Wiring Mistakes to Avoid
Half-seated XLR connectors. The number-one cause of "one mic is dead." Push until the latch clicks, then tug gently to confirm.
Setting gain by loudness in the room. Judge only by the mixer's meter against the -12 dB target; your ears in the room lie.
Forgetting phantom power. A condenser mic on XLR with 48 V off produces total silence — check the switch before blaming the cable.
Recording straight to MP4 in OBS. A crash mid-episode destroys the whole file. MKV first, remux after.
Skipping the chain trace. Ninety percent of "the episode has no audio" stories trace back to the five-minute check that never happened.
Frequently Asked Questions
Why does OBS show my camera but not my microphone? Camera and mic audio arrive over separate USB connections and live in different source types. The camera appears under Video Capture Device; mic audio comes through the mixer, added separately as an Audio Input Capture source. If the mixer is missing from the device list, reseat its USB-C cable in a direct computer port rather than a hub.
Which end of the XLR cable plugs into the microphone? The female end (three holes) goes into the mic; the male end (three pins) goes into the mixer input. Push until the latch clicks — a half-seated connector is the most common cause of a silent or static-filled channel.
Can I use this wired setup with Zoom or Riverside instead of OBS? Yes. The mixer and camera register as standard USB audio and video devices, so any app that accepts a webcam and microphone — Zoom, Riverside, StreamYard, Teams — can use them. Select the VM20 Pro as the camera and the AMIX40U as the microphone in the app's settings.
How many cables does a two-person video podcast need? Four: two XLR from mics to mixer, one USB-C from mixer to computer, one USB-C for the camera. Each additional camera angle adds one more USB-C cable.
How do I protect a recording if my computer crashes mid-episode? Two safety nets: record in OBS using the MKV container (it survives crashes and remuxes to MP4 afterward), and keep an SD card in the VM20 Pro so the camera saves its own independent copy of the footage.
Your Next Step
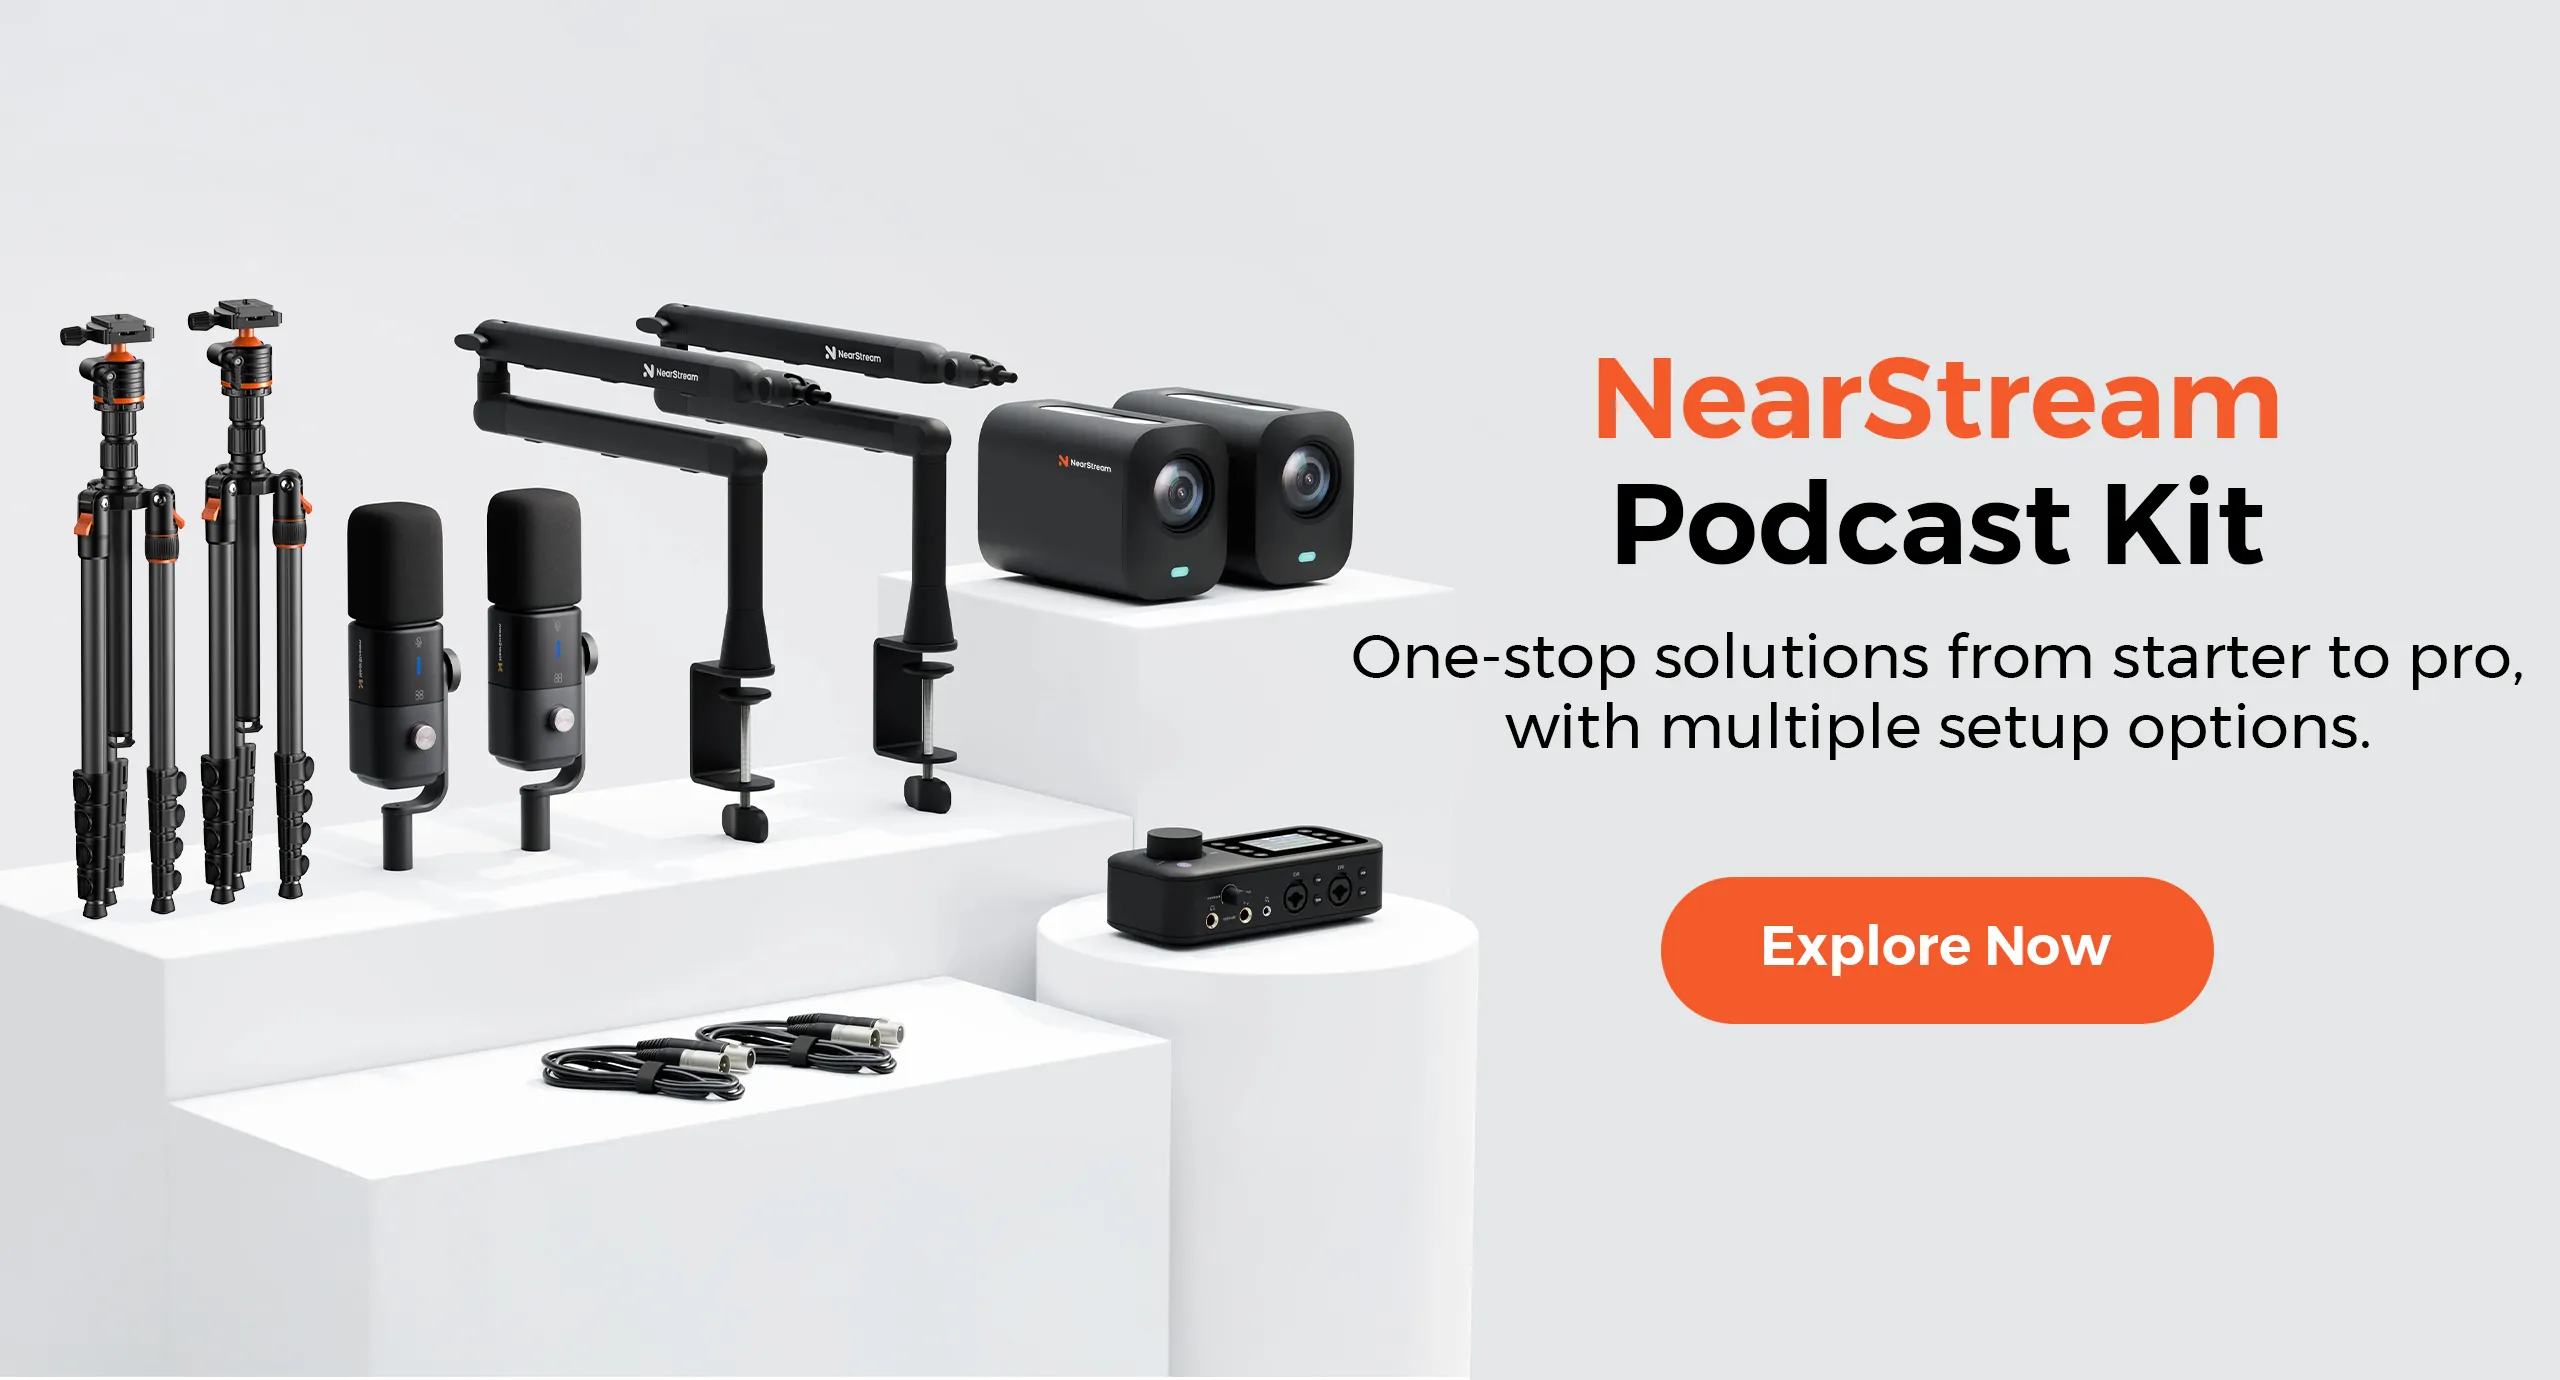
That's the whole job: mount, four cables, gain to -12 dB, two OBS sources, one five-minute chain trace. If you'd rather skip the compatibility guesswork entirely, the NearStream Podcasting Solutions page bundles the VM20 Pro camera, AM25X microphones, AMIX40U mixer, XLR cables, and ST20/ST30 stands into matched kits — with a custom configuration service that sizes the bundle to your show. Wire it once, trace it once, and spend the rest of your energy on the conversation, not the cables.







 sales@nearstream.us