Sunday night, you finish recording your best episode yet — then notice the laptop fan roar baked into every quiet moment, and re-recording means recreating an energy that's already gone. A solo podcast setup that actually works comes down to four essentials: one microphone, a clean recording path, monitoring you can trust, and a space that doesn't fight you. This guide gives you the exact gear list, the wiring order, and the three decisions to make before spending anything.
The good news about going solo: you are the entire signal chain, which means every problem has exactly one person to blame and one person to fix it. The bad news: nobody warns you when something's wrong mid-recording — which is why the setup below is built around catching problems before they reach the file.
What Does a Solo Podcast Setup Actually Need?
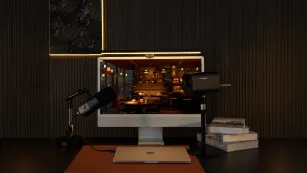
A solo podcast setup needs four components and only four: a microphone, a recording path, monitoring, and a controlled space. Everything else — boom arms, mixers, cameras, acoustic panels — is an upgrade to one of those four, not a new category.
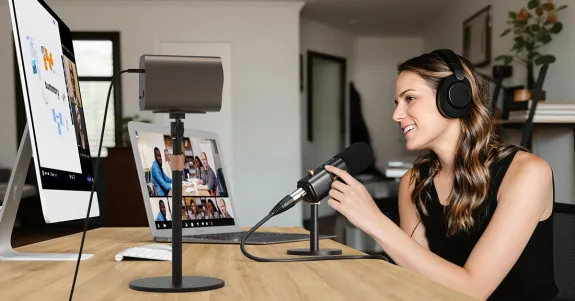
- Microphone. One. A condenser mic with a cardioid-style pickup focuses on your voice and rejects a useful amount of the room behind it. Dual USB/XLR connectivity matters more than almost any other spec, for reasons we'll get to below.
- Recording path. Either the mic's USB connection straight into recording software on your computer, or an XLR cable into a small mixer or interface that connects to the computer over USB-C.
- Monitoring. Any wired closed-back headphones. Wireless earbuds add latency that makes you hear your own voice late — a special kind of torture mid-sentence.
- Space. A small room with soft surfaces. A closet full of clothes genuinely outperforms a bare-walled office twice its size.
That's the whole list. If a buying guide gives you fifteen items for a one-person show, it's selling, not guiding. For the big-picture view of how a solo rig scales into larger configurations, our podcast kit buying guide maps every tier.
The One Decision That Matters Most: USB-Only or XLR-Ready?
Choose a microphone with both USB and XLR outputs unless you are certain you'll record alone forever. This single choice determines whether your first purchase is a foundation or a dead end — and the reasoning runs three layers deep.
Layer one: convenience. USB mode is plug-and-play — connect to the computer, select the mic in your recording software, record. No mixer, no gain staging, no second device to understand.
Layer two: the ceiling. A USB-only mic can never join a multi-person setup, because computers treat each USB mic as a separate, uncooperative device. The day a co-host or in-person guest arrives, a USB-only mic becomes a paperweight and you buy its replacement.
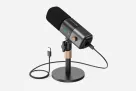
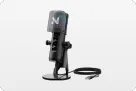
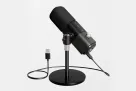
Layer three — the one most people miss: a USB mic's built-in preamp and converter are chosen to hit a price point, not a quality ceiling. XLR moves the preamp and conversion out of the mic and into your mixer or interface, so each stage can be upgraded independently. A dual-connection mic like the NearStream AM25X lets you record over USB today and plug into a mixer over XLR the day your show grows — same microphone, new life.
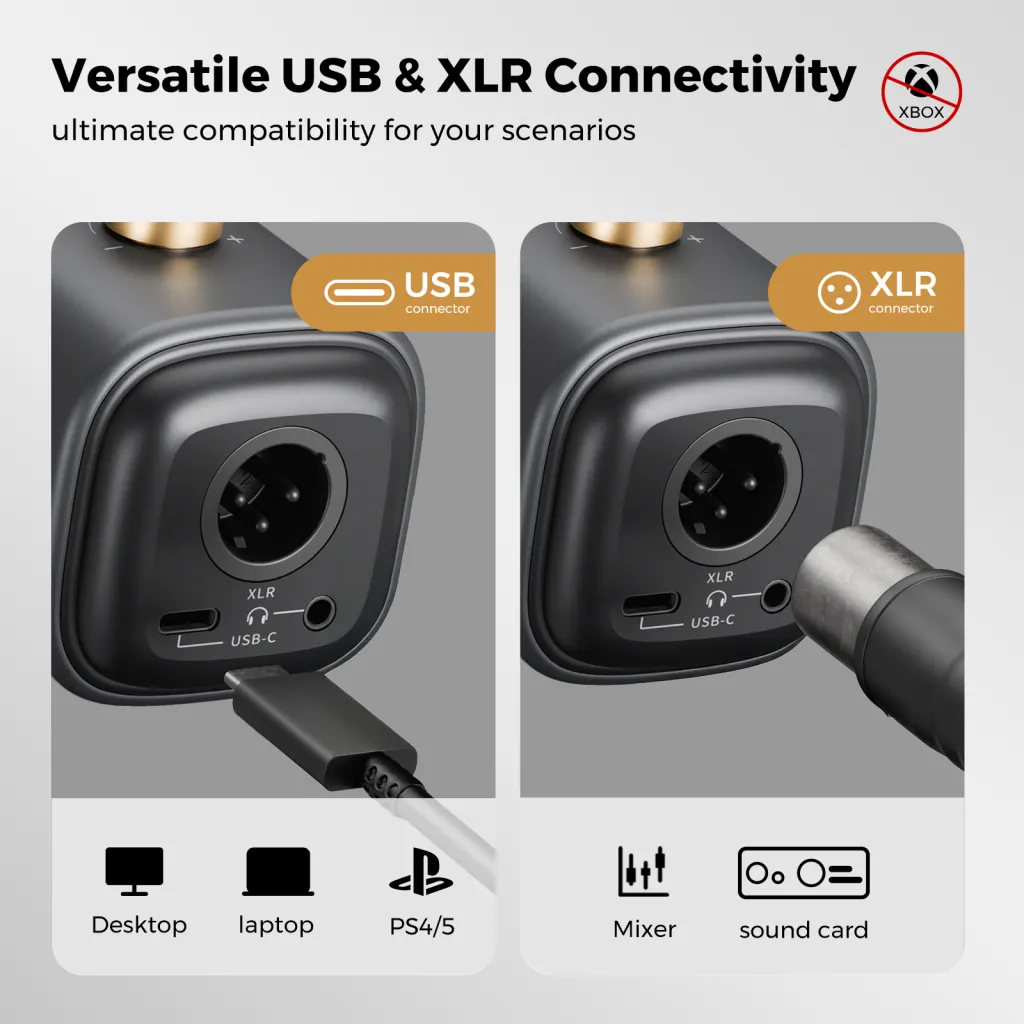
Branch recommendation: if your show format is "me and my thoughts" for the foreseeable future, USB-only saves money with zero downside. If "I might bring on a co-host" has crossed your mind even once, buy the dual-connection mic now.
How to Wire a Solo Setup, Step by Step
Wire from your mouth outward: microphone → recording device → monitoring → software. Each step below includes the mistake that most often ruins it.
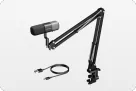
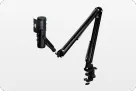
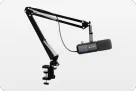
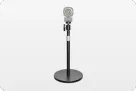
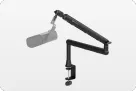
- Mount the mic on a boom arm, 6–12 inches from your mouth, slightly off-axis. A boom arm like the NearStream ST20 clamps to the desk and holds position exactly. Common mistake: leaving the mic on its desk stand, where it captures keyboard clatter, table bumps, and the room's reflection off the desktop — the number-one cause of "my audio sounds distant" complaints.
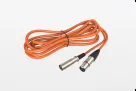
- Connect the mic to the computer (USB) or to the mixer via XLR, then mixer to computer (USB-C). Common mistake: plugging the mic into a USB hub instead of a direct port, which causes dropouts that appear as random silence in the recording.
- Plug wired headphones into the mic or mixer and put them on before you record. Common mistake: monitoring "after the fact." Monitoring live is how you catch the fan noise, the gain clipping, and the muted channel while there's still time to fix them.
- Set gain so normal speech peaks around two-thirds of the meter, then record 30 seconds of room silence and listen back. Common mistake: setting gain with your "testing, testing" voice, which is always louder and clearer than your real talking voice thirty minutes in.
- Record a throwaway minute, play it back on speakers and headphones, then delete it. Common mistake: skipping the rehearsal file and discovering a problem in minute 47 of the real take.
What About Video? The Solo Video Podcast Add-On
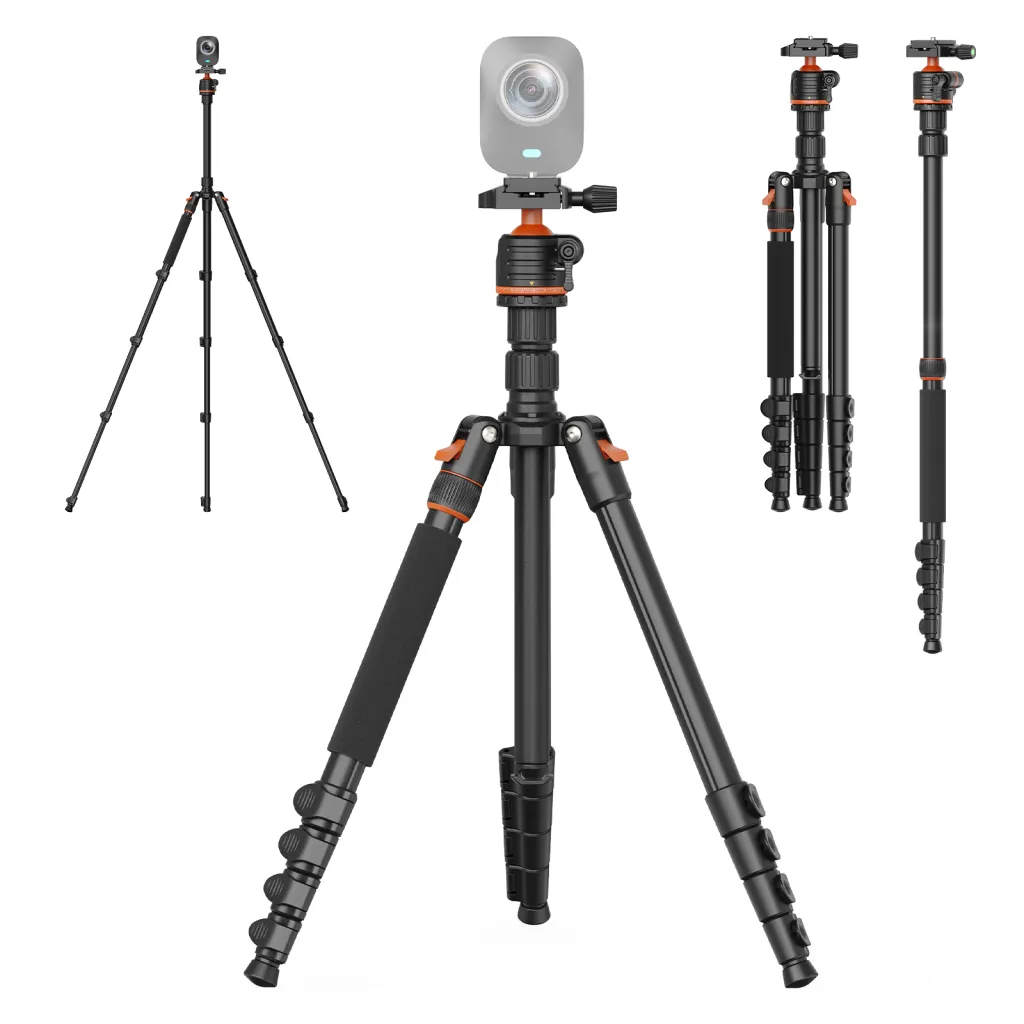
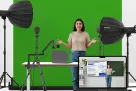
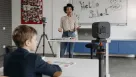
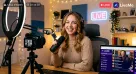
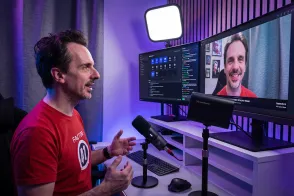
Add a camera when YouTube is part of the plan — and add it as a fixed, framed-once device, not a per-episode chore. For a solo show, one camera does the job: mounted on a tripod at eye level, framed on your upper body with a little headroom, connected to the computer by USB-C.
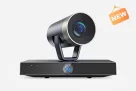
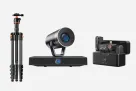
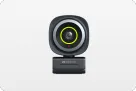
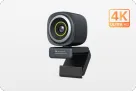
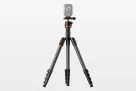
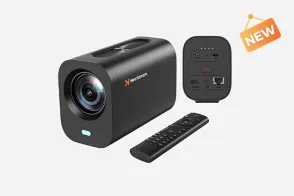
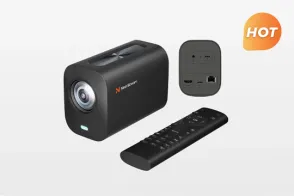
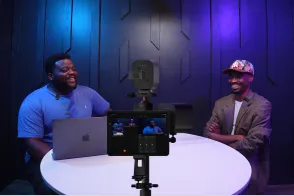
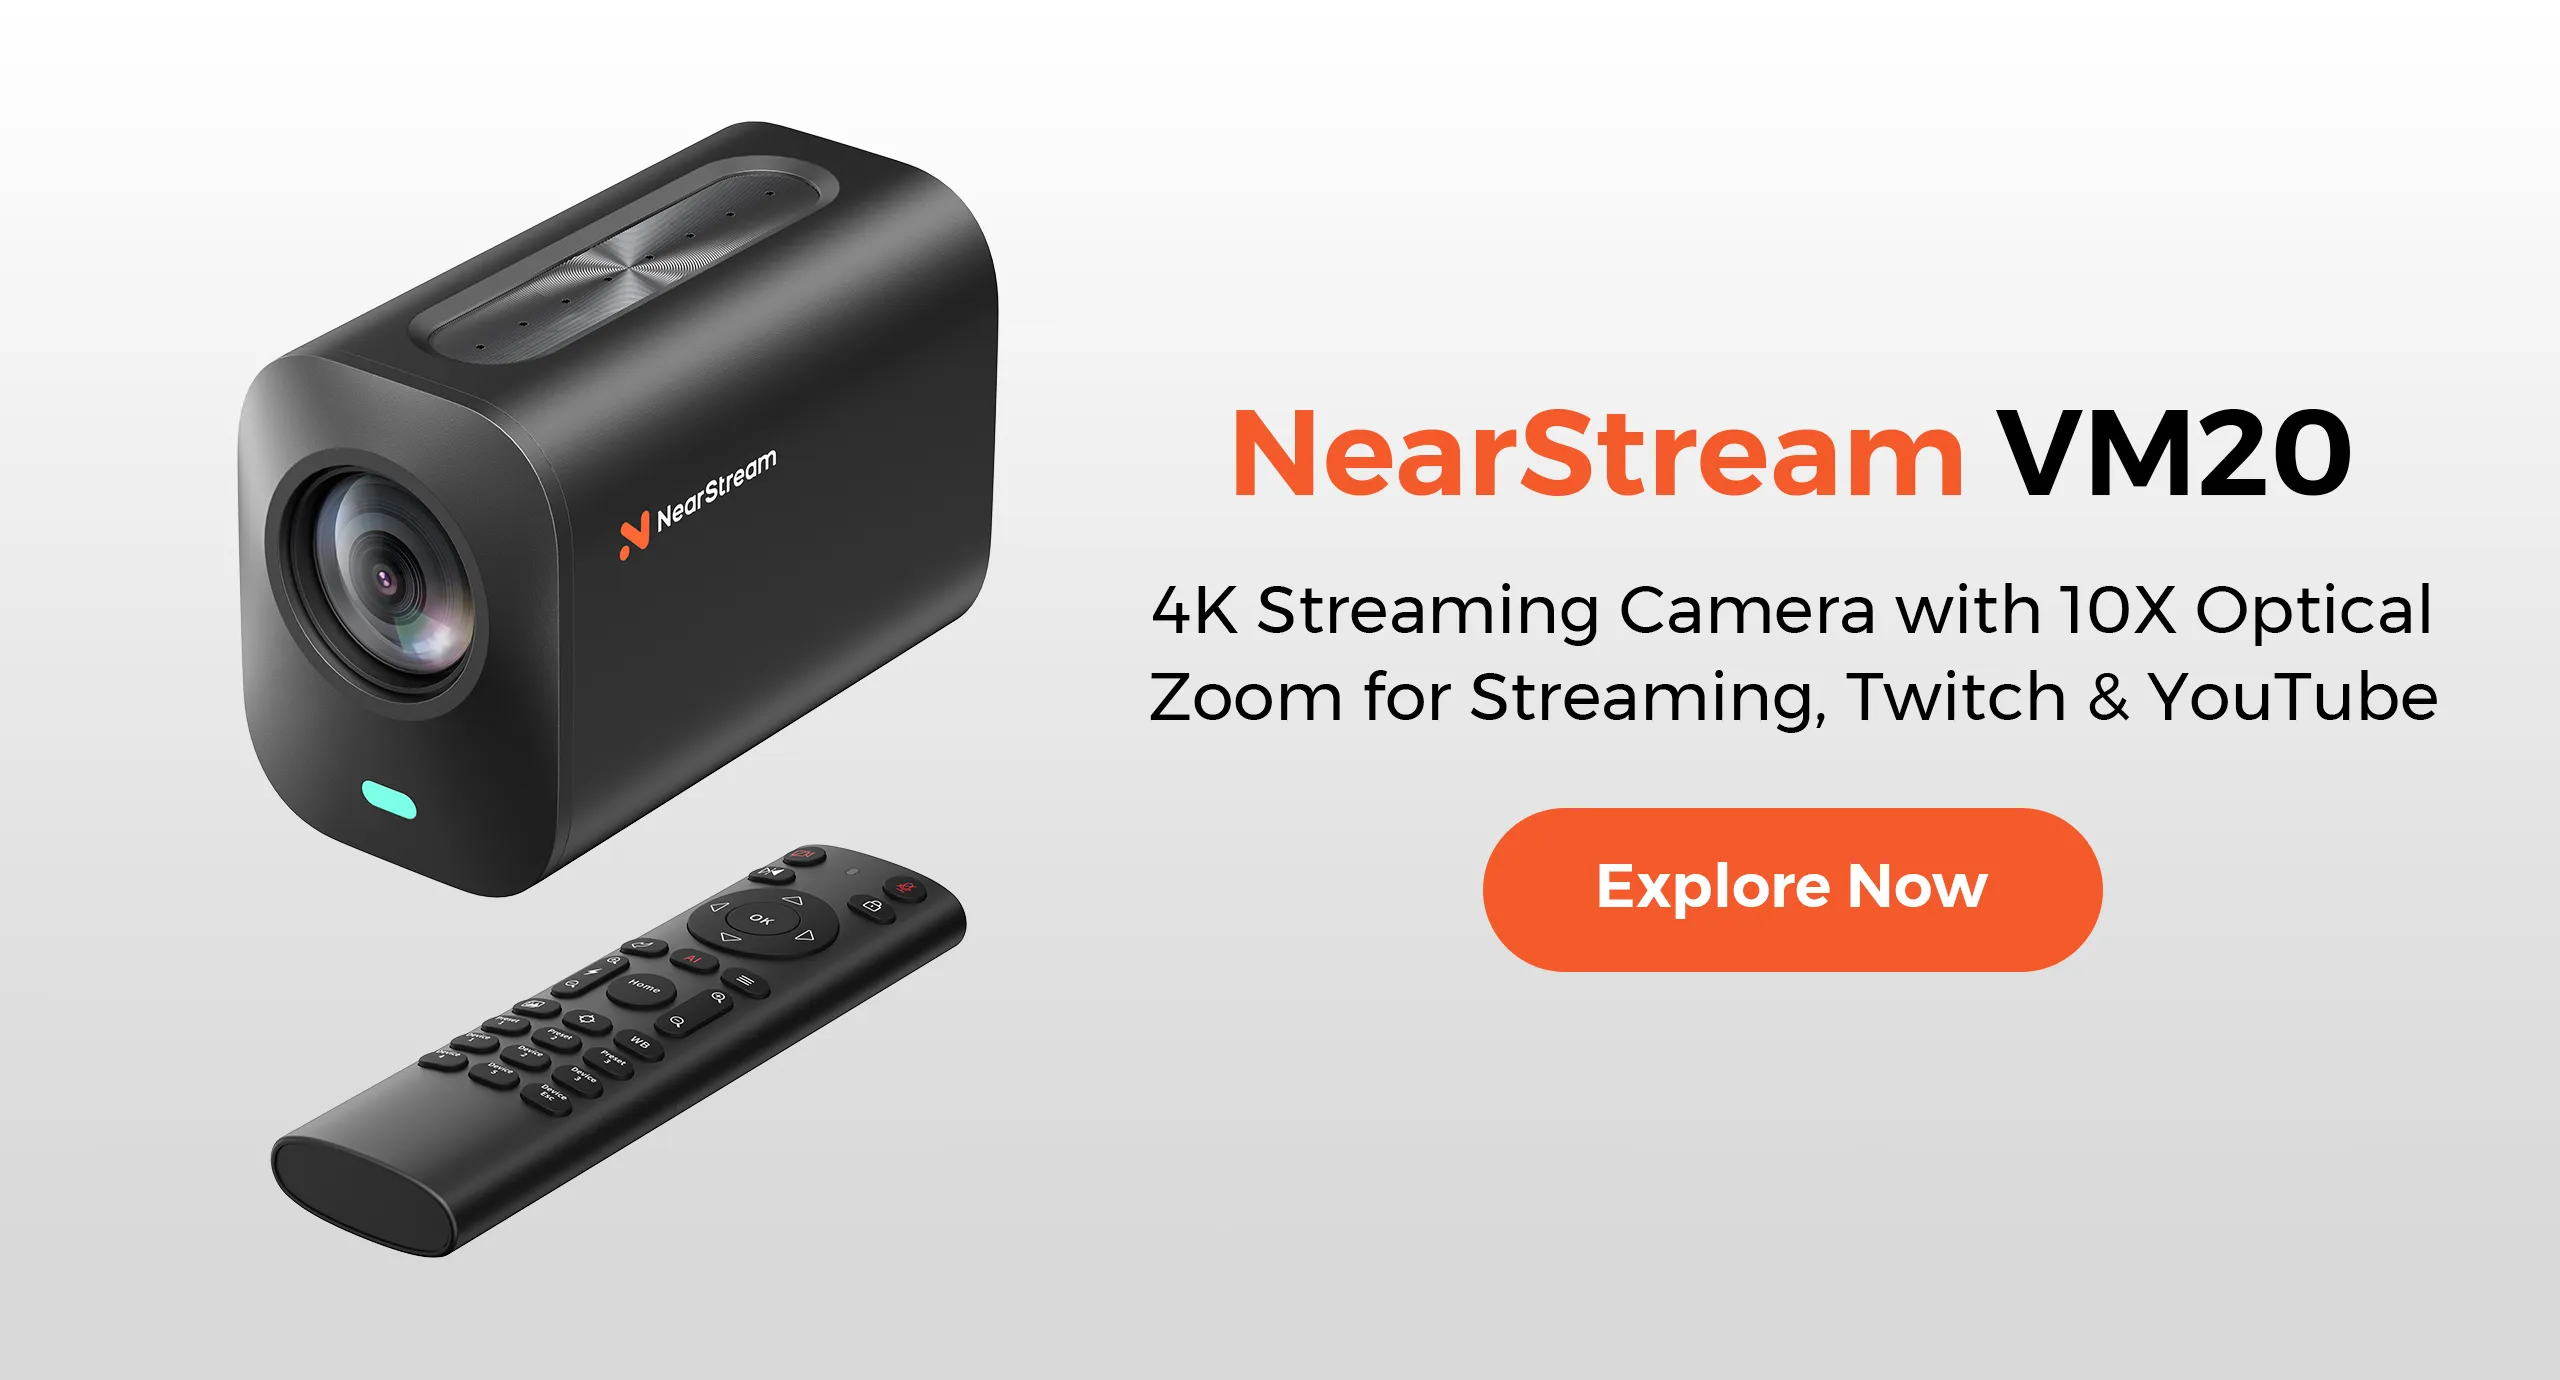
The NearStream VM20 fits this pattern precisely: it's a 4K streaming camera that connects over USB-C with no capture card, ships with a remote control so you can adjust framing from your chair, and its 10x optical zoom lets you place the camera across the room — out of your eyeline and out of the mic's way — while still framing tight. A tripod like the ST30 keeps that framing identical episode after episode, which matters more than resolution: visual consistency is what makes a channel look intentional.
Here's the scenario where this pays off: you've recorded three episodes with a webcam balanced on your monitor. Each episode, the framing is slightly different, and in episode three you lean left for ten minutes — half out of frame, unusable footage, and your best take gone. A fixed camera on a tripod makes that failure structurally impossible. If video is on your roadmap within six months, include the camera in the initial purchase rather than scheduling a second setup day later.
When Should a Solo Podcaster Add a Mixer?
Add a mixer when one of three triggers fires: a second person joins the show, you want hardware gain control within arm's reach, or you want to play music and effects live during recording. Until then, it's an optional convenience, not a requirement.
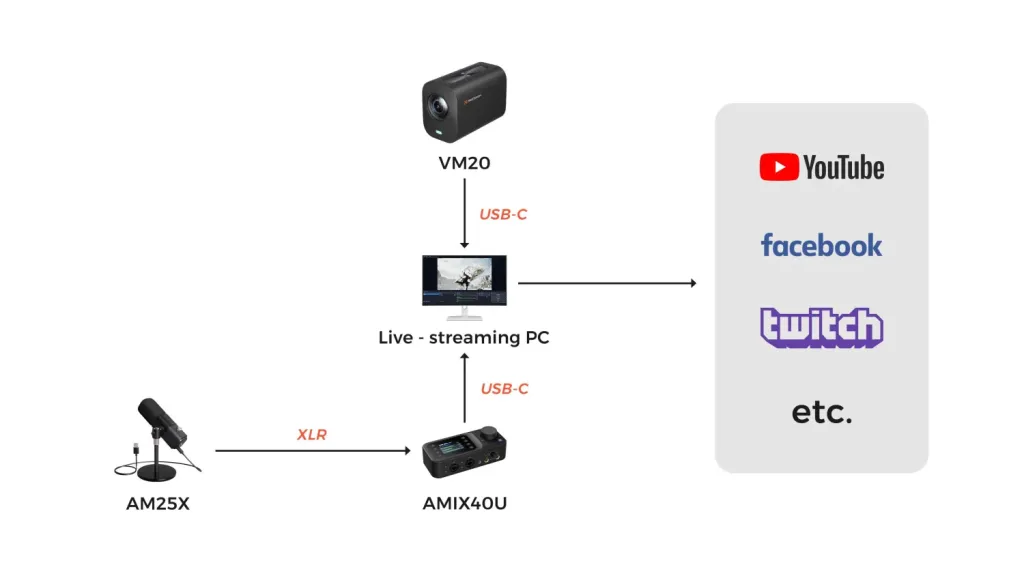
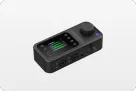
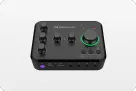
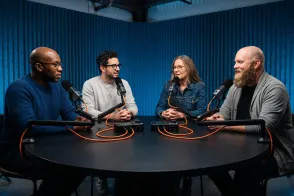
The typical timeline: episodes 1–15, USB direct is perfect — you're learning your voice and format, and simplicity keeps you publishing. Somewhere around episode 15–25, most solo shows hit a trigger. The most common one is the first in-person guest, which instantly demands a second mic and therefore a second input. A compact dual-input unit like the AMIX40U handles that transition: your AM25X moves from USB to XLR, the guest gets a second mic on the second input, and both voices land on separate, independently controlled channels. If you're weighing that jump, the two-person podcast setup guide covers the expanded signal chain.
One devil's-advocate note: if your "guests" are all remote — interviewed over recording software — a mixer with extra inputs solves a problem you don't have. Remote guests arrive through software, not hardware. Keep the solo rig and spend the difference on room treatment.
The Room: Your Free Fifth Component
The four essentials have a silent fifth member that costs almost nothing: the room itself. Sound bounces, and a microphone captures not just your voice but your voice's reflections off every hard surface — walls, desk, ceiling, window. In a bare room, those reflections arrive at the mic a few milliseconds after your direct voice, and the result is the hollow, "recorded in a garage" character no editing plugin fully removes.
The counterintuitive part: you don't fix this with acoustic panels, at least not first. You fix it with mass and softness that already exist in a home. A rug under the desk kills the floor reflection. Curtains over the window kill the hardest surface in most rooms. A bookcase behind the mic scatters reflections instead of bouncing them straight back. Recording facing into a furnished corner — rather than aiming your voice across a big open space — shortens the reflection paths dramatically.
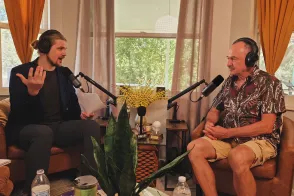
Here's the scenario that makes this concrete: two solo creators buy the same microphone. One records at a bare desk facing a bare wall; the other records in a smaller room with a rug and curtains, mic arm angled so the capsule points away from the window. On playback, listeners assume the second creator owns the more expensive gear. The difference was fifteen minutes of furniture decisions — which is why the room audit belongs before any hardware upgrade on your list.
A Minimalist Solo Kit, Priced by Priority
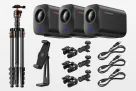
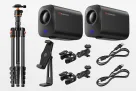
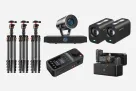
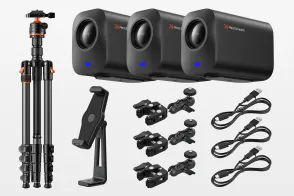
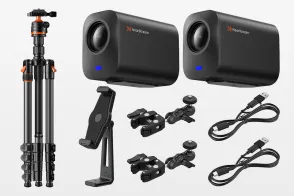
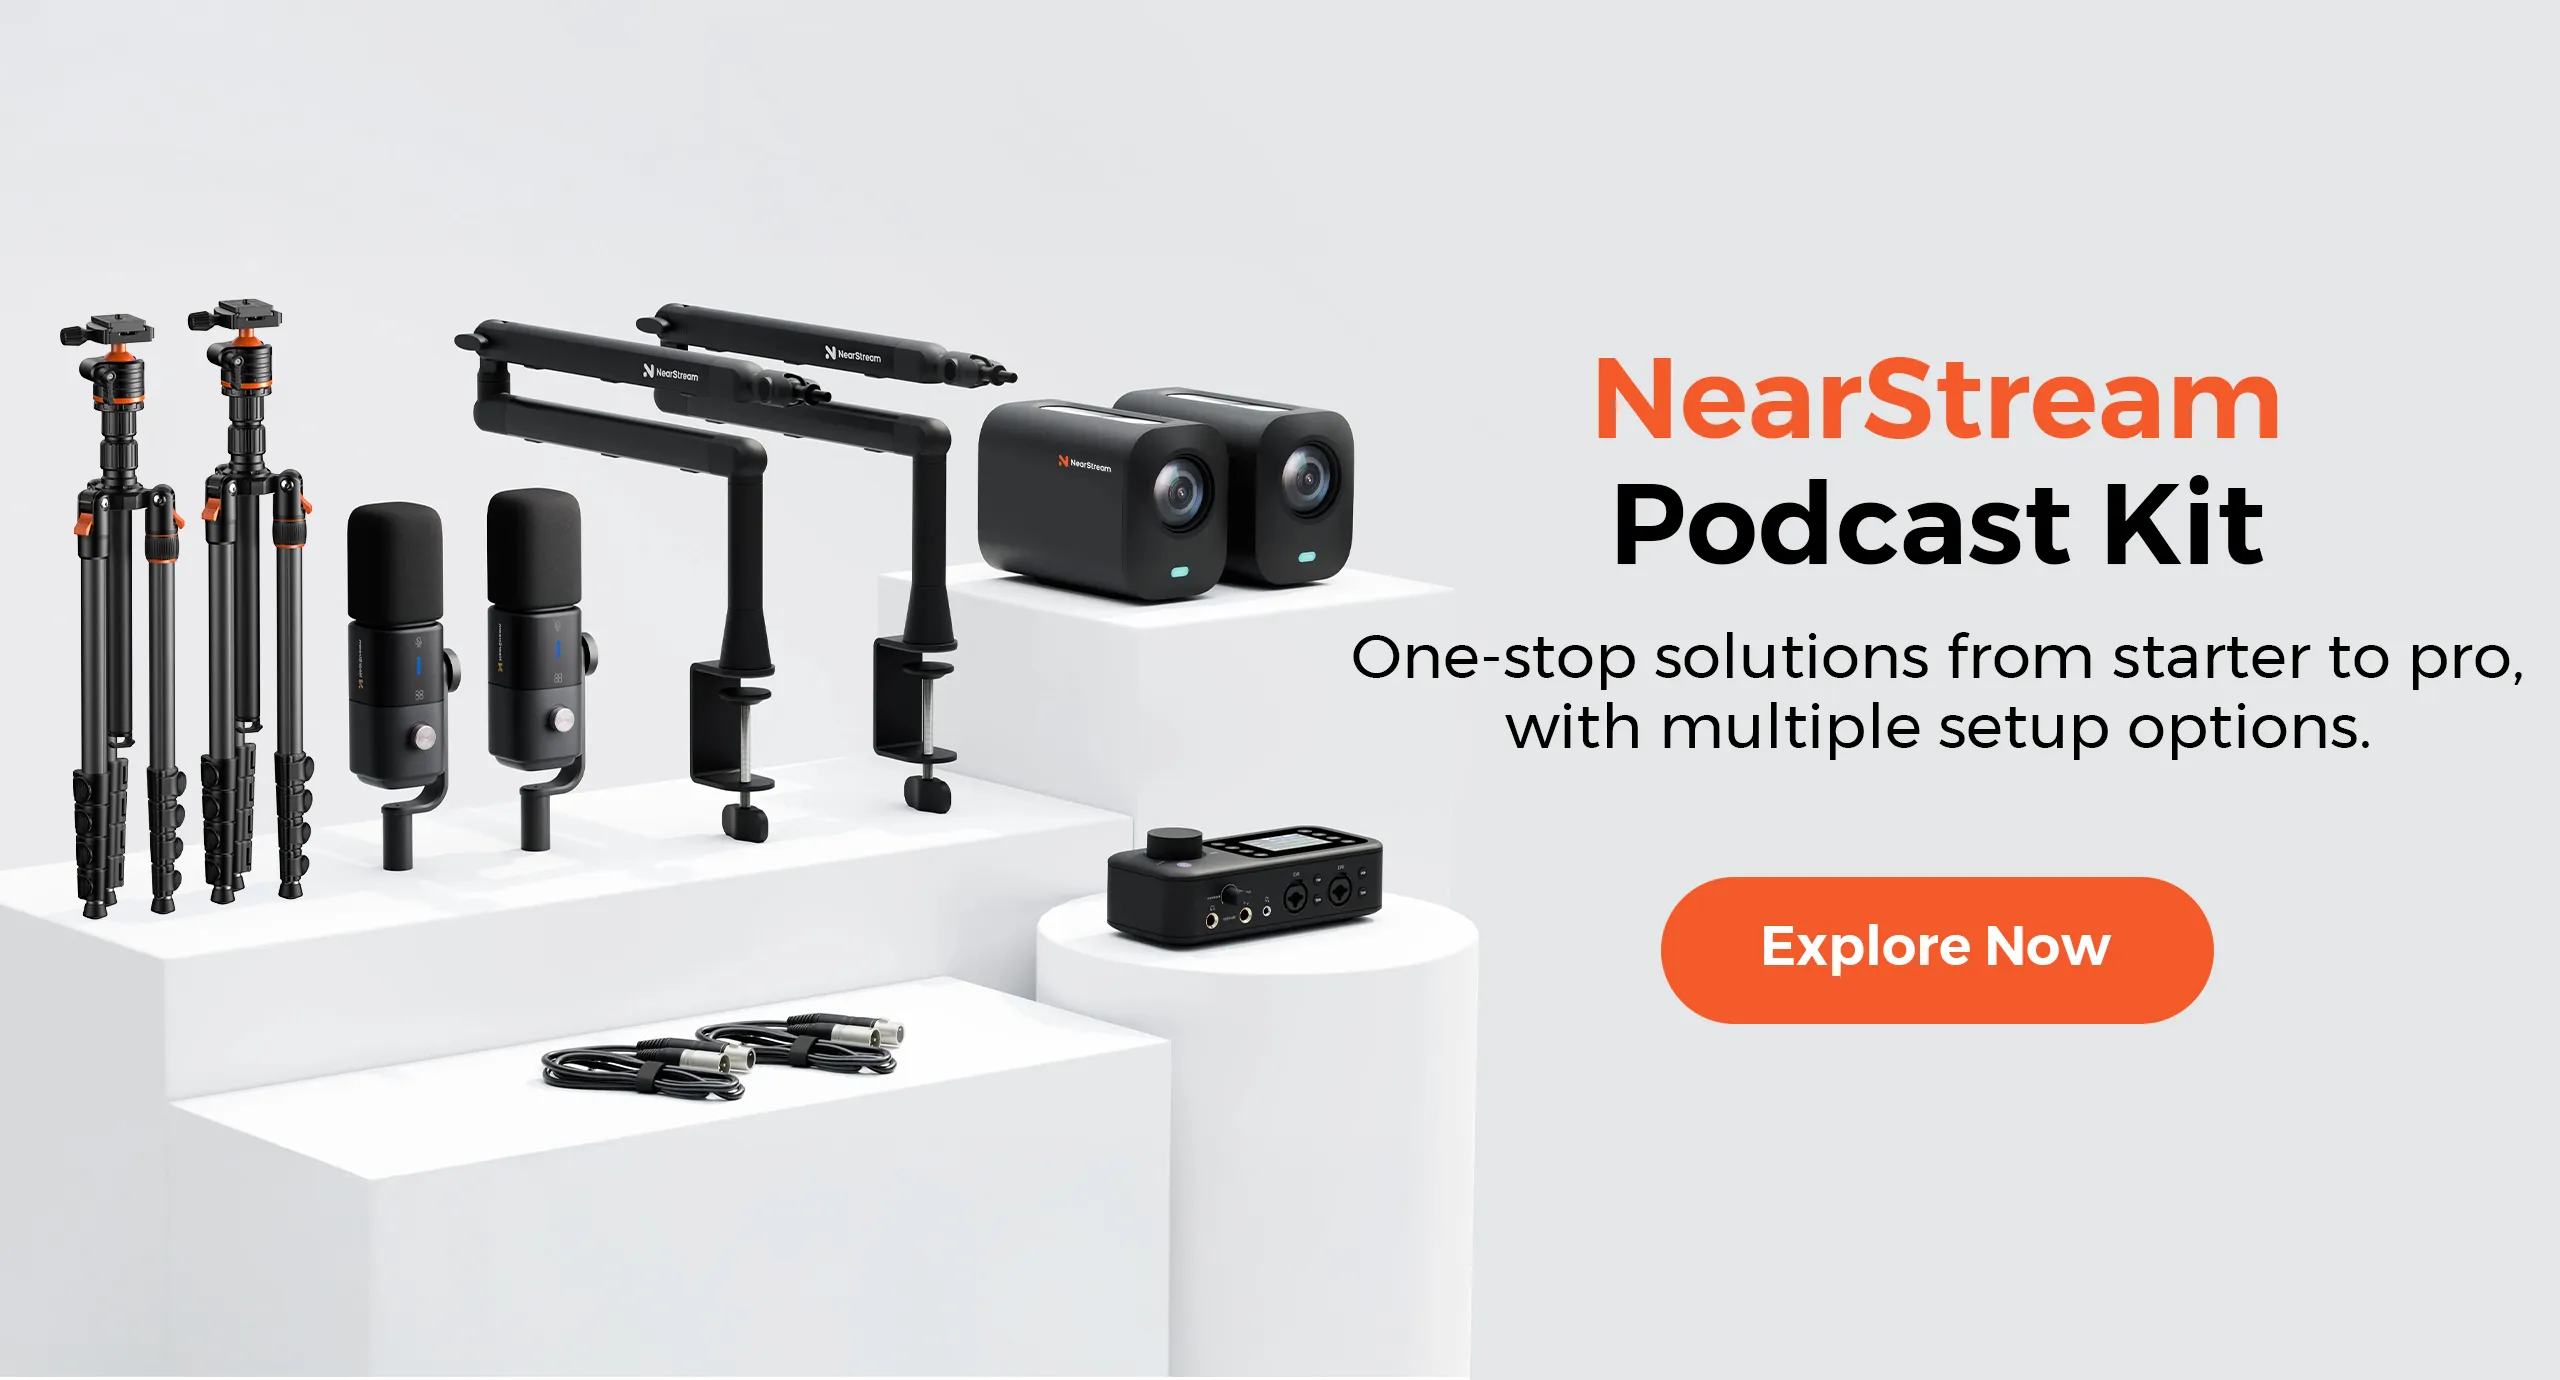
If you're assembling from zero, buy in this order: microphone first (it defines your sound), boom arm second (it unlocks the mic's actual sound), headphones third (you may already own usable ones), camera last (only for video). If you prefer everything matched in one purchase, the NearStream solo-ready podcasting kit bundles the AM25X, boom arm, VM20 camera, and cables, and the solutions page lets you scale the configuration from one mic and one camera up to a four-person rig — so the same ecosystem covers episode 1 and episode 300.
An honest limitation of the solo tier: an untreated room caps your audio quality no matter what you buy. A rug, curtains, and a bookcase do more for a solo recording than any single hardware upgrade — and they cost less than the boom arm.
Frequently Asked Questions
What equipment do I need for a solo podcast?
Four essentials: one microphone, a recording path (USB direct or XLR into a small mixer), wired headphones for live monitoring, and a quiet, soft-furnished space. A boom arm is the highest-value fifth item because mic placement determines more of your sound than the mic itself. Everything else — cameras, acoustic panels, mixers — maps to a specific upgrade trigger rather than day-one necessity.
Is a USB microphone enough for a solo podcast?
Yes, completely — one USB mic into a computer is a full recording chain for one voice, and thousands of successful shows run exactly that. The constraint is growth: two USB mics don't play well together on one computer, so if a co-host or in-person guest is plausible, choose a mic with both USB and XLR outputs. That way the microphone survives the upgrade instead of being replaced by it.
Do I need a mixer for a one-person podcast?
No — a mixer is a response to specific triggers, not a starting requirement. Add one when a second person records with you, when you want tactile gain control, or when you want live music and effects. Buying a four-input mixer for a permanently solo show is paying for channels that will never carry a signal; buying a dual-input unit when your first guest books is smart timing.
How do I make a solo podcast look professional on video?
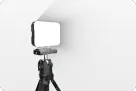
Consistency beats gear. Mount a dedicated camera on a tripod at eye level, frame it once, and never move it. A USB-connected camera with optical zoom — placed across the room rather than on your monitor — keeps both your desk clear and your framing stable. Add decent front lighting (a window works), keep the background intentional, and the result reads as produced rather than improvised.
Your Next Step
Start with the four essentials and record something this week — a fifteen-minute test episode teaches you more about your setup than another hour of research. When your show outgrows the solo tier, the two-person setup guide and the full podcast kit buying guide map the path upward without replacing what you've already bought.










 sales@nearstream.us