Best Podcast Equipment for YouTube: Three Builds From $250 to $3,000
A platform-first buying guide for YouTube podcasts: three priced builds, honest third-party comparisons, and what the algorithm actually rewards.
podcast equipment
video podcast
podcast kit
Updated: Oct 15, 2026 · 8 minutes read
Modular Video Kits for Growing Business.
Choosing podcast equipment for YouTube starts with the platform, not the gear: YouTube rewards retention and click-through, so reliable audio and a stable, well-lit frame outrank raw resolution. This guide prices three complete builds — from a $250 starter to a $3,000 pro rig — and shows exactly what each tier buys.
Key Takeaways
On YouTube, a stable well-lit 1080p frame with clean audio retains viewers better than a dim 4K image — fund lighting and audio before resolution.
A $250 build (Blue Yeti-class USB mic plus a Logitech StreamCam-class camera) is enough to validate a show; spending more before 20 episodes is usually premature.
Mirrorless cameras like the Sony ZV-E10 II (~$850) win on image ceiling but add a capture card and an operator's worth of attention; USB-C streaming cameras win on one-person reliability.
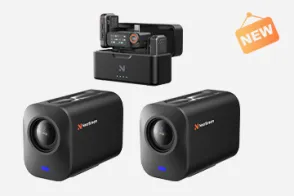
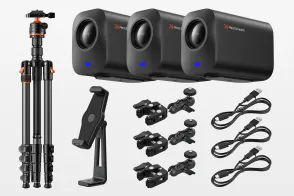
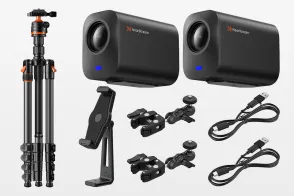
The mid-tier sweet spot for a two-person video podcast sits around $1,700 — matched kits like NearStream's bundle land there because integration removes capture cards, adapters, and compatibility research.
Buy for your maximum on-camera headcount: one microphone per simultaneous speaker, and a mixer or interface with at least that many inputs.
Most YouTube podcast gear lists get one thing backwards: they rank cameras first. The best podcast equipment for YouTube is determined by how YouTube distributes content — a search-and-recommendation engine that rewards watch time and punishes early exits — which means audio reliability, a stable frame, and competent lighting move your metrics more than sensor size ever will. Below are three complete, honestly priced builds (starter, value, pro), what each tier of spending actually buys, and where the well-known third-party options beat each other. All prices are typical US street prices in late 2026; they fluctuate, so verify before ordering.
What YouTube's Mechanics Mean for Your Shopping Cart
YouTube is not a podcast app with video bolted on — it is the world's second-largest search engine with a recommendation feed on top, and three of its mechanics should dictate your budget order.
Retention is the ranking currency. A viewer who leaves in the first thirty seconds tells the algorithm your video disappointed them. The most common technical cause of early exits is not soft video — it is audio that is hard to listen to: echo, uneven levels between hosts, plosives, a hum that never stops. Viewers forgive a slightly soft image; they do not forgive sound that makes them work.
Click-through is won by the frame, not the footage. Your thumbnail and opening shot are effectively stills. A well-lit, intentionally framed shot — subject at eye level, background with depth — reads as professional at thumbnail size. A 4K sensor pointed into a dim room reads as a 2014 webcam.
Shorts are a discovery layer, not a separate product. The clips that pull new viewers into your long-form episodes are vertical crops of your horizontal recording. That has a concrete equipment implication: frame with enough headroom and width that a 9:16 crop still holds the speaker's face.
Think of the Shorts pipeline as a tax your recording either pays cheaply or expensively. Cheaply: you shoot 4K with loose framing, and each vertical crop arrives with pixels to spare and a centered subject. Expensively: you shoot a tight 1080p frame, and every clip is a soft, upscaled crop with the speaker's chin clipped by the caption zone. Same episode, same editor — the difference was decided when the camera and framing were chosen, months earlier.
The counter-intuitive summary: on YouTube, your microphone is a retention device, your lighting is a click-through device, and your camera is last in line. Most creators buy in the opposite order.
There's a diagnostic hiding in your own analytics that proves the point. Open the retention graph of your last five episodes and find the steepest drop that isn't the intro. Now scrub to that timestamp and listen rather than watch: in our experience reviewing creator channels, the cliff almost always coincides with something audible — a guest who drifted off-mic, an air conditioner cycling on, a laugh that clipped. The picture at those moments is usually fine. That's why the budget order in this guide isn't a preference; it's reading the algorithm's own feedback loop back to you.
Three Builds, Honestly Priced
Here is the whole guide in one table. The rest of the article explains each row.
Build 1: Validate (~$250)
Build 2: Two-Person Value Studio (~$1,700)
Build 3: Pro Ceiling (~$3,000+)
Microphone(s)
Blue Yeti, ~$130 (USB condenser)
2× NearStream AM25X, $80 each (USB/XLR condenser)
2× Shure SM7B, ~$400 each (XLR dynamic)
Camera
Logitech StreamCam, ~$100 on sale
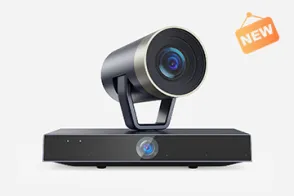
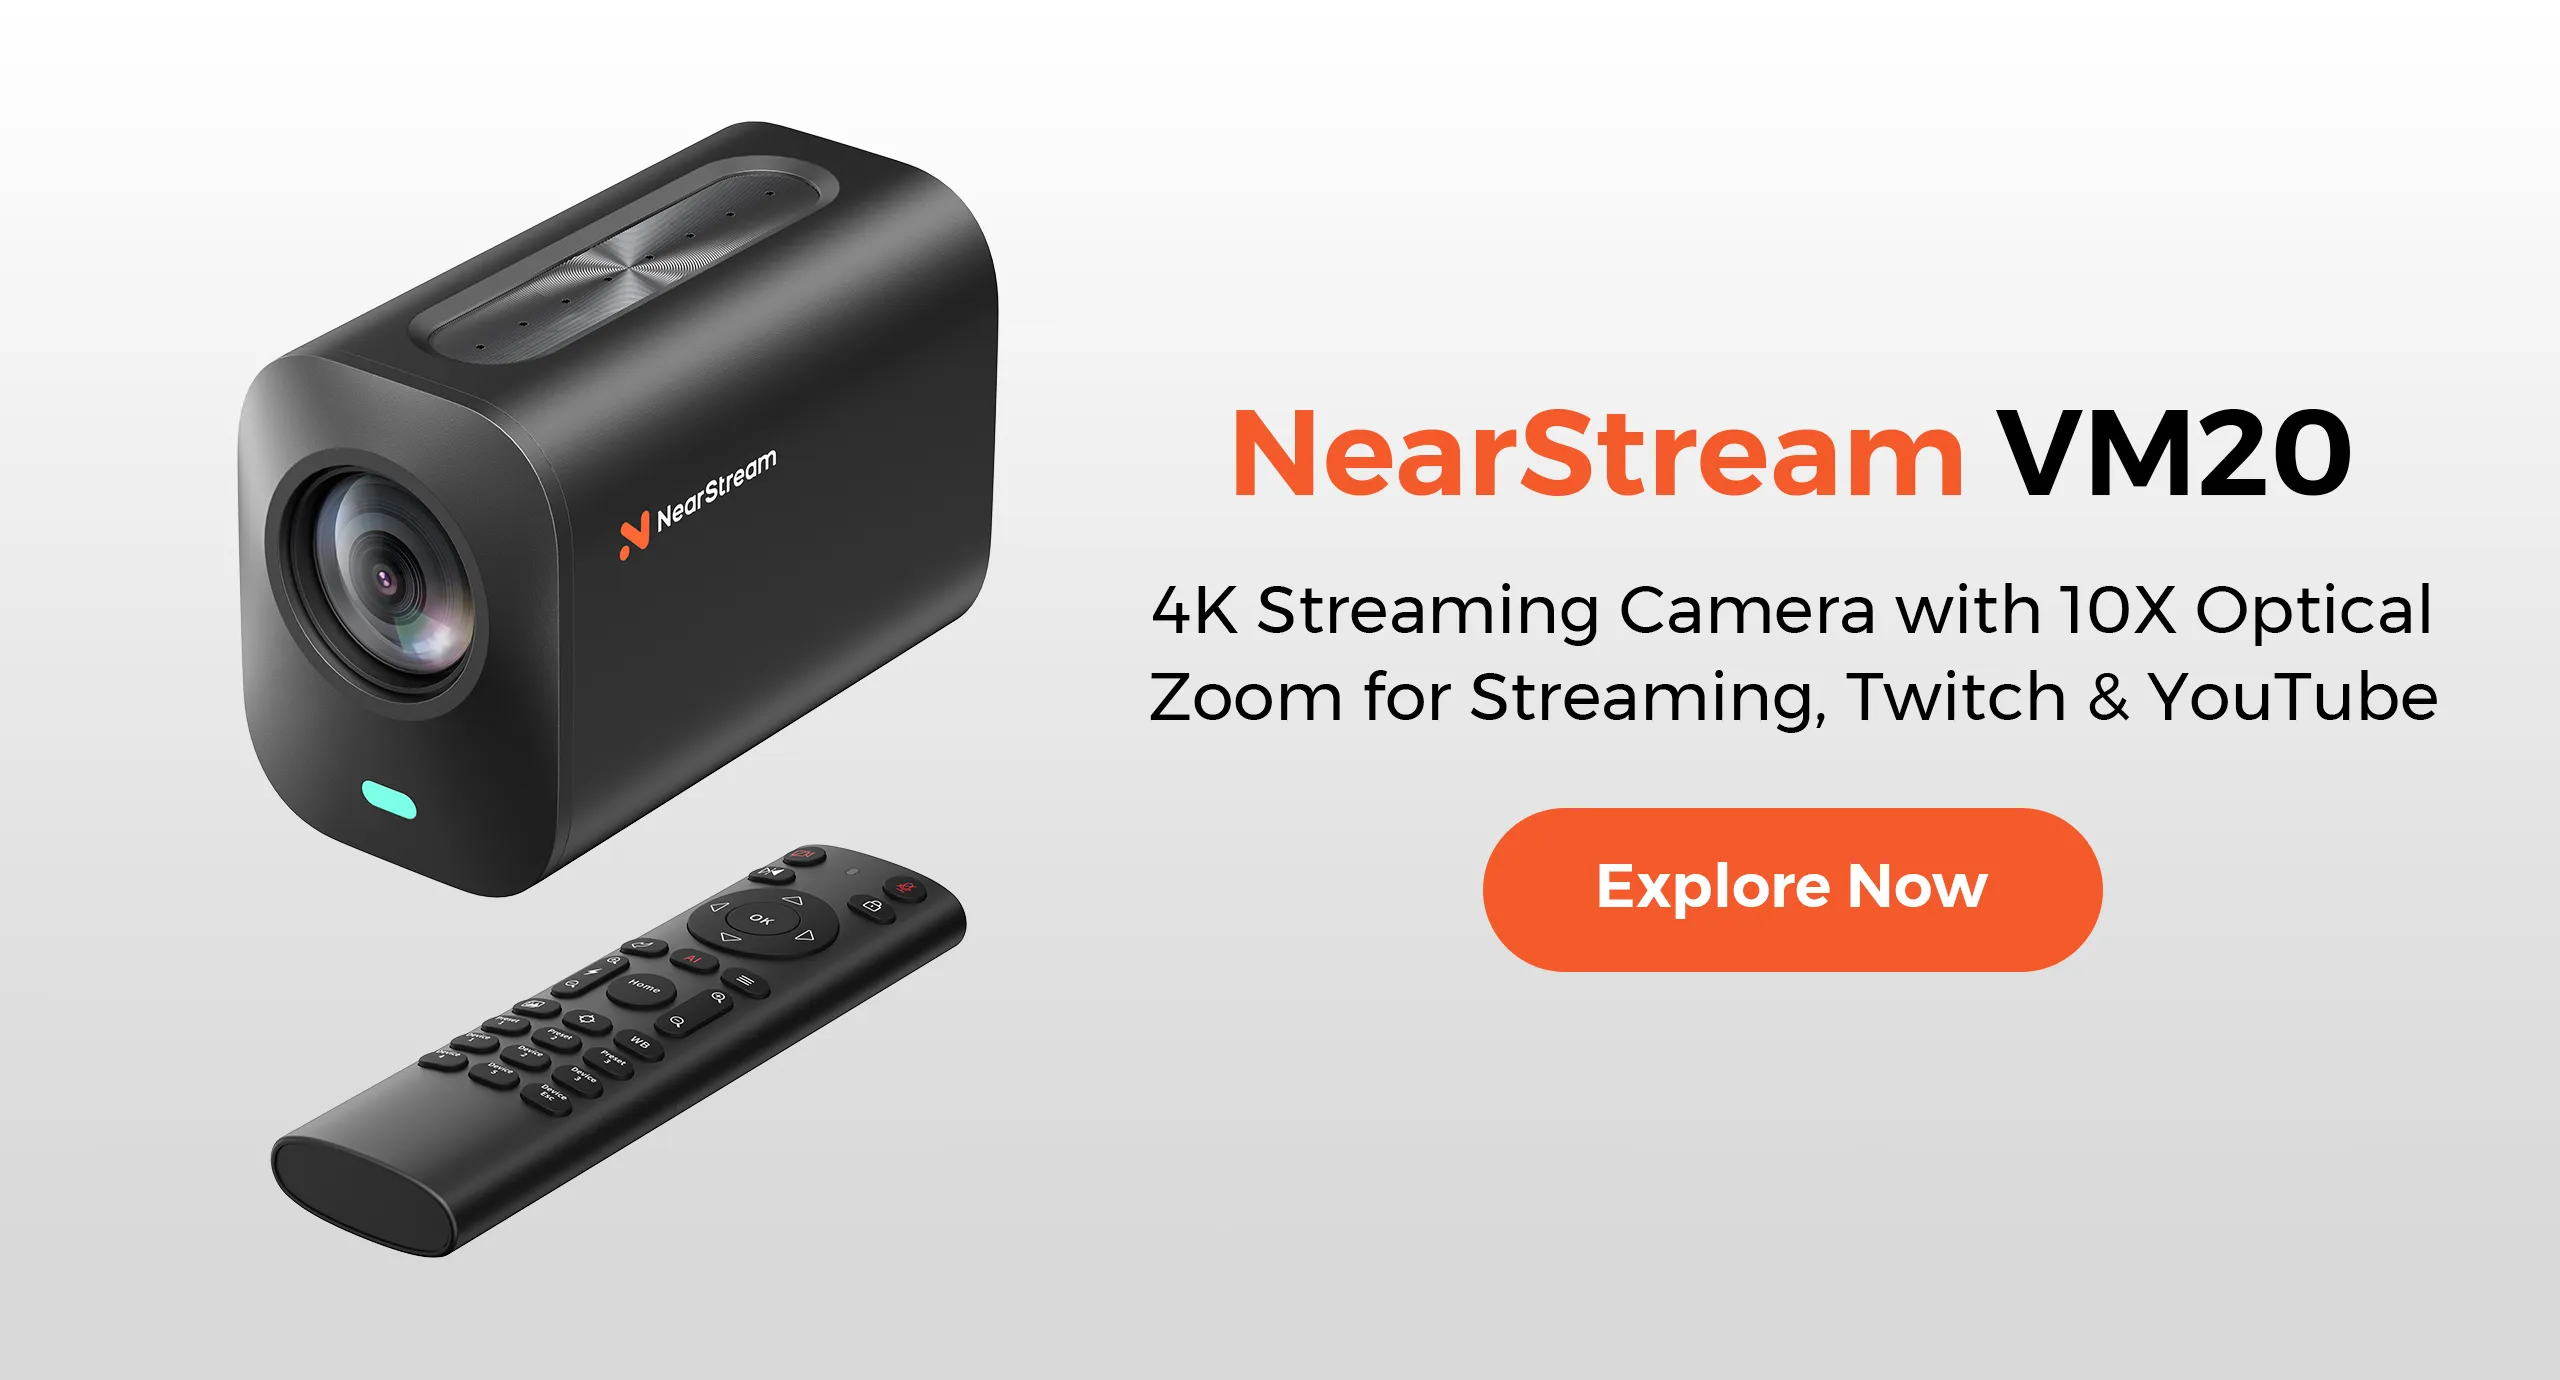
2× NearStream VM20 Pro 4K, $495 each
2× Sony ZV-E10 II, ~$850 each (body)
Mixer / interface
None needed (USB mic)
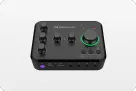
NearStream AMIX40U, $135 (dual XLR, USB-C out)
Focusrite Scarlett 2i2, ~$190 + capture cards ~$150 each
~$1,690 as a matched bundle (components ~$1,900 bought separately)
$3,200+ before lenses and cables
Two honest observations before the detail. First, Build 2 is where most serious two-person shows should land: it is the cheapest tier at which nothing is a bottleneck — separate mic channels, real cameras, real light. Second, Build 3's price is deceptive: the mirrorless route keeps charging you after the camera (capture card, dummy battery, lens, HDMI cables), which is why the table's "pro" total starts where the camera bodies end.
A third observation, on Build 1, because it gets undersold: the starter tier is not a compromise to apologize for — it is a deliberately capped experiment. A Blue Yeti into a quiet room, a StreamCam at eye level, and daylight from a window have carried channels to tens of thousands of subscribers. What the starter tier cannot do is scale: no second mic channel, no crop headroom, no mixing. So buy it with the exit in mind — choose components (like an XLR-ready mic) that still have a job in Build 2, and nothing you purchase now is wasted when the upgrade comes.
Microphones: Where $80 and $400 Actually Diverge
The microphone market's dirty secret is that price buys robustness and headroom more than it buys "sound." A $130 Blue Yeti records a perfectly publishable solo show. What it cannot do is reject a noisy room or survive being shared — and that is where the tiers separate.
Blue Yeti (~$130): the validation microphone. USB-only, forgiving, ubiquitous. Buy it to prove the show exists; expect to replace it when a co-host arrives, because USB-only mics cannot move to a mixer.
Rode PodMic USB (~$199) and Shure MV7+ (~$279): the hybrid middle. Both offer USB now and XLR later, so the microphone survives your first upgrade. Dynamic capsules suit untreated, noisy rooms.
Shure SM7B (~$400): the broadcast reference — but its real cost is the mic plus an interface with enough clean gain to drive it. In a treated room with a proper chain it is superb; on a desk with a weak preamp it underperforms mics a third of its price.
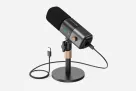
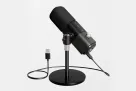
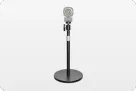
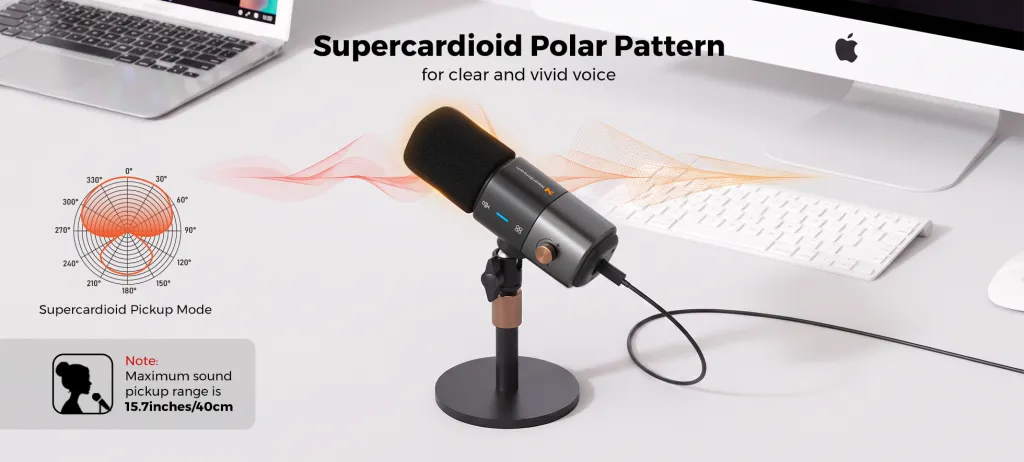
NearStream AM25X ($80): the value disruptor in this list — a USB/XLR condenser with a supercardioid pattern and onboard AI noise reduction. Its trade-off is the opposite of the SM7B's: a condenser captures more detail and presence but also more room, so it rewards a quiet-ish space and close mic technique (within about 15 inches). At $80 versus $279–$400 for the hybrid dynamic names, two AM25X mics plus a mixer cost less than one MV7+ — which is precisely why it anchors the value build.
The three-layer reason one-mic-per-person is non-negotiable: Layer 1, separate channels let you level each voice. Layer 2, per-voice leveling requires independent preamps, which live in the mixer — making the mixer, not the mic, the capacity decision. Layer 3, input count is a hard ceiling: you can plug a cheaper mic into an open input, but you cannot plug a third mic into a two-input box. The misconception "better mics fix multi-host audio" dies right there — what fixes it is more channels.
One scenario calibrates the condenser-versus-dynamic choice better than any spec sheet. Two hosts in a spare bedroom: blinds, a rug, a bookshelf. An $80 condenser at six inches sounds like a radio station — present, detailed, intimate. Move the same setup to a bare kitchen with hard counters and a running fridge, and that same condenser faithfully records all of it; this is where the MV7+'s dynamic capsule earns its $200 premium by simply hearing less of the room. The practical takeaway isn't "dynamics are safer" — it's that your room is a component in the signal chain, and $60 of rug and curtains often buys more than $200 of capsule.
Cameras: The Four-Way Fork That Decides Your Workload
This is the decision with the most hidden consequences, because a camera's price tag excludes its operating cost.
Camera
Price
What it buys
What it costs you
Logitech StreamCam
~$100 (frequent sale)
Clean 1080p60, dead simple
No 4K; fixed look
Elgato Facecam Pro
~$300
4K60 webcam convenience, deep software control
Still webcam-sized optics; no local recording backup
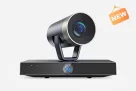
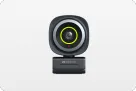
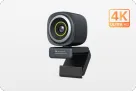
NearStream VM20 Pro
$495
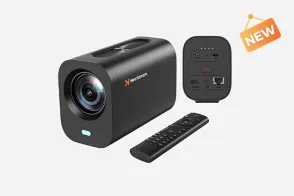
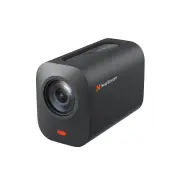
True 4K, 50MP Sony sensor, 10x optical zoom, USB-C direct, SD-card backup recording up to 1TB
One-trick device — it streams and records, it is not a photo camera
Sony ZV-E10 II
~$850 body + lens + capture card
The image-quality ceiling: big APS-C sensor, interchangeable lenses
Capture card (~$150), dummy battery, heat management on long takes, operator attention
The non-obvious row is the capture card. An HDMI camera — any mirrorless — needs one per camera between the lens and the computer, plus drivers, plus a powered HDMI chain that becomes the most failure-prone link in the rig. A USB-C-native streaming camera eliminates that entire subsystem: plug in, it appears in OBS or your recording software, done. For a one-operator show, that removal is worth more than the ZV-E10 II's sensor advantage — the best camera is the one whose framing you can trust at minute forty while you are busy hosting.
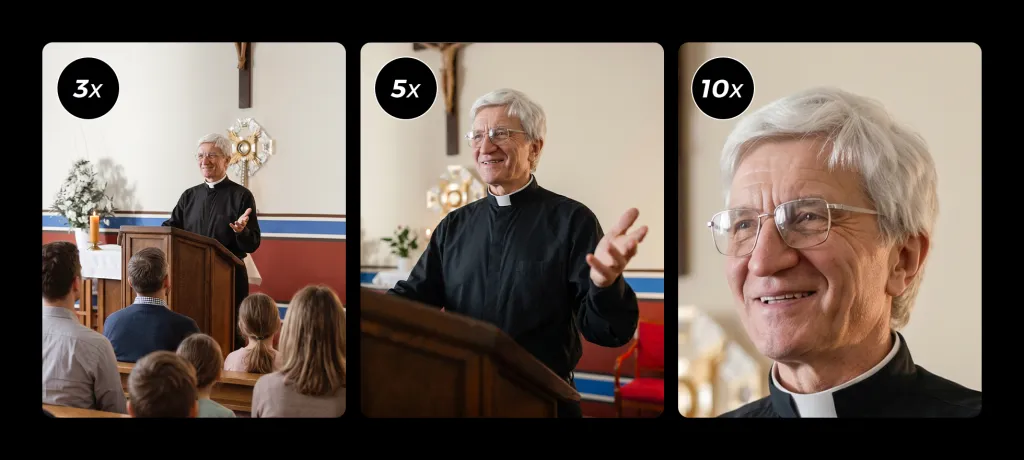
The zoom point deserves its own sentence because of Shorts: the VM20 Pro's optical 10x zoom lets you frame a protected wide for the long episode while keeping enough genuine resolution to crop a tight, sharp vertical later — digital cropping on a fixed webcam spends pixels you cannot get back. For the deeper camera decision framework, see our guide on how to choose a podcast camera.
Run this thought experiment before choosing: it's minute 52 of your best interview in months, your guest is mid-anecdote, and something in the video chain hiccups. With a USB-C streaming camera, the failure set is small and the SD-card backup means you likely lose nothing. With a mirrorless-plus-capture-card chain, the failure set includes a cable, a converter, a driver, and a battery — and the backup is whatever your screen recording caught. YouTube rewards the show that publishes every week far more than the show with the best sensor; pick the camera whose worst day you can survive.
The Mixer Question: Scarlett 2i2 vs a Podcast-First Mixer
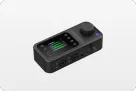
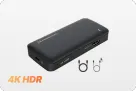
For a two-host show you need two XLR inputs, independent gain, and a clean feed to the computer. The mainstream answer is the Focusrite Scarlett 2i2 (~$190) — an excellent interface whose design center is music recording. The podcast-first alternative is a compact mixer like the NearStream AMIX40U ($135): dual XLR inputs with 48V phantom power, per-channel gain knobs, an LCD level readout you can glance at mid-sentence, Bluetooth for a phone guest, and a single USB-C feed out. It also chains with a second unit over a 3.5mm aux link, so a four-person roundtable is an add-on purchase, not a replacement.
The honest comparison: the Scarlett's preamps have more gain in reserve for gain-hungry mics like the SM7B, and it is the better pick if you also record music. The AMIX40U wins on live-adjustability and price — and on the fact that its controls are built to be ridden from the host seat, which is what a podcast actually demands. Our podcast mixer guide goes deeper on the interface-vs-mixer fork.
Whichever route you choose, the workflow discipline is identical: set gain at soundcheck so speech peaks around -12 dB, then never chase it mid-episode. Riding gain constantly is how you get the level-pumping that listeners feel as fatigue without ever naming it. Set conservatively, leave headroom for laughter, and let the edit — not your reflexes — do the fine polish.
Lighting and Background: The Cheapest Way to Look Expensive
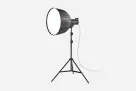
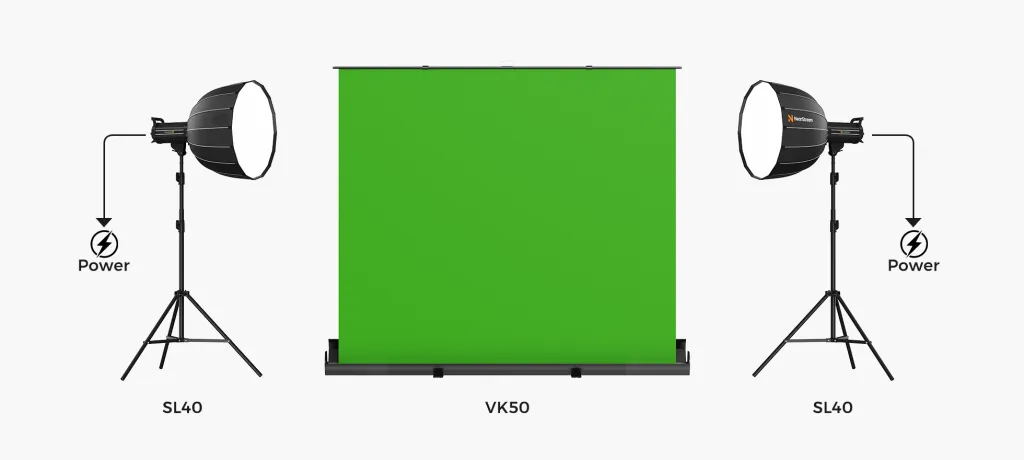
One soft key light slightly above eye level beats any camera upgrade, full stop. A 100W COB softbox like the NearStream SL40 ($270, with tripod and remote in the box) covers a one-to-two-person frame from a single stand. The common mistake is buying a second light before fixing the first one's placement — 45 degrees off-axis and above the eyeline does most of the work.
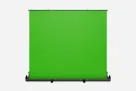
For backgrounds: if the room is permanently yours, a real set with depth beats a green screen. If the room is shared or ugly, a pull-up screen like the VK50 ($270) rises from its base to a 78.7-by-89.3-inch backdrop and rolls away afterward — but budget a second light, because chroma keying punishes unevenly lit screens with edge shimmer that screams "filter."
And if you record at a desk, respect the desk: it's the biggest reflective surface in the frame and in the audio path. A soft desk mat, a monitor positioned off the mic's axis, and a habit of not thumping the table mid-sentence remove a whole category of rumble and glare that no post-processing fully fixes. Studio polish is mostly a pile of these unglamorous ten-dollar decisions.
The Software Layer: OBS, Scenes, and the Second Monitor
Hardware gets discussed endlessly; the software layer is where episodes are actually won or lost, and it costs $0. The working setup for a one-operator YouTube podcast: OBS (free) with scenes built before recording — a wide two-shot, one close-up per host, and a screen-share layout if you reference material. Switch by hotkey, not mouse. Record the mixed output to disk and let each camera keep its own local backup where available.
Two practices separate smooth shows from frantic ones. First, a second monitor — even a $120 refurbished panel — so OBS levels, scene previews, and your notes live off-camera while the recording software stays fullscreen on the main display. Second, a recorded ten-second clap at the top of every session: it gives you a sync spike for aligning camera-local backups with the mixer's audio, which turns multi-source editing from an afternoon of drift-hunting into a five-minute job.
None of this requires new hardware, which is exactly why it gets skipped — and why shows that do it look a tier more expensive than they are.
Five Buying Mistakes That Waste the Budget
Buying the camera first. The algorithm punishes audio flaws first; the camera is third in line. Reorder.
Buying USB-only for a growing show. A $130 USB mic that can't move to a mixer costs you $130 the day a co-host joins. Hybrids survive upgrades.
Buying 4K before lighting. A dim 4K frame loses to a lit 1080p frame at every metric YouTube measures. The softbox comes before the sensor.
Buying the mirrorless dream without the operating budget. Capture card, dummy battery, lens, and attention — the body is 60% of the real cost.
Buying for headcount you don't have. Inputs and mic channels are hard ceilings; buy for your maximum simultaneous on-camera speakers, not your average Tuesday.
Buying everything at once. Gear you can't yet operate is just expensive shelf decor. Master each layer — audio, then light, then camera — before adding the next.
Live, Recorded, and Remote: Three Short Answers
Recorded vs live: record first if your show lives on editing and clips; livestream once an audience will actually show up on schedule. Many shows split the difference — stream the recording session, publish the cleaned VOD, pull Shorts from the master. Live formats stress gear differently (hours of continuous encode, no post safety net); the live streaming equipment guide covers that chain.
Remote guests: your in-room kit changes not at all — what changes is the recording method. Capture each participant locally with a Riverside-style platform instead of recording the compressed call feed. Details and the guest protocol are in our remote podcast recording equipment guide.
Monitoring: closed-back headphones at the host seat are the cheapest quality instrument you own. Speakers lie twice — once by flattering the room, once by feeding back into open mics — while a $40 pair of wired earbuds tells you exactly what the audience will hear. If you can only check one thing mid-recording, check that the meters move and the headphones agree with them.
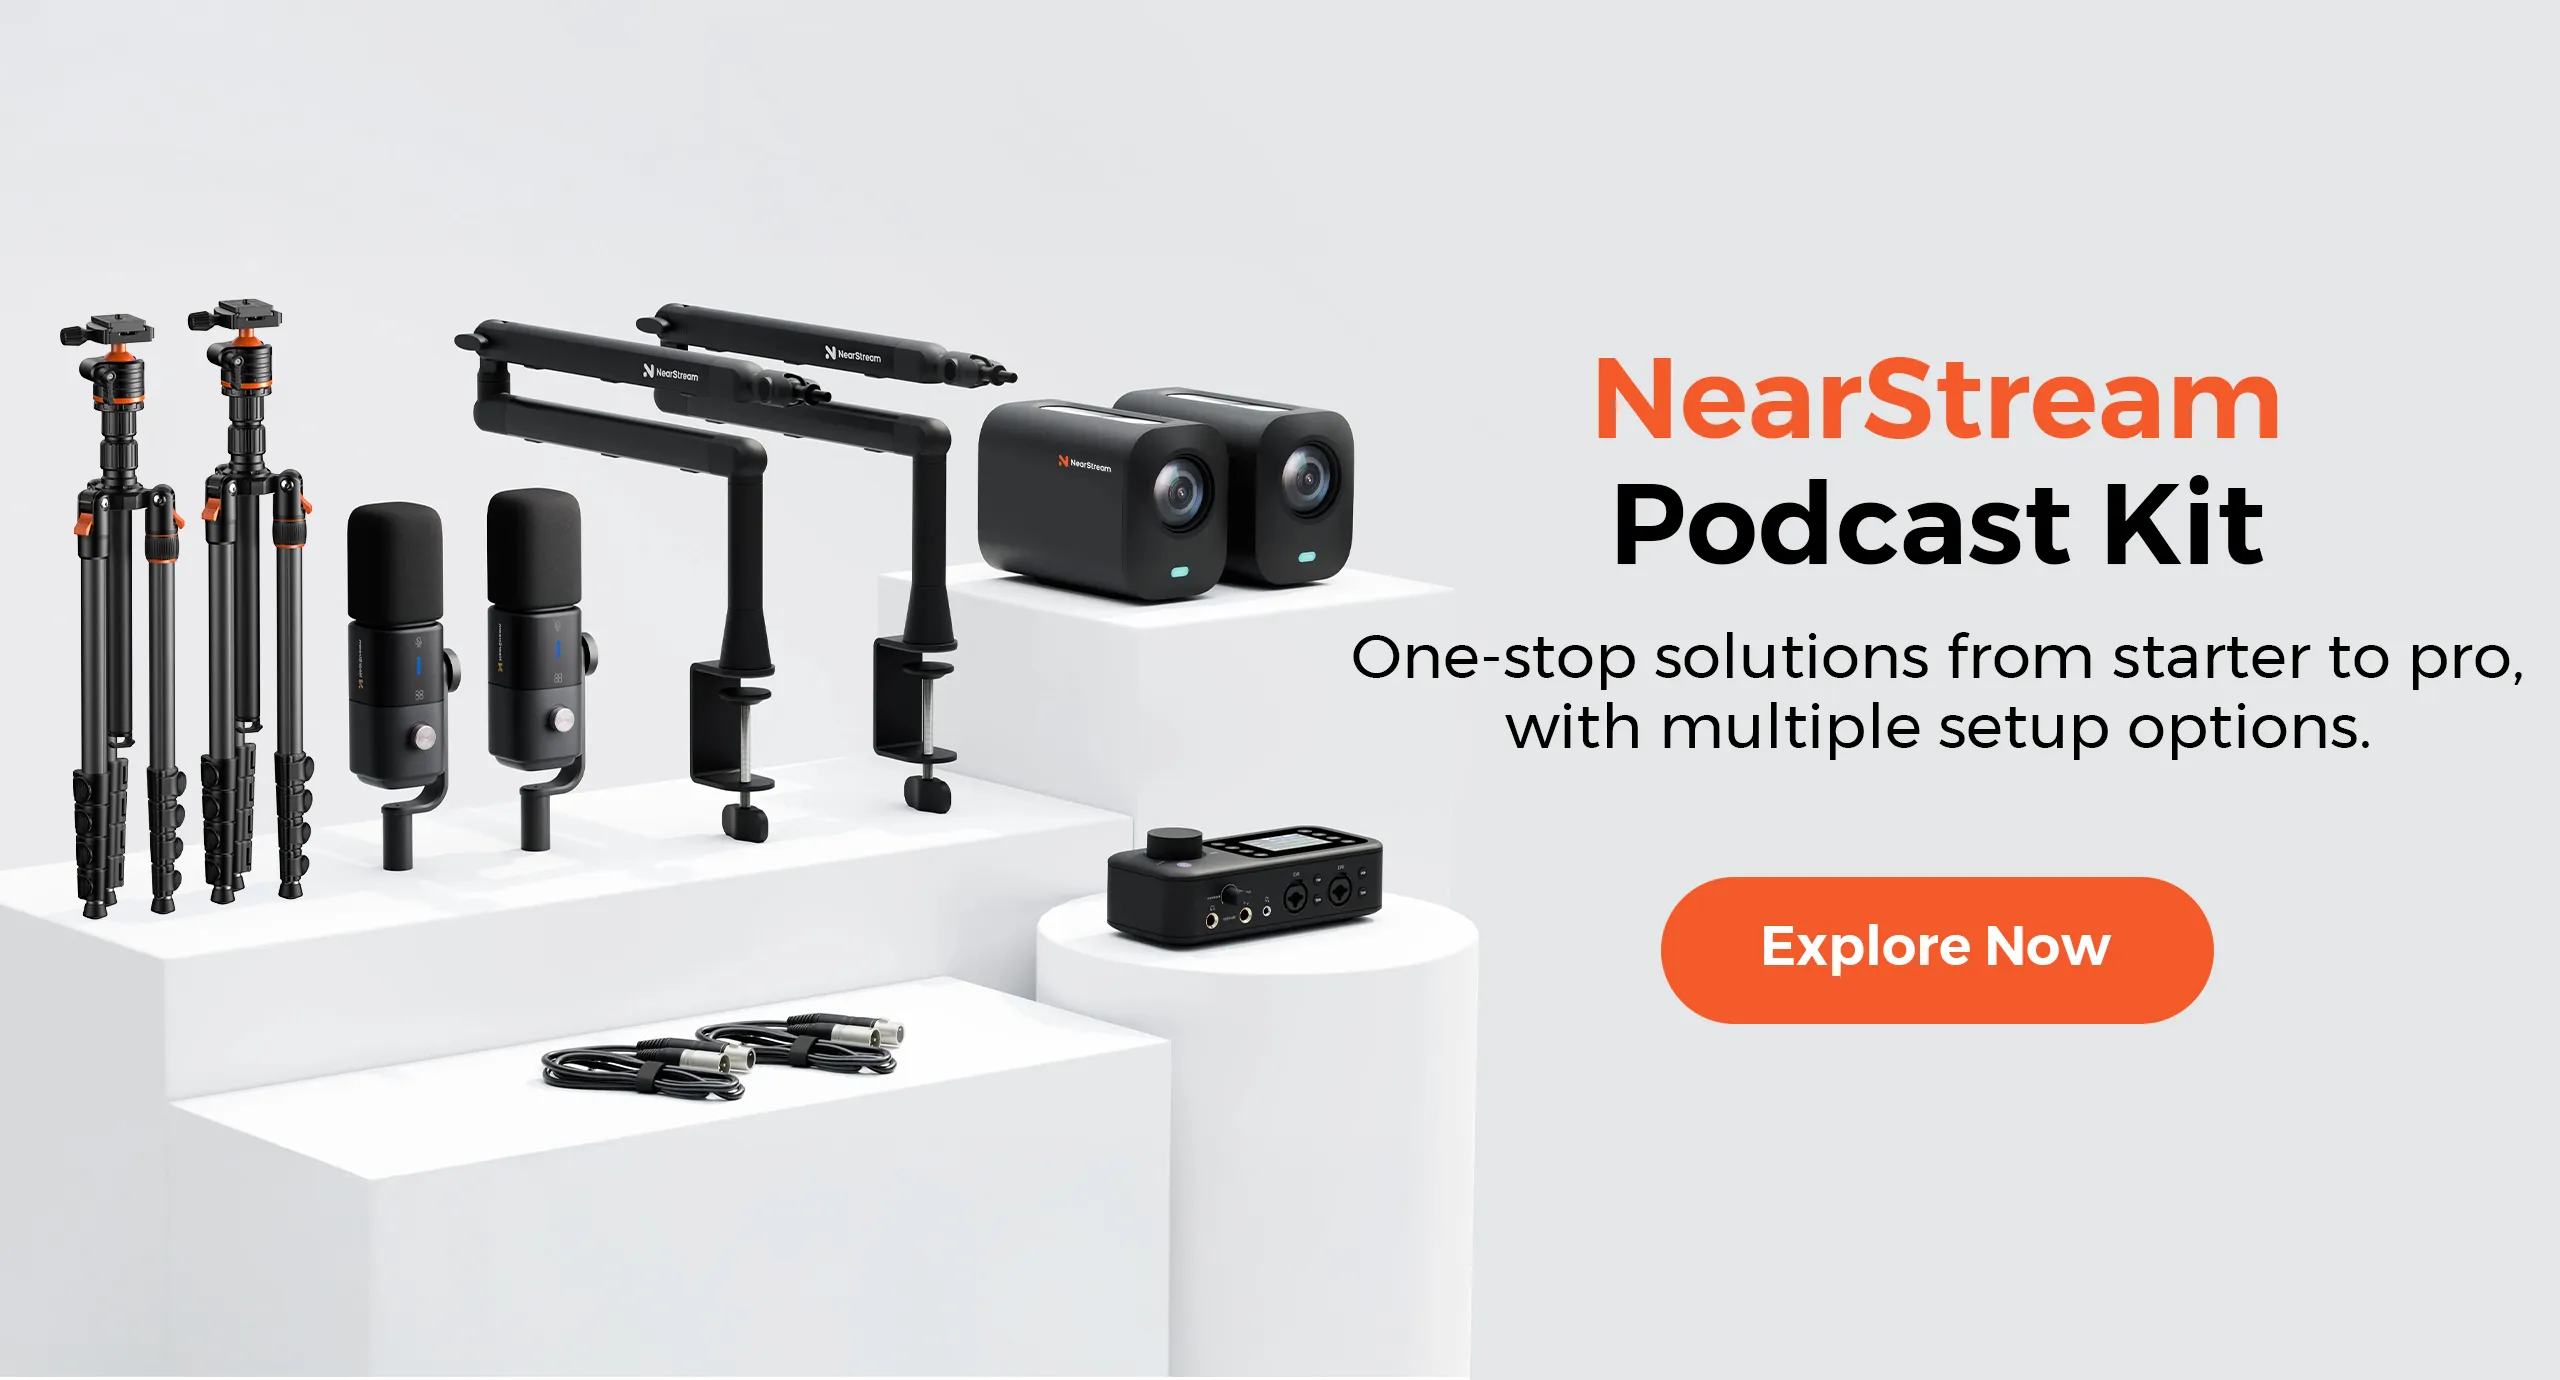
Matching spend to stage: if you have published fewer than 20 episodes, stay near Build 1 and let the show teach you what it needs. Publishing weekly with a co-host and a clips pipeline? Build 2's tier is where nothing bottlenecks you — the NearStream two-person bundle prices it as one matched system, and their custom kit service handles non-standard rooms and headcounts. If you are comparing kits more broadly, the podcast kit buying guide walks the bundle-vs-piecemeal trade-off, and the cost breakdown maps every tier.
One last staging note that saves real money: your room is the cheapest upgrade at every stage. Hard, bare rooms make expensive microphones sound amateur; a rug, curtains, and a full bookshelf make mid-range gear sound broadcast-grade. Before any purchase above $200, spend an hour and $60 on the room — the retention graph will not know the difference, but your budget will.
Frequently Asked Questions
How much does YouTube podcast equipment cost?
Three honest tiers: about $250 validates a solo show (a Blue Yeti-class USB mic plus a StreamCam-class 1080p camera); around $1,500–$1,700 builds a no-bottleneck two-person video studio with separate mic channels, 4K cameras, and real lighting — matched bundles like NearStream's land in this range; and $3,000+ is the mirrorless route, where the camera bodies are only the beginning (capture cards, lenses, and power solutions follow). Most shows should start in tier one and grow into tier two.
Is 4K necessary for a YouTube podcast?
No — and chasing it early is the most common budget mistake. Retention patterns show viewers bouncing from bad audio and murky lighting long before they register resolution. A stable, well-lit 1080p image with clean sound beats a dim 4K frame every time. Move to 4K once the rest of the chain is consistent; at that point it also future-proofs your archive and provides real cropping headroom for vertical Shorts.
Can I run a YouTube podcast with one person operating everything?
Yes, provided the gear is chosen for solo operation: cameras that connect over USB-C and appear directly in OBS, framing set once before you sit down, a mixer with gain knobs reachable from the host seat, and nothing that needs hands mid-show. The traditional barrier — capture cards, an HDMI switcher, a joystick controller — was a hardware architecture problem, and USB-C-native streaming cameras removed it.
Should I buy a mirrorless camera or a streaming camera for my podcast?
Choose mirrorless (like the Sony ZV-E10 II) when image ceiling is the priority and you can absorb the operating costs: a capture card per camera, continuous power, heat management, and more setup attention. Choose a dedicated USB-C streaming camera when one person must host and operate simultaneously — you trade a slice of sensor quality for a chain with far fewer failure points. For most weekly two-person shows, the streaming camera is the pragmatic winner.
Should I livestream my podcast on YouTube or record and upload?
Record first if the show lives or dies by editing, pacing, and clips; livestream once you have an audience that shows up at a scheduled time. Live buys community and watch-time depth but exposes every mistake; recorded buys polish. A large share of successful YouTube podcasts split the difference: stream the recording session live, then publish the edited VOD and cut Shorts from the master.














 sales@nearstream.us