Podcast Equipment Checklist: What to Buy, What to Skip, and What Most People Get Wrong
A no-nonsense podcast equipment checklist that separates essentials from distractions.
podcast equipment checklist
starting a podcast checklist
Updated: Aug 4, 2026 · 8 minutes read
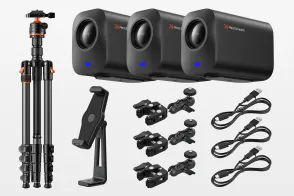
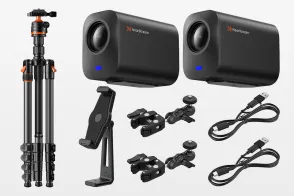
Modular Video Kits for Growing Business.
This podcast equipment checklist removes the guesswork from your first purchase. Get format-specific buy/skip/wait lists for solo, remote, co-hosted, and video setups — plus a pre-purchase verification flow that prevents 90% of bad buys.
You are three hours into a YouTube rabbit hole. You have watched seventeen microphone reviews, compared frequency response graphs you do not fully understand, and added $800 worth of gear to a mental shopping list. Your podcast still does not exist. This is the paralysis that kills more shows than bad audio ever will.
A podcast equipment checklist should do one thing: remove decision fatigue. It should tell you exactly what to buy, what to skip, and what order to buy in. This guide gives you format-specific checklists for solo audio, remote interviews, in-person co-hosts, and video podcasts — plus the mistakes that waste money at each stage.
The Pre-Buying Verification Flow
Before opening a single product page, run through this three-step verification. It prevents 90% of bad purchases.
Step 1: Define your format. Are you solo, remote, in-person, or video? Each format has a different checklist. Buying for the wrong format is the most expensive mistake beginners make.
Step 2: Treat your room. Before buying any gear, do the clap test. Clap sharply in your recording space. If you hear a ringing echo, add soft surfaces — rugs, curtains, blankets, bookshelves — until the clap sounds dull. This costs nothing and improves audio more than any microphone.
Step 3: Set a hard budget ceiling. Decide your maximum spend before browsing. The research phase has a way of inflating budgets. A $200 ceiling that becomes $400 because "it is only $200 more" is a trap.
Solo Audio Podcast Checklist
This is the simplest format. One person, one microphone, one computer.
Essential (Buy First)
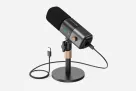
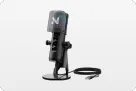
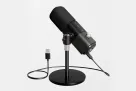
Microphone — Hybrid USB/XLR microphone. USB mode for immediate plug-and-play. Condenser capsules deliver more detail and presence; dynamic capsules are more forgiving in noisy rooms. Match the type to your room.
Headphones — Any closed-back wired pair. Bluetooth introduces latency.
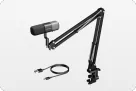
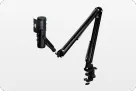
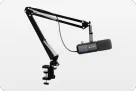
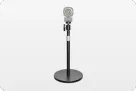
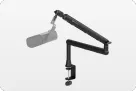
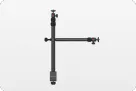
Boom arm or desktop stand — Boom arm strongly preferred for vibration isolation and close mic positioning.
Pop filter or foam windscreen — Controls plosives. More important than mic price.
Recording software — Audacity (free) or GarageBand (free on Mac).
Recommended (Buy After 10 Episodes)
Acoustic treatment — Heavy blanket behind you, rug under your chair, curtains on windows.
Shock mount — If your boom arm transmits desk vibrations.
Backup storage — External drive or cloud backup for raw recordings.
Skip For Now
Audio interface — Unnecessary with USB or hybrid mics.
Expensive headphones — Any closed-back pair monitors adequately.
Cloud lifters or inline preamps — Only needed with specific low-output mics.
Acoustic foam panels — Blankets and rugs work as well for beginners.
Common mistake: Buying a microphone without considering your room. A condenser microphone in a completely untreated, echoey room will capture every reflection. A dynamic microphone in the same space will be more forgiving. With basic treatment (rug, curtains, blanket), either type works well. The boom arm keeping the mic close to your mouth matters more than the capsule type.
Remote Interview Podcast Checklist
Remote interviews add complexity: you need reliable local recording for both yourself and your guest.
Essential (Buy First)
Your microphone — Same as solo: hybrid USB/XLR microphone matched to your room.
Your headphones — Closed-back, wired.
Your boom arm — For consistent positioning.
Remote recording platform — Riverside, Descript, or Zencastr. Not Zoom.
Guest instruction sheet — A one-page PDF telling guests how to join, what headphones to wear, and how to position their mic.
Recommended (Buy After 10 Episodes)
Backup microphone — A second hybrid mic for guests who show up with laptop audio.
Ethernet cable — Wired internet eliminates the dropouts that ruin remote recordings.
Notepad and pen — For timestamping interesting moments during the conversation.
Skip For Now
Multiple microphones — Only needed for in-person recording.
Mixer or interface — Your mic plugs directly into your computer.
Video recording — Add only if you are already doing video for solo episodes.
Common mistake: Recording remote interviews over Zoom. Zoom compresses audio aggressively and merges all voices into one track. A local recording platform captures separate, uncompressed files per person — the single biggest quality upgrade for remote shows.
In-Person Co-Host Podcast Checklist (2+ People)
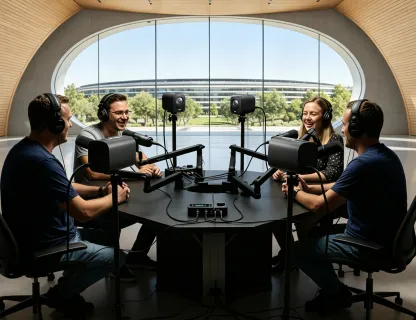
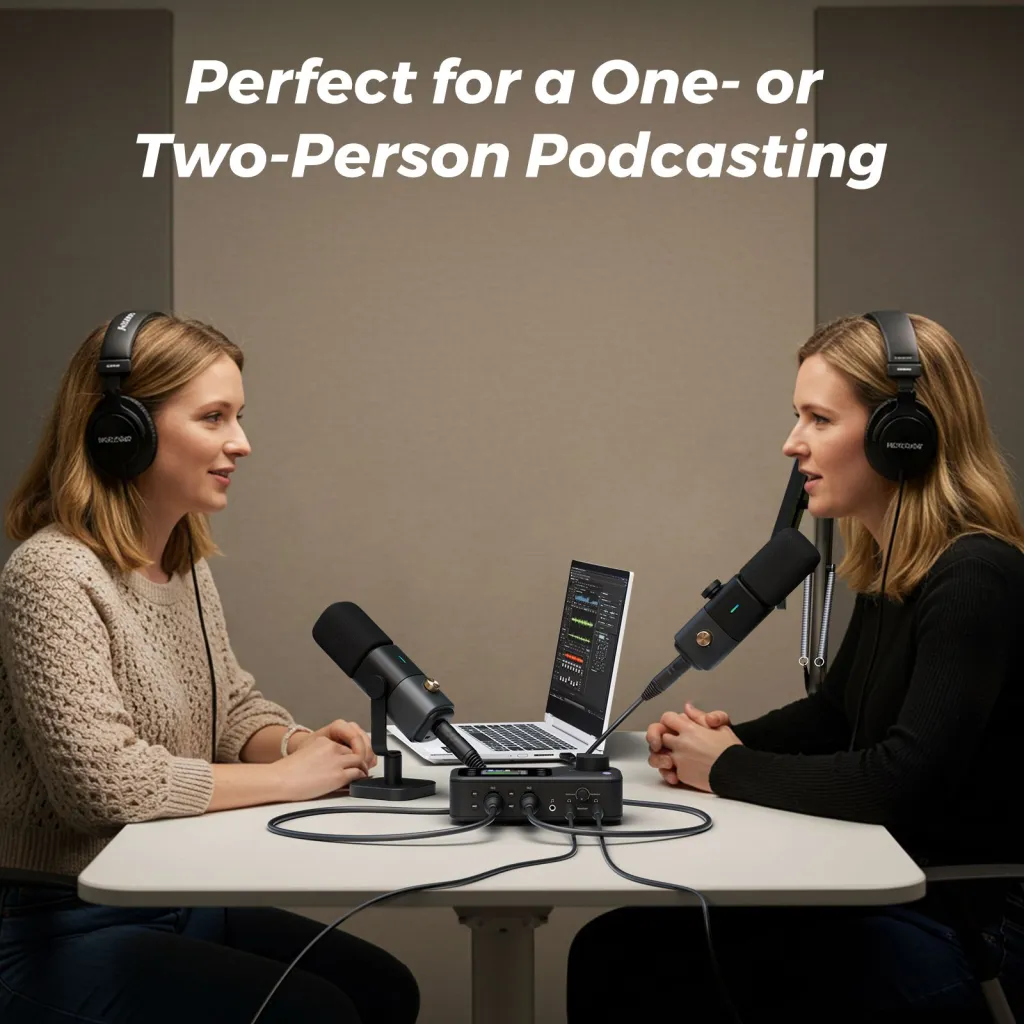
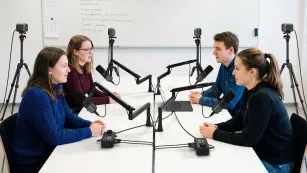
This is where hardware complexity jumps. Two people need two microphones, two headphones, and a way to mix them.
Essential (Buy First)
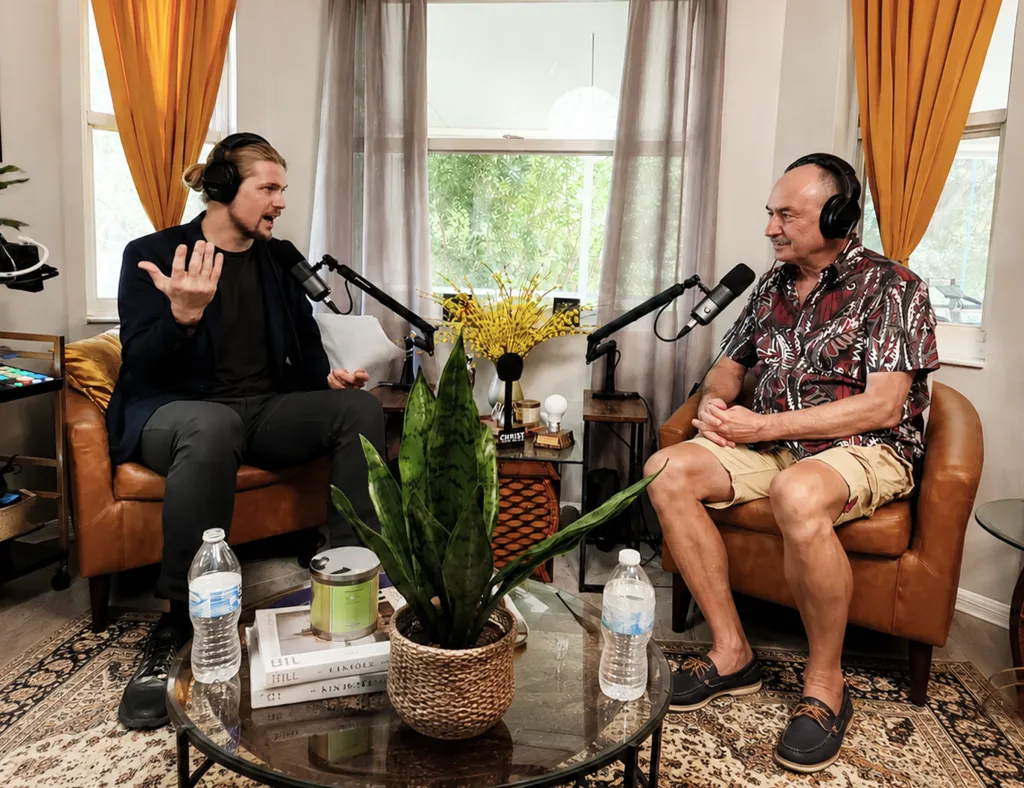
Microphones — One per person. Hybrid USB/XLR microphones.
Headphones — One closed-back pair per person.
Boom arms — One per microphone. Prevents desk vibration and allows proper positioning.
Mixer or audio interface — Minimum two XLR inputs with independent gain control. USB-C output to computer.
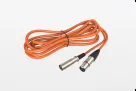
XLR cables — One per microphone. Balanced cables, minimum 6 feet.
Recording software — Audacity or GarageBand can handle two inputs. For more, consider Reaper.
Recommended (Buy After 10 Episodes)
Headphone amplifier — If your mixer does not have enough headphone outputs for each host.
Tabletop isolation — A rug under the table, soft materials between mics to reduce bleed.
Backup recording — A portable recorder capturing the room as insurance against computer crashes.
Skip For Now
Wireless microphones — More failure points, battery anxiety, and interference risk. Wired is more reliable.
Expensive mixers — A basic two-channel mixer with USB output handles 90% of co-hosted shows.
Separate audio interfaces per person — Overly complex. One mixer with multiple inputs is simpler.
Common mistake: Buying two USB microphones and plugging them into the same computer. Most computers cannot distinguish between two identical USB mics, and even when they can, sync and level control become nightmares. Use XLR microphones into a mixer, or record each person on a separate computer.
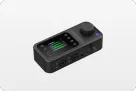
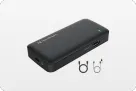
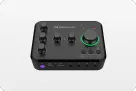
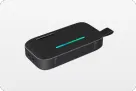
The NearStream AMIX40U portable audio mixer handles multi-person recording with multiple XLR inputs, independent level knobs, and USB-C output — eliminating the need for a separate interface and keeping the setup manageable for non-engineers.
Video Podcast Checklist
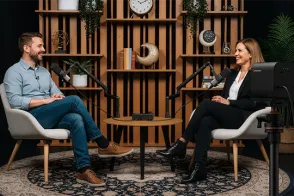
Video adds a parallel equipment chain. The checklist below assumes you already have audio covered.
Essential (Buy First)
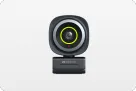
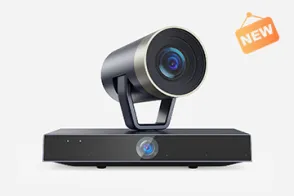
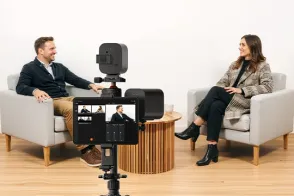
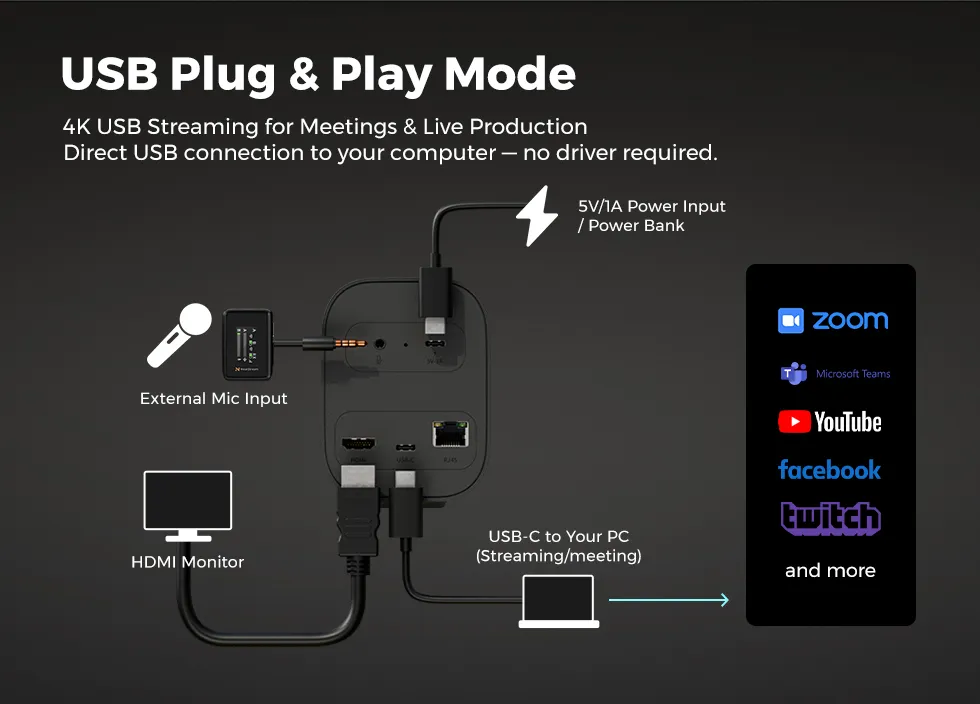
Camera — USB-C streaming camera that feeds directly into recording software. No capture card needed.
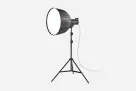
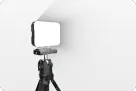
Lighting — One soft, directional light placed above eye level and angled down.
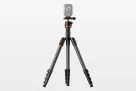
Camera stand — Weighted desktop stand or tripod at eye level. Shaky footage signals amateur production.
Background consideration — A clean wall, bookshelf, or curtain. Avoid windows behind you (causes backlighting).
Video recording software — OBS (free) or your podcast platform's video feature.
Recommended (Buy After 10 Episodes)
Second camera angle — Wide shot for editing variety. Positioned to show the full setup.
Fill light — A second, dimmer light on the opposite side of your key light to soften shadows.
Teleprompter or notes monitor — For scripted segments or interview questions.
Background upgrade — Plants, art, or branded elements that look intentional on camera.
Skip For Now
4K cameras — 1080p with good lighting looks better than 4K with bad lighting.
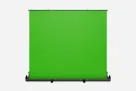
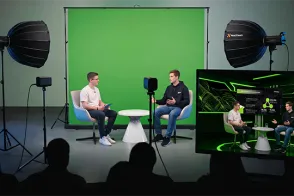
Green screens — Unless you have proper lighting and distance, green screens look worse than a real background.
Gimbals or motorized mounts — Static shots are standard for podcasts. Movement is distracting.
Multiple expensive cameras — Start with one good camera and add angles incrementally.
Common mistake: Buying a camera before addressing lighting. A $50 softbox with a webcam produces better video than a $1,000 camera under overhead fluorescent lights. Lighting is the first video upgrade, not resolution.
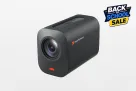
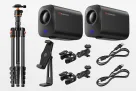
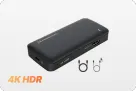
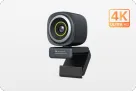
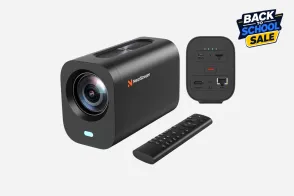
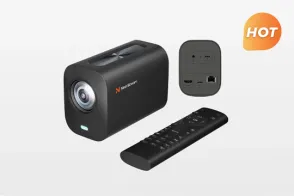
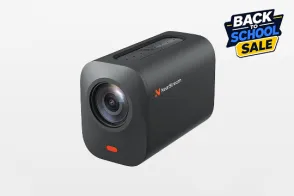
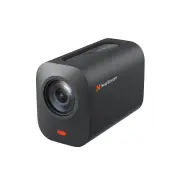
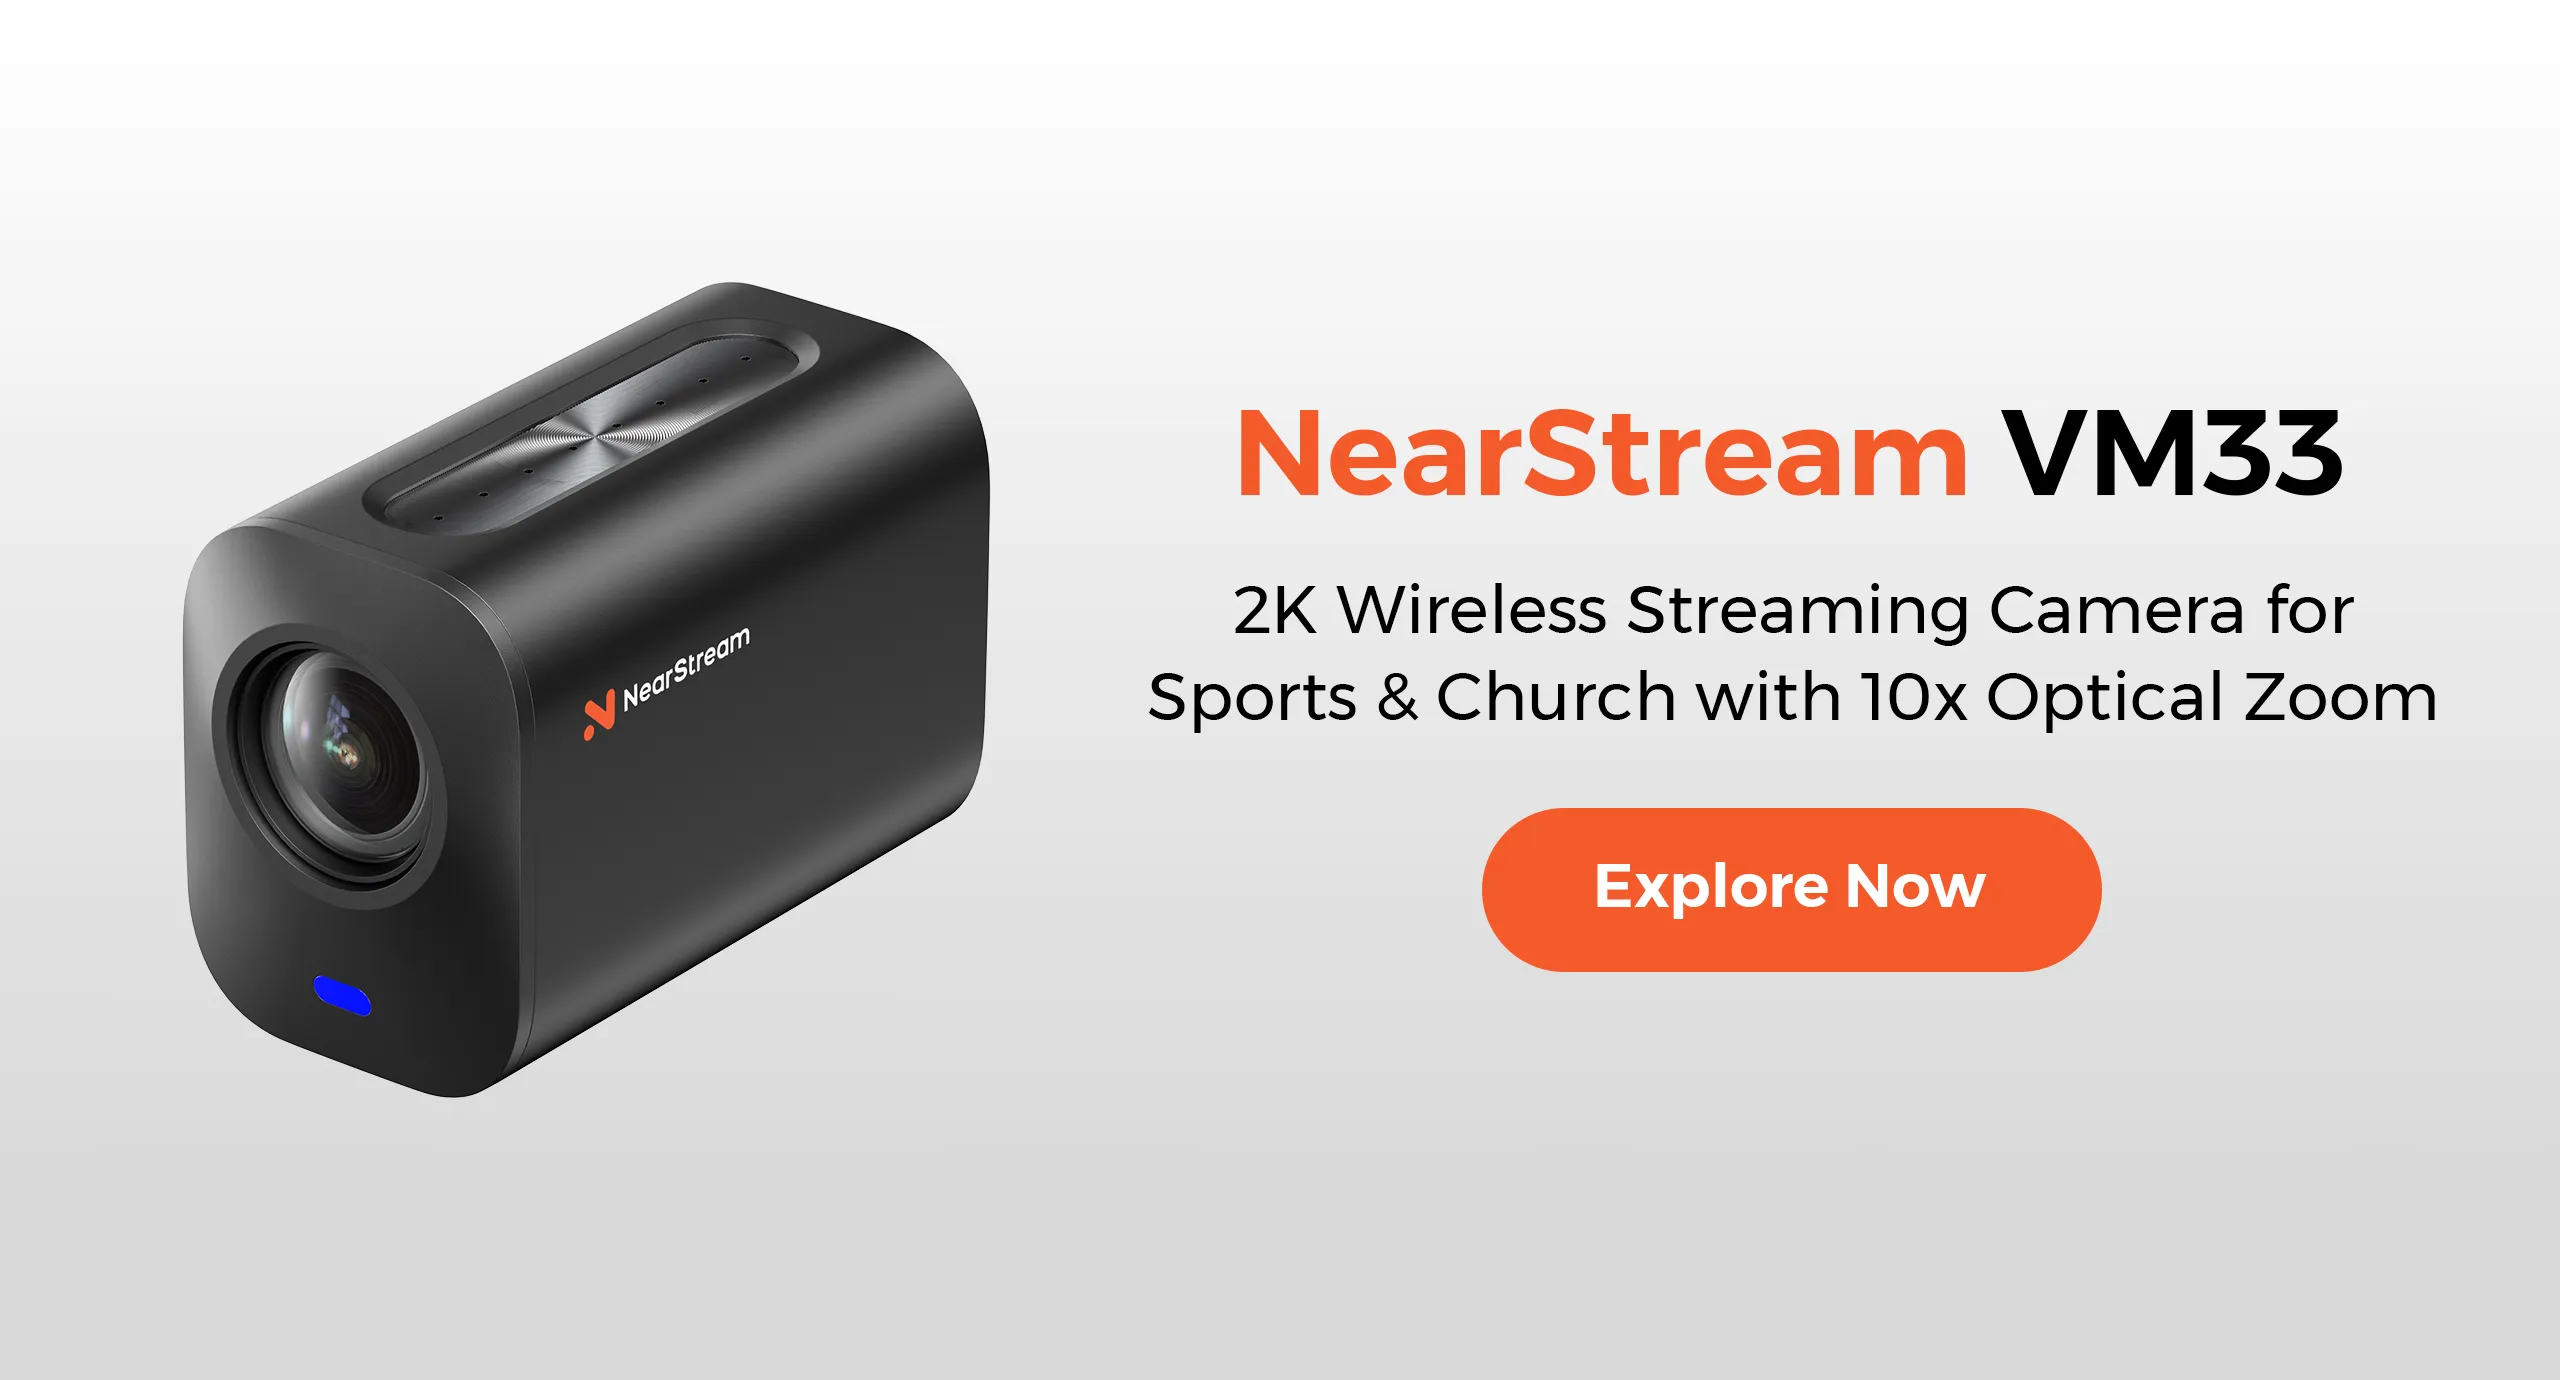
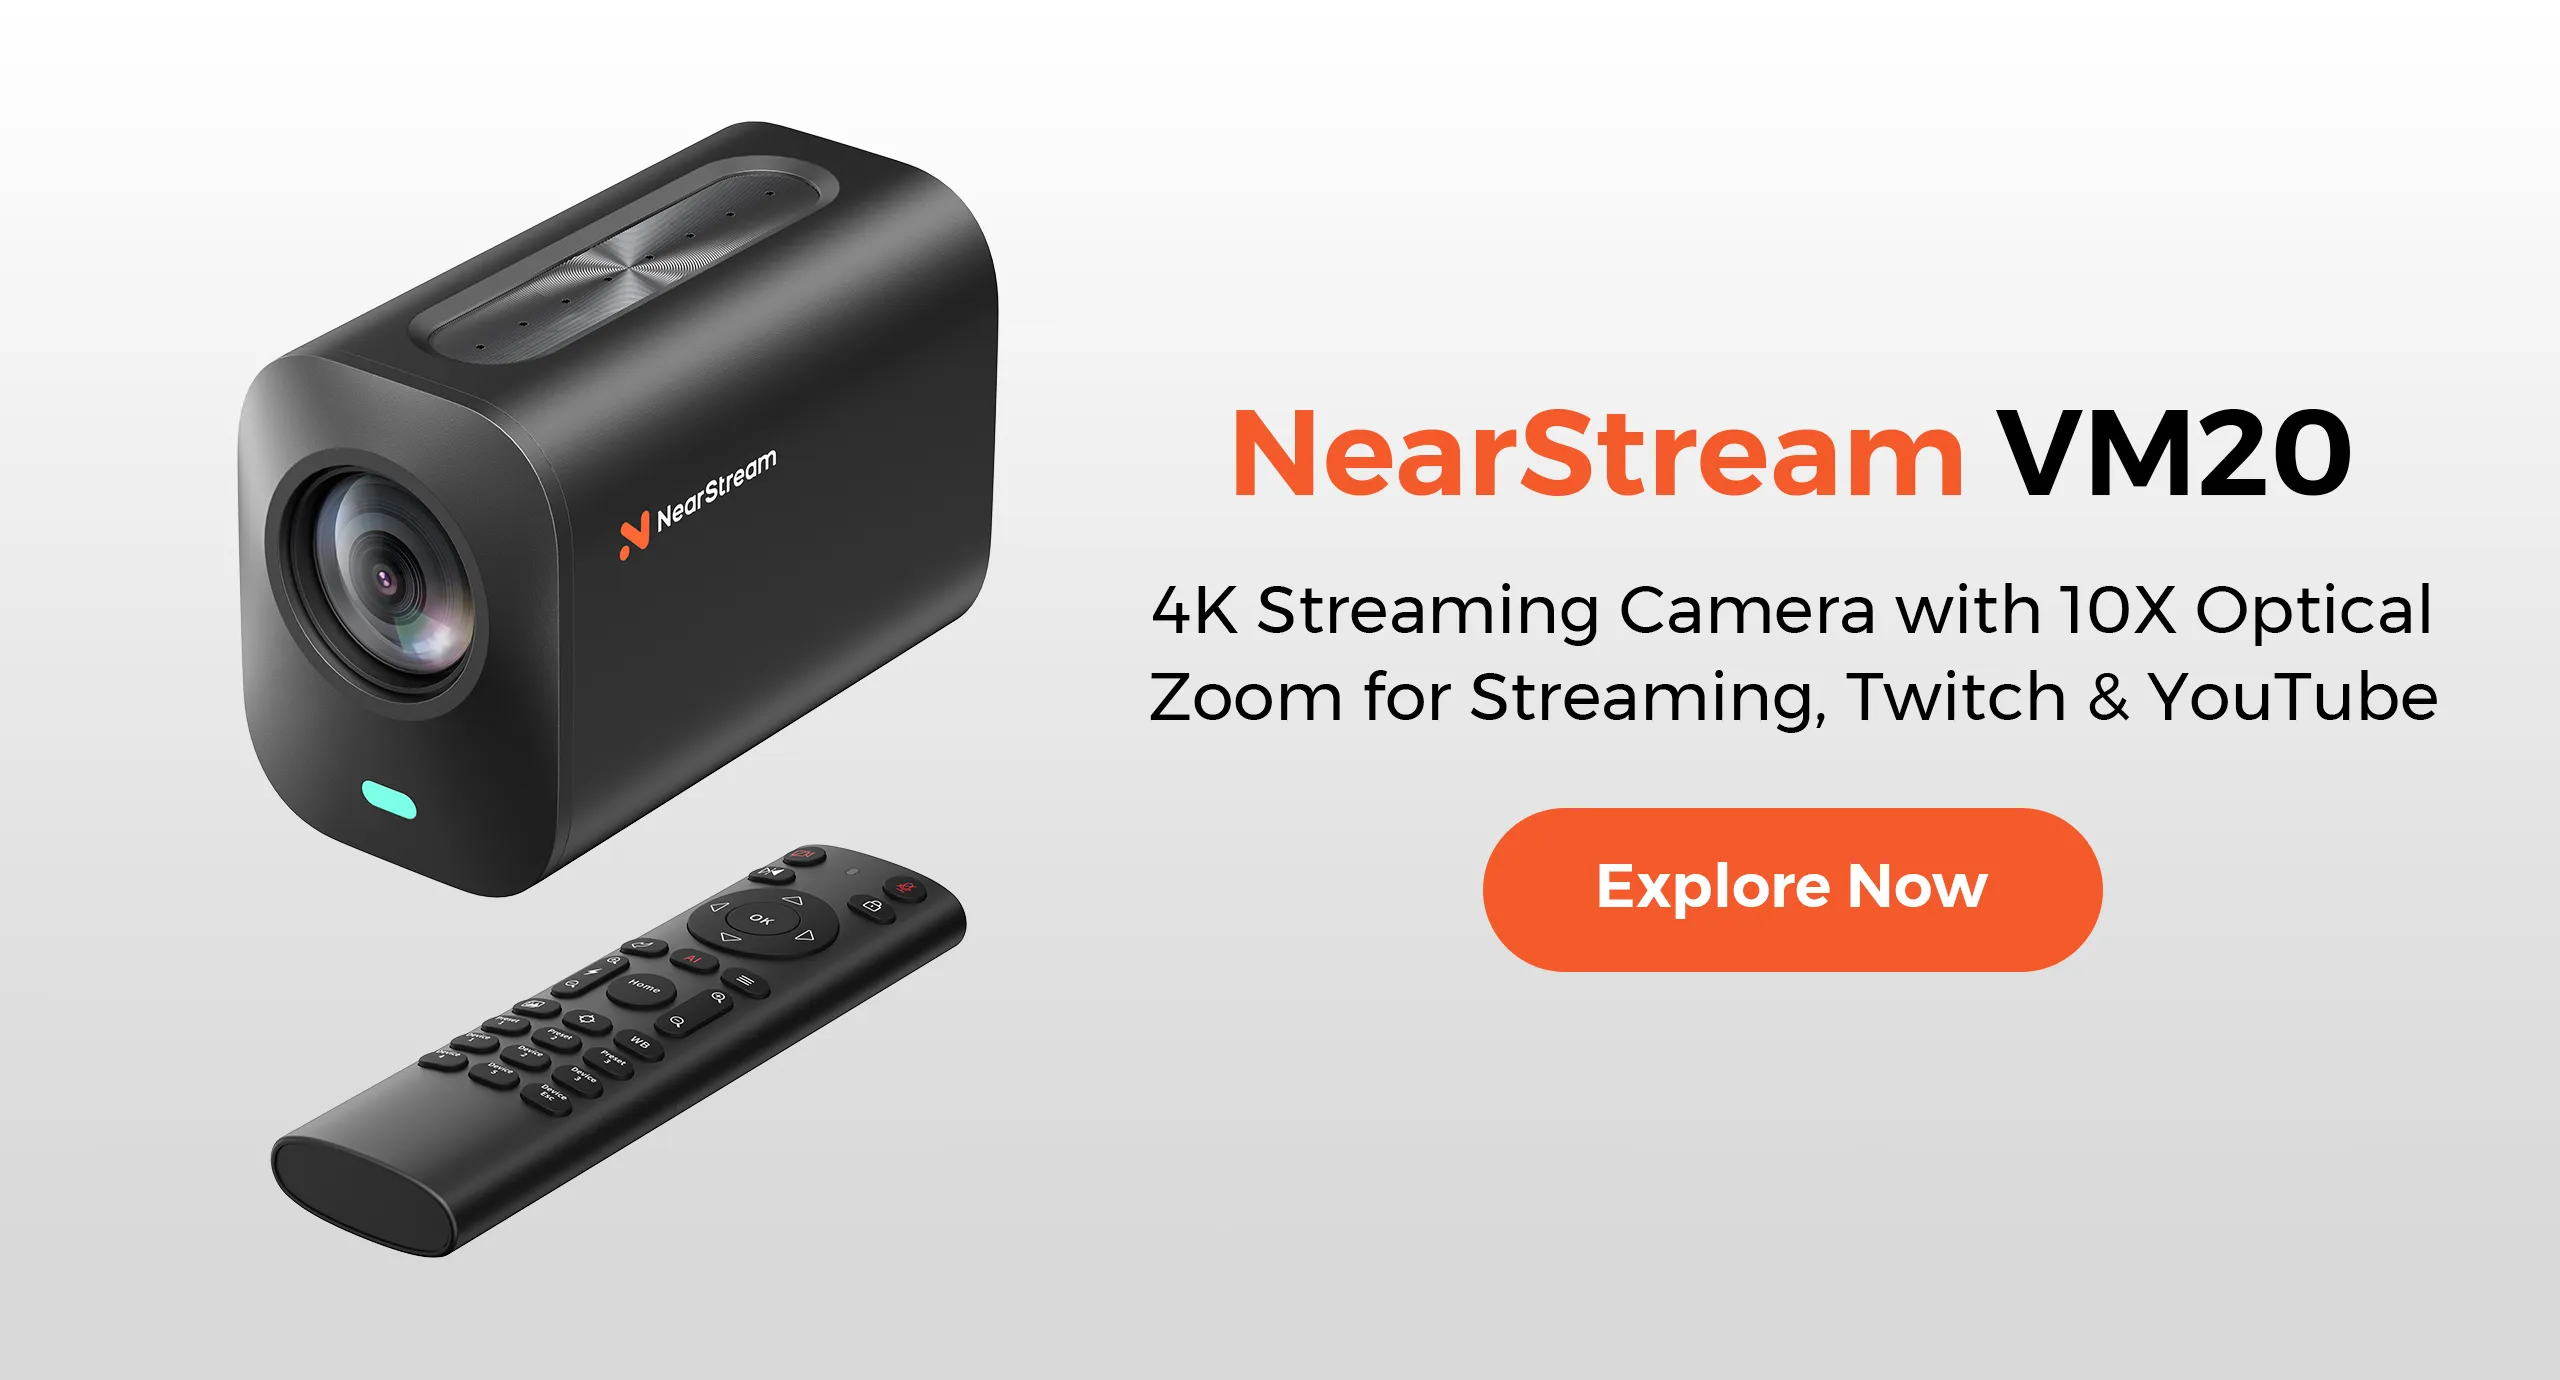
For creators building a video podcast from scratch, the NearStream VM20 4K wired streaming camera connects via USB-C directly to OBS or Riverside — no capture card, no driver installation, no compatibility research. It is designed for the exact use case of continuous streaming and multi-camera podcast setups.
The "Setup Verification" Step Everyone Skips
After you unbox your gear, most beginners plug everything in and hit record. This is where problems hide. Run this verification checklist before your first real episode:
Audio verification:
Record 30 seconds of silence. Listen for hum, buzz, or fan noise.
Record yourself speaking at normal volume. Check for clipping (distortion on loud words).
Record while typing or moving your chair. Check for vibration noise.
Record with your refrigerator, HVAC, or other appliances running. Note what gets picked up.
Video verification (if applicable):
Check framing: head and shoulders visible, eyes in the top third of the frame.
Check lighting: no harsh shadows under your eyes or chin. No blown-out highlights.
Check background: nothing distracting or unprofessional visible.
Check focus: your face is sharp, not soft. USB streaming cameras maintain focus automatically.
Record a 5-minute test. Check for overheating, dropped frames, or audio sync drift.
Integration verification:
Confirm your recording software sees all inputs (microphones, cameras).
Set levels so your voice peaks around -12 dB. This leaves headroom for loud moments.
Do a 2-minute practice recording with a friend. Check sync between audio and video.
Export a test file and play it on your phone. Does it sound and look right on a different device?
When to Ignore This Checklist
This checklist is designed for spoken-word podcasting in home or office environments. It does not apply if:
You are recording music or live performances (you need different microphones and room treatment).
You are doing field reporting or on-location interviews (portable recorders and wireless systems become essential).
You have access to a professional studio (the studio provides most of this equipment).
Your show is entirely scripted and produced (you may need a teleprompter and different editing workflow).
Related Guides
For the big-picture framework on what you need and why, read our complete podcast equipment guide.
Can I really start with just a microphone and headphones?
Yes. A hybrid USB/XLR microphone and closed-back headphones are sufficient to produce a professional-sounding solo podcast. The boom arm and pop filter improve quality significantly but are not strictly necessary for your first few episodes. Start recording, then upgrade based on what you actually notice missing.
How do I choose between a kit and buying pieces separately?
If you value time over absolute optimization, a complete kit designed for podcasting removes compatibility research and troubleshooting. If you enjoy researching individual components and have time to resolve integration issues, buying separately lets you optimize each piece. Most beginners underestimate the integration time cost.
What is the most common mistake when buying podcast equipment?
Buying a microphone without treating the room first. Even the best microphone sounds mediocre in an echoey, untreated space. Add a rug, hang a blanket, and close the curtains before judging your mic. With basic treatment in place, a condenser microphone's detail becomes an asset rather than a liability.
Should I buy everything at once or piece by piece?
Piece by piece, in this order: microphone first, then boom arm and pop filter, then headphones if you do not already own closed-back pairs, then acoustic treatment, then camera and lighting if adding video. This lets you identify your actual bottlenecks instead of guessing.
Do I need an audio interface if my microphone has USB?
No. A USB or hybrid microphone plugs directly into your computer and bypasses the need for an interface entirely. You only need an interface or mixer when using XLR-only microphones or recording multiple people in the same room.
Your Next Step: Pick a Format, Check the Boxes, Hit Record
The difference between podcasters who publish 50 episodes and those who quit after three is not gear quality — it is decision speed. The longer you spend researching, the less likely you are to start. Pick the checklist that matches your format, buy the essential items, run the verification steps, and record your first episode this week. Everything else is optimization you can do later.
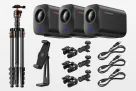
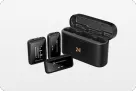
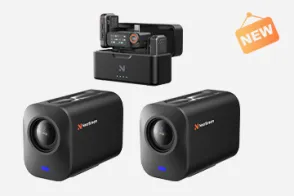
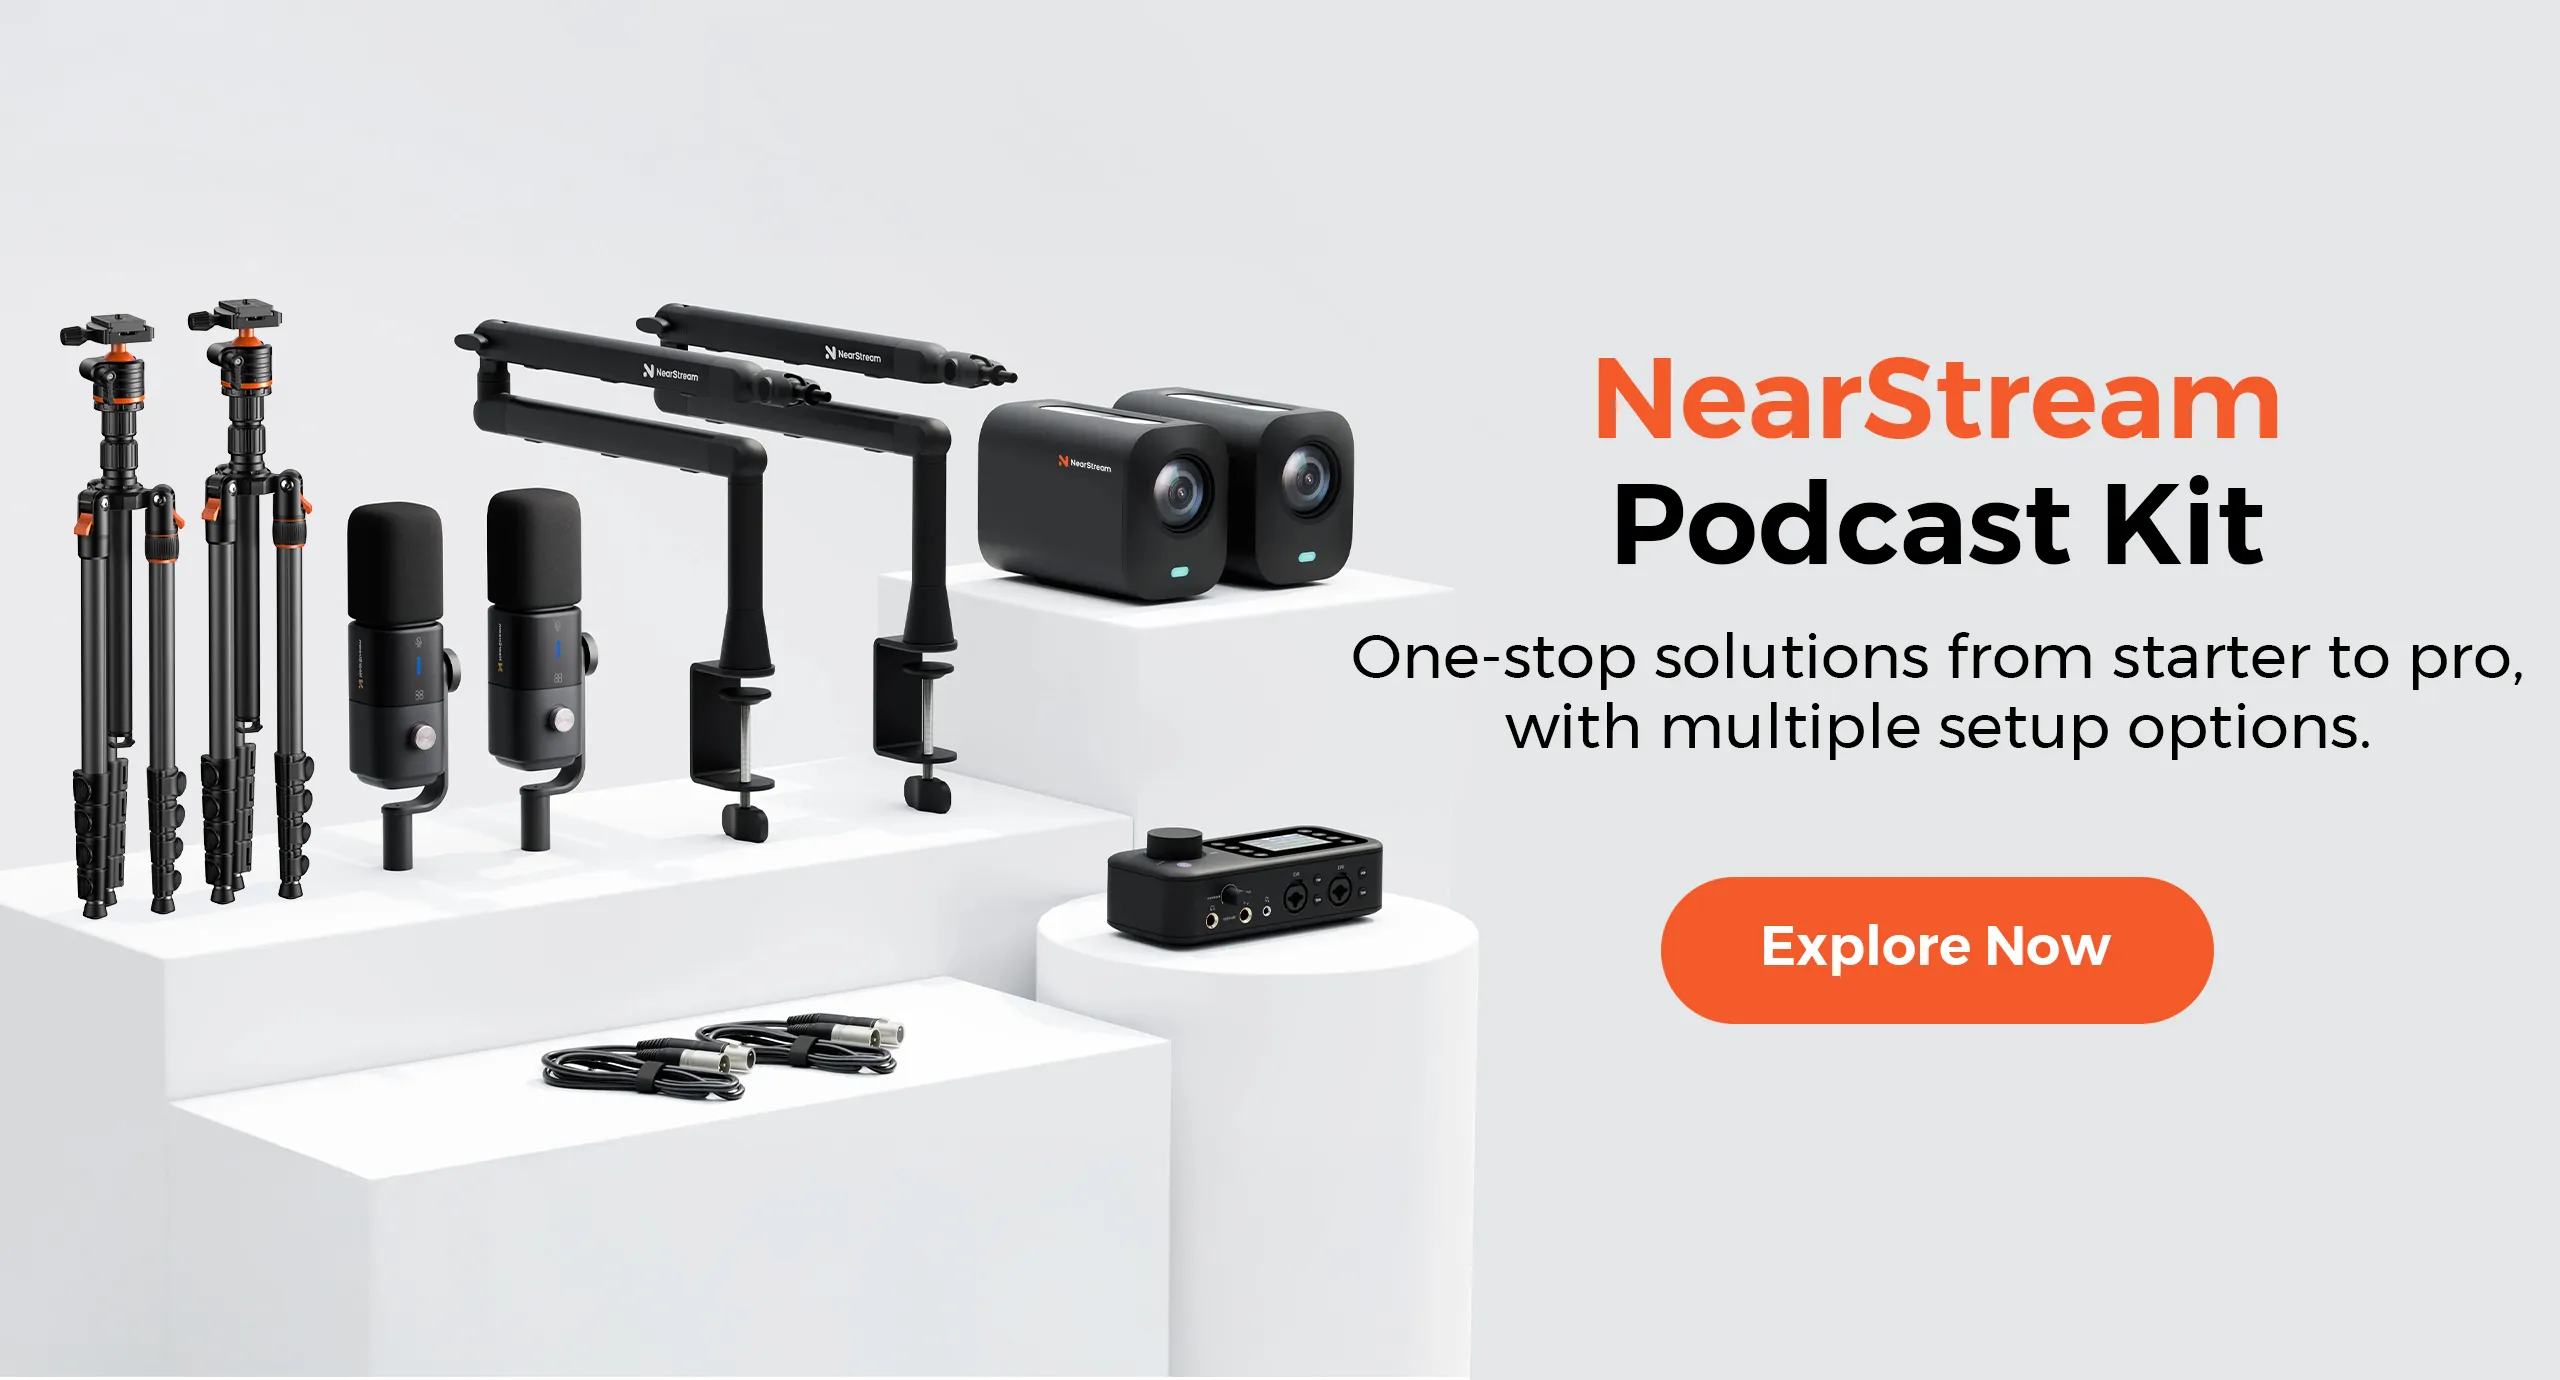
If you want a setup that scales from solo to multi-person without replacing your core investment, explore NearStream's modular podcasting kits — designed to grow with your show from episode one to episode one hundred.








 sales@nearstream.us