Podcast Equipment Guide: What You Actually Need to Start (And What You Don't)
Stop drowning in gear reviews.
starting a podcast equipment
podcast equipment guide
Updated: Aug 4, 2026 · 8 minutes read
Modular Video Kits for Growing Business.
Wondering what starting a podcast equipment actually looks like? This podcast equipment guide cuts through the noise — giving you exact gear lists for solo audio, remote interviews, and multi-camera video podcasts, with real budget tiers and an honest breakdown of what most beginners overspend on.
The most expensive podcast setup in the world will not save a show with weak content and inconsistent publishing. A $60 microphone in a quiet room with good technique beats a $2,000 studio operated by someone who has not thought through their format. That is the first principle of podcast equipment, and everything else follows from it.
What you need to start a podcast depends on three variables: your recording format (solo, co-hosted, or remote interviews), your room conditions, and whether you are producing audio-only or video. This guide breaks down the essential signal chain, reveals what most beginners overspend on, and shows you how to build a setup that grows with your show — without the gear anxiety.
Why Your Signal Chain Matters More Than Any Single Device
Most equipment guides treat podcast gear as a shopping list. They are not wrong, but they miss the underlying mechanism: a podcast is a signal chain. Sound (or light, for video) travels through a series of stages, and the chain is only as strong as its weakest link. Understanding this changes how you allocate budget.
The counter-intuitive insight: upgrading your microphone without treating your room is like putting racing tires on a car with a misaligned chassis. The mic will faithfully capture every echo, HVAC hum, and refrigerator cycle. Similarly, buying a 4K camera without addressing lighting produces footage that looks worse than a well-lit webcam.
This is why the first investment should not be gear — it should be understanding. Where will you record? How many people? Will guests be in the room or remote? These answers determine 80% of your purchasing decisions before you browse a single product page.
The Format-First Decision Framework
Before spending money, answer two questions. They determine whether you need a $100 starter kit or a $2,000 studio.
Question 1: Do you record in person or remotely?
Remote interviews (guests join via the internet) keep hardware requirements minimal. You need one good microphone, headphones, and a remote recording platform that captures each participant locally. You do not need a mixer, multiple microphones, or complex cable management.
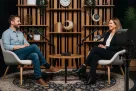
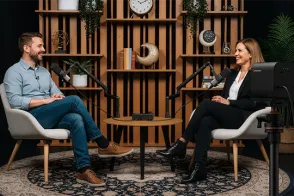
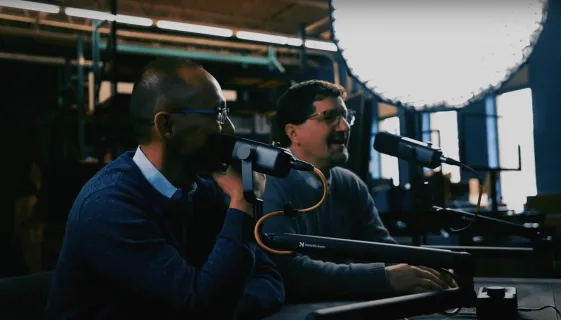
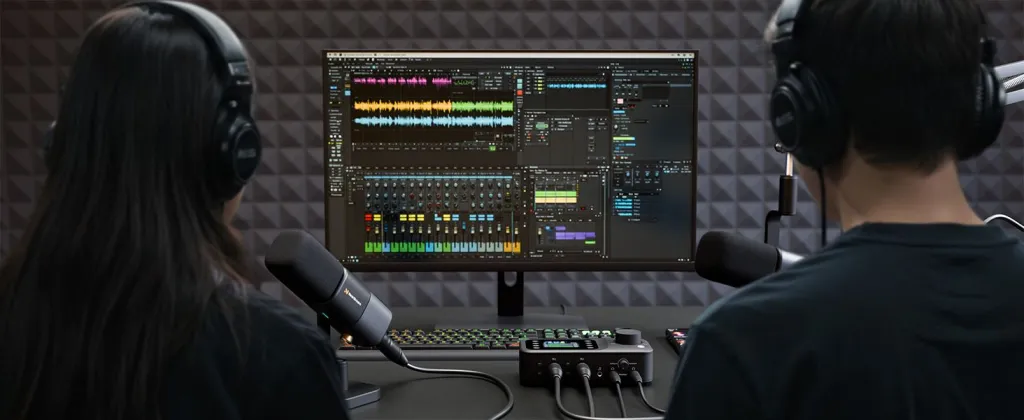
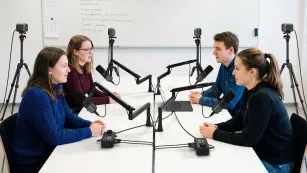
In-person recording changes everything. Two people across a table need two microphones. Four people need four microphones, a mixer or interface with enough inputs, and cables for every seat. The hardware complexity scales linearly with the number of local voices.
Question 2: Audio-only or video podcast?
Audio-only podcasting is forgiving. A good microphone, a quiet room, and basic editing software produce professional results. Video podcasting adds lighting, camera positioning, background design, and the visual logistics of framing multiple people. It also changes microphone choice — some mics that sound excellent look awkward on camera, while others are designed for visual presence.
Format
Minimum Hardware
Recommended Upgrade Path
Solo audio
USB mic + headphones
Boom arm + pop filter + acoustic treatment
Remote interviews
Hybrid mic + headphones + remote software
Local recording platform + backup mic for guests
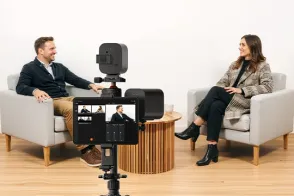
In-person co-host (2P)
2× mics + 2-input interface + headphones
Boom arms + mixer for independent level control
Video podcast (solo)
Hybrid mic + webcam + soft light
Dedicated camera + key light + background treatment
Video podcast (multi-cam)
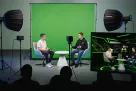
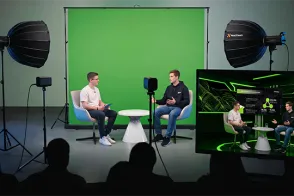
Multi-mic setup + 2+ cameras + lighting rig
Integrated video podcasting kit with unified control
What Each Piece Actually Does (And Where Beginners Overspend)
Microphone: The Single Biggest Lever
If you spend money anywhere, spend it here. A microphone is the first link in your signal chain and the biggest determinant of perceived audio quality. The two main types for podcasting are dynamic and condenser microphones — and the choice between them depends almost entirely on your room.
Dynamic microphones use a moving coil and are less sensitive. They reject off-axis sound, handle room noise well, and are forgiving of imperfect technique. They are the traditional choice for untreated home offices and bedrooms.
Condenser microphones use a charged diaphragm and capture more detail, more air, and more high-frequency presence. They are more sensitive to room sound, which means they reward good room treatment and punish bad acoustics. In a treated room, a condenser delivers broadcast-level clarity that most dynamics cannot match.
The beginner trap: assuming dynamic is always the right choice. While dynamics are safer in noisy, untreated spaces, modern condenser microphones with tight cardioid patterns and built-in noise handling can perform excellently in semi-treated home environments — especially when paired with proper mic technique and a boom arm that maintains close, consistent distance.
The smarter move in 2026 is a hybrid microphone with both USB and XLR outputs, regardless of capsule type. Start in USB mode for zero-complexity recording. When you are ready to add an interface or mixer, switch to XLR without replacing the microphone. This preserves your investment and removes the "USB or XLR?" paralysis entirely.
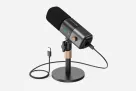
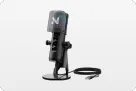
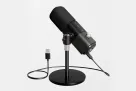
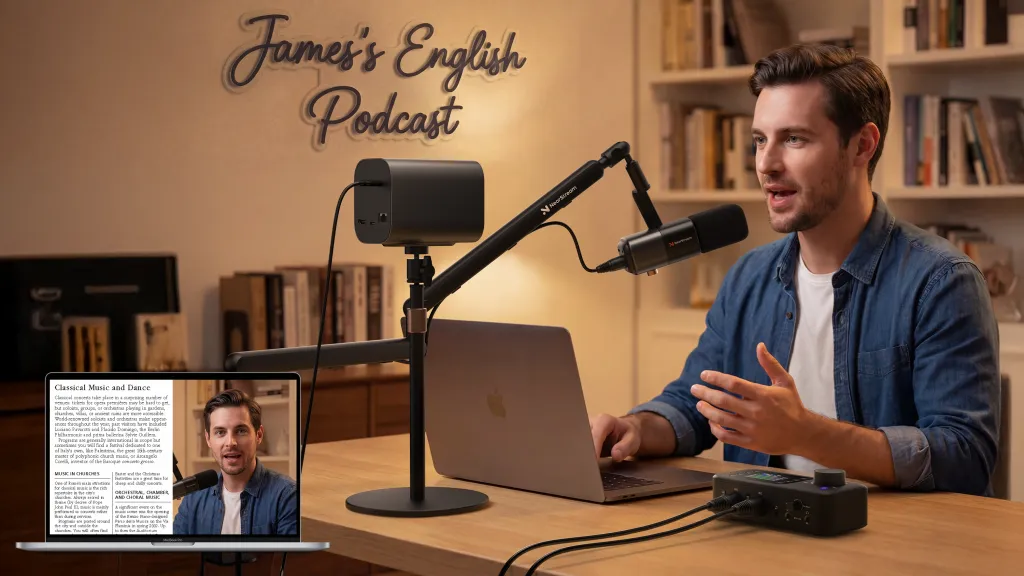
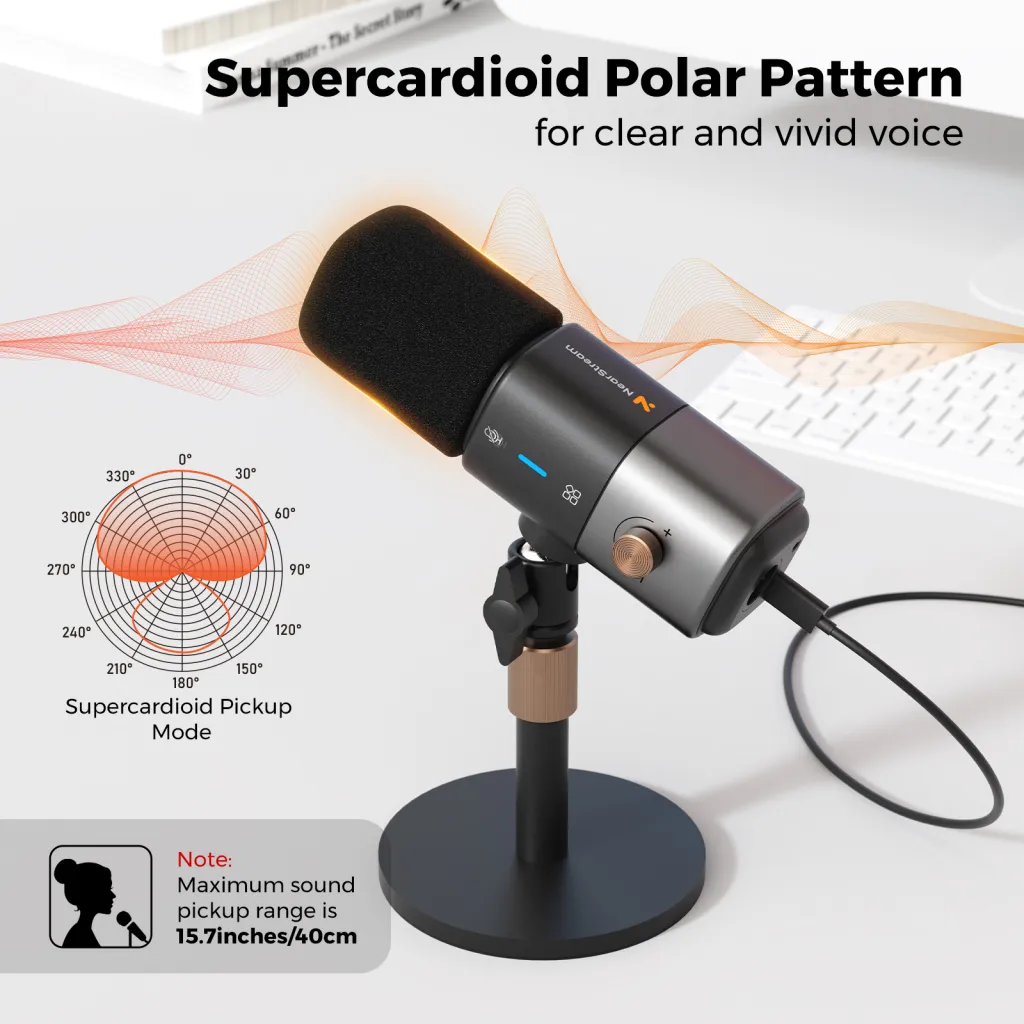
For creators building a video podcast, the NearStream AM25X is a hybrid USB/XLR condenser microphone designed for this exact use case. Its condenser capsule captures the detail and presence that make voices sound professional on both audio and video platforms, while its cardioid pattern and close-mic design keep room noise under control in typical home office environments. The side-address form factor also sits naturally in a video frame without dominating the shot.
Headphones: Non-Negotiable Monitoring
Wear headphones while recording. Always. They let you catch problems — a guest's clipping mic, a buzz, a dropped connection — during the session, when you can still fix them, instead of in the edit when you cannot. Use closed-back models so audio does not bleed back into your microphone.
You do not need expensive headphones to start. Any closed-back wired pair works. Avoid Bluetooth headphones during recording; the latency creates a distracting delay that disrupts your speaking rhythm.
Boom Arm and Pop Filter: The Highest-ROI Accessories
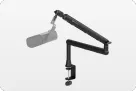
A boom arm is not optional — it is the accessory with the highest audio quality return per dollar. Keeping the microphone off your desk eliminates vibration noise and lets you position the capsule at the correct distance (two to four inches for most mics). This close positioning is especially important with condenser microphones: the closer you are, the more direct sound and less room sound the mic captures.
A pop filter or foam windscreen controls plosives, the sharp "p" and "b" bursts that are disproportionately noticeable in finished audio.
Together, a boom arm and pop filter often improve sound quality more than upgrading from a $100 mic to a $300 mic. Most beginners skip these and buy a more expensive microphone instead. That is backwards.
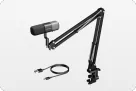
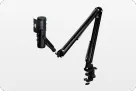
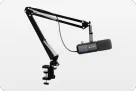
The NearStream ST20 boom arm includes 1/4", 3/8", and 5/8" adapters, meaning it works with virtually any microphone you might upgrade to later. Buying once and adapting is cheaper than replacing.
Audio Interface or Mixer: Only When You Need It
You only need an audio interface or mixer if you use an XLR-only microphone or record multiple people in the same room. Solo podcasters using a USB or hybrid mic can plug directly into a computer and skip this entirely.
A mixer becomes necessary when you have two or more in-person microphones that need independent gain control, real-time level adjustment, and headphone monitoring for each host. For video podcasts with multiple local guests, a compact mixer with USB-C output keeps the signal chain clean while feeding both headphones and recording software.
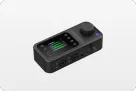
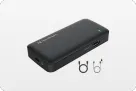
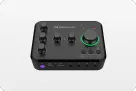
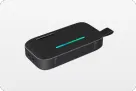
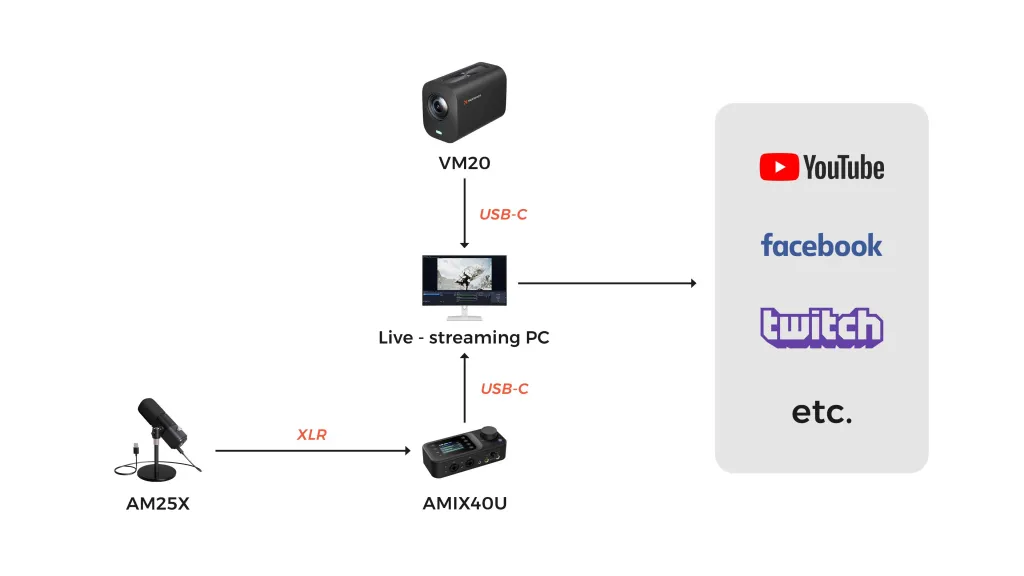
The NearStream AMIX40U portable audio mixer handles this scenario — multiple XLR inputs for microphones, independent level control, and USB-C connection to your computer. It replaces the need for a separate interface and keeps cable management manageable for creators who are not audio engineers.
Camera and Lighting: The Video Podcast Reality
Video podcasts dominate discovery in 2026. YouTube and short-form clips are how new listeners find shows. But the honest hierarchy for video quality is: lighting first, framing and background second, camera third. A well-lit webcam beats a poorly lit mirrorless camera every time.
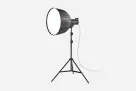
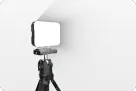
Start with one soft, directional light placed slightly above eye level and angled down. This eliminates the flat, shadowless look of overhead room lighting. Once your lighting is consistent, upgrade your camera.
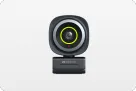
For dedicated video podcast cameras, look for USB-C connectivity that streams directly into recording software without a capture card. This removes a failure point and simplifies setup. A camera designed for continuous streaming — not photography — will have better heat management and consistent color output during long recording sessions.
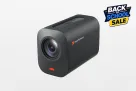
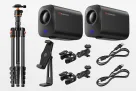
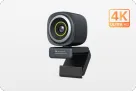
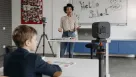
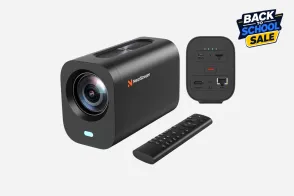
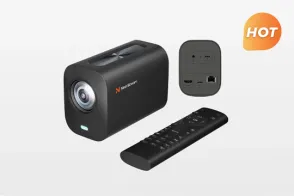
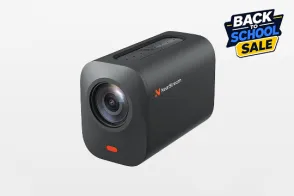
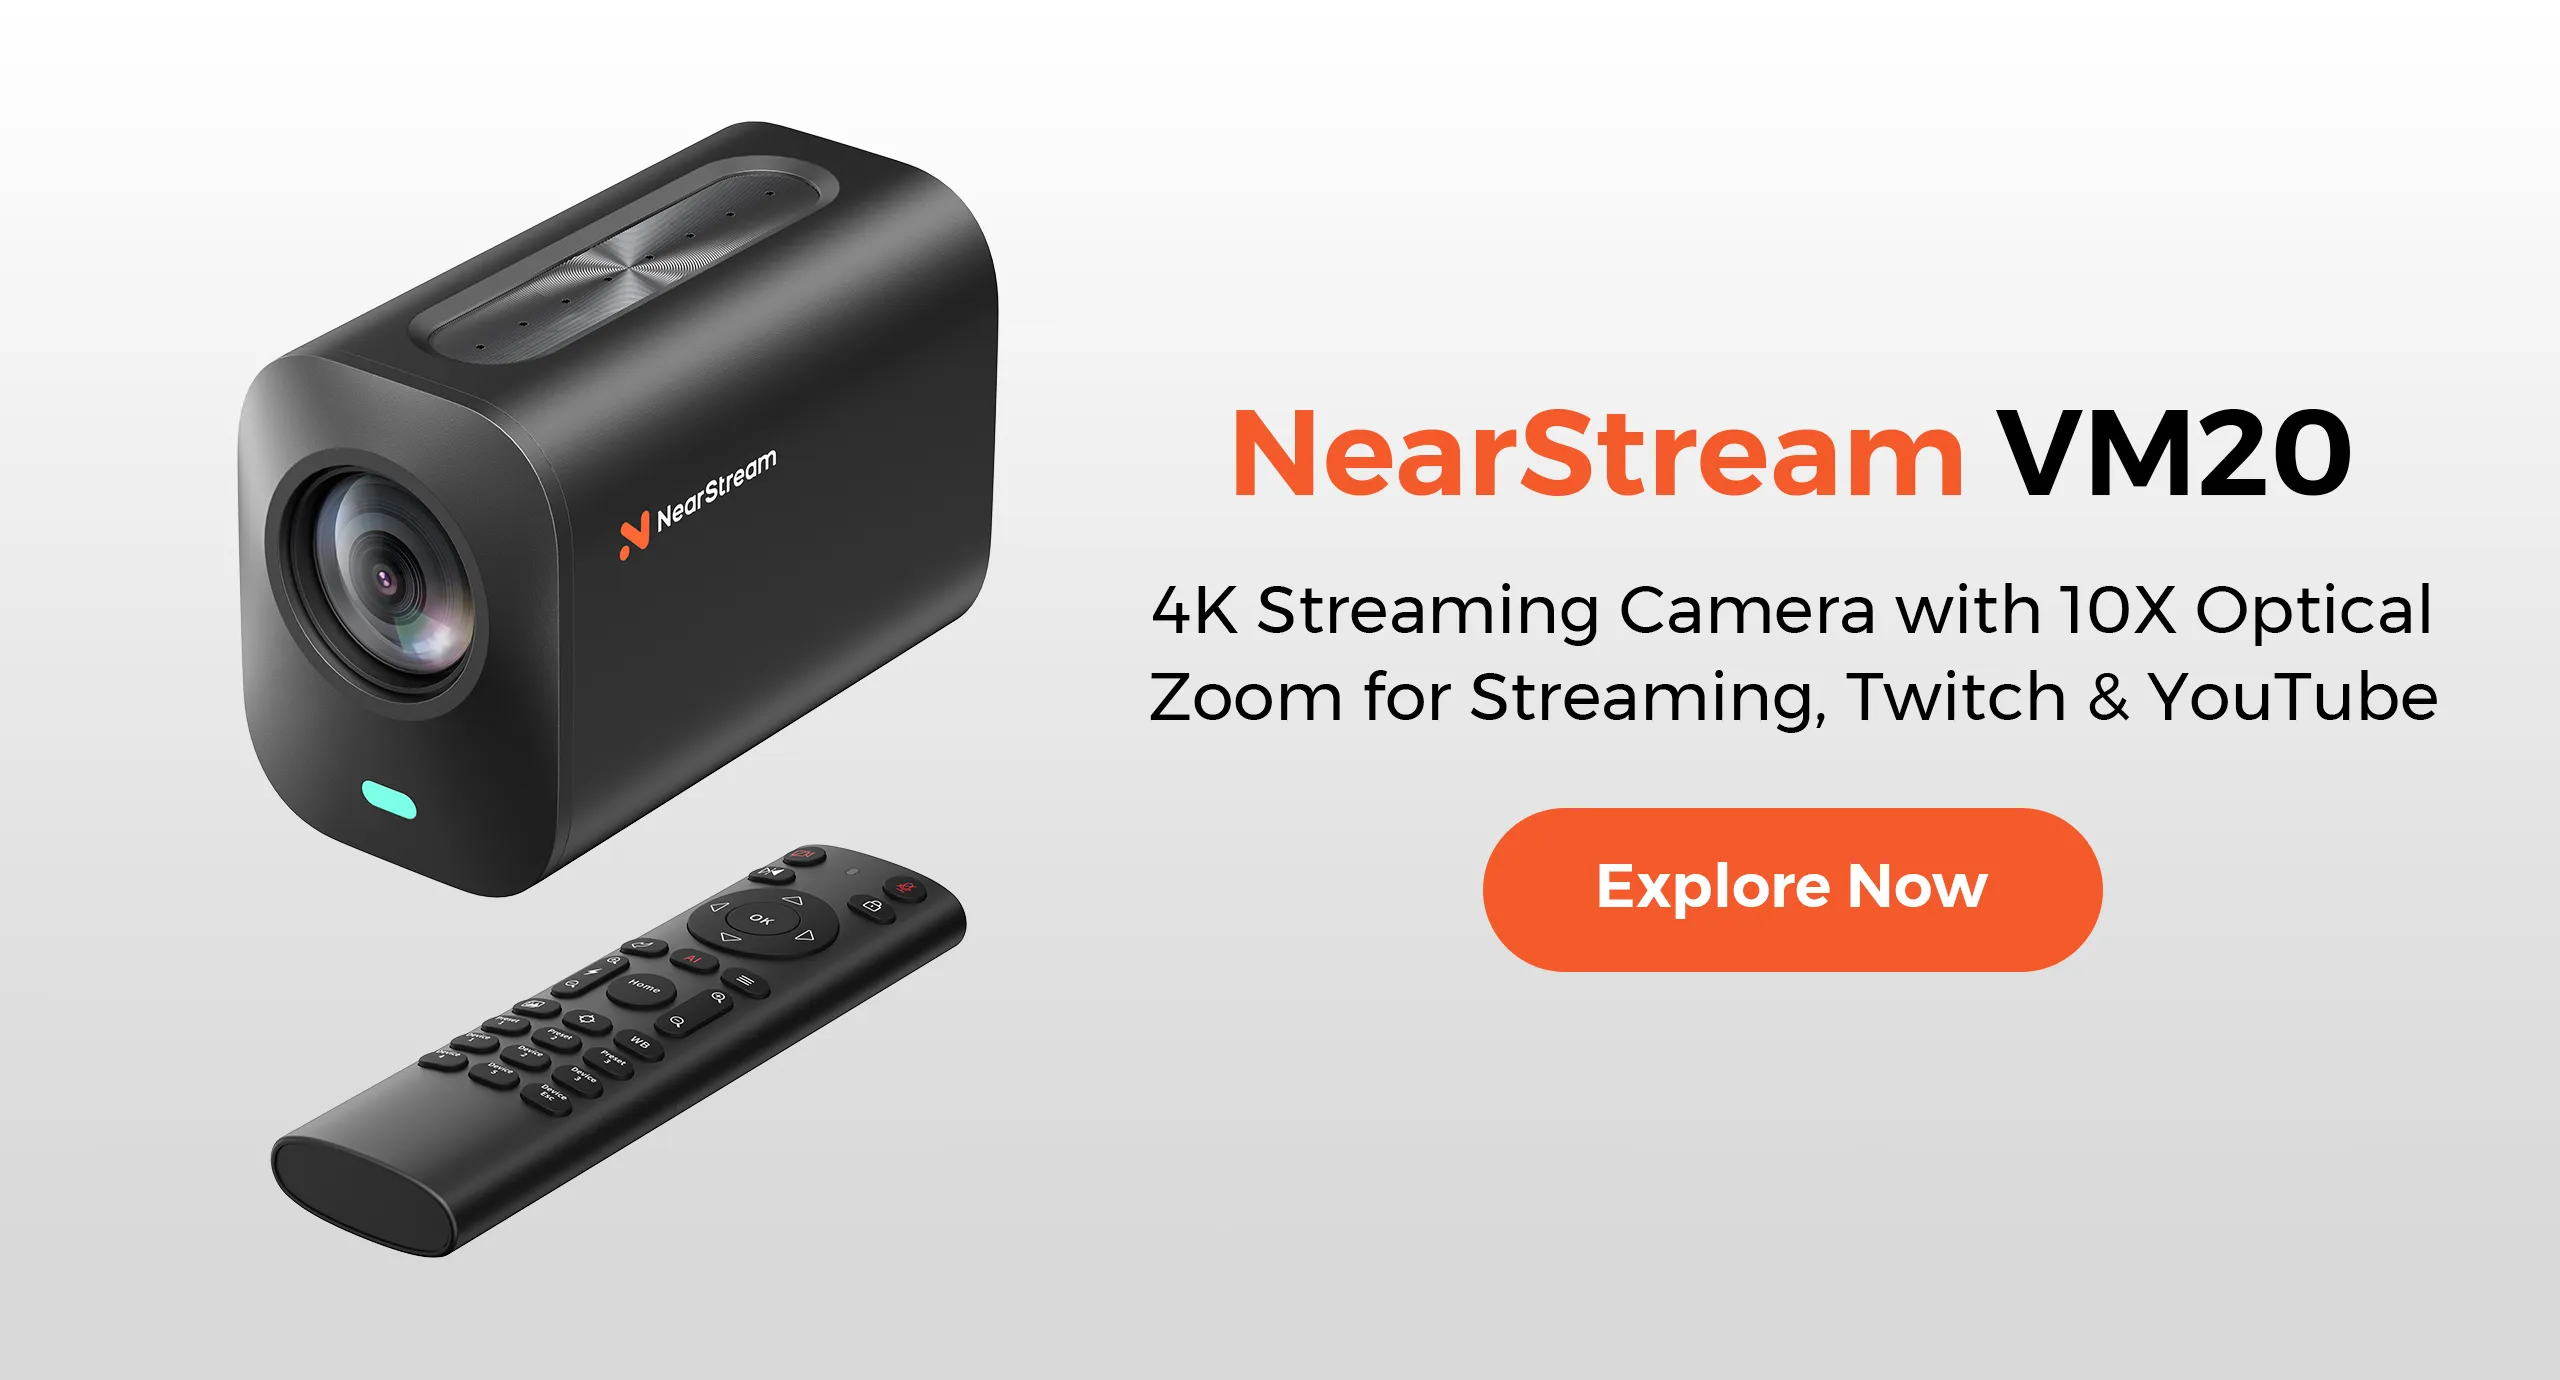
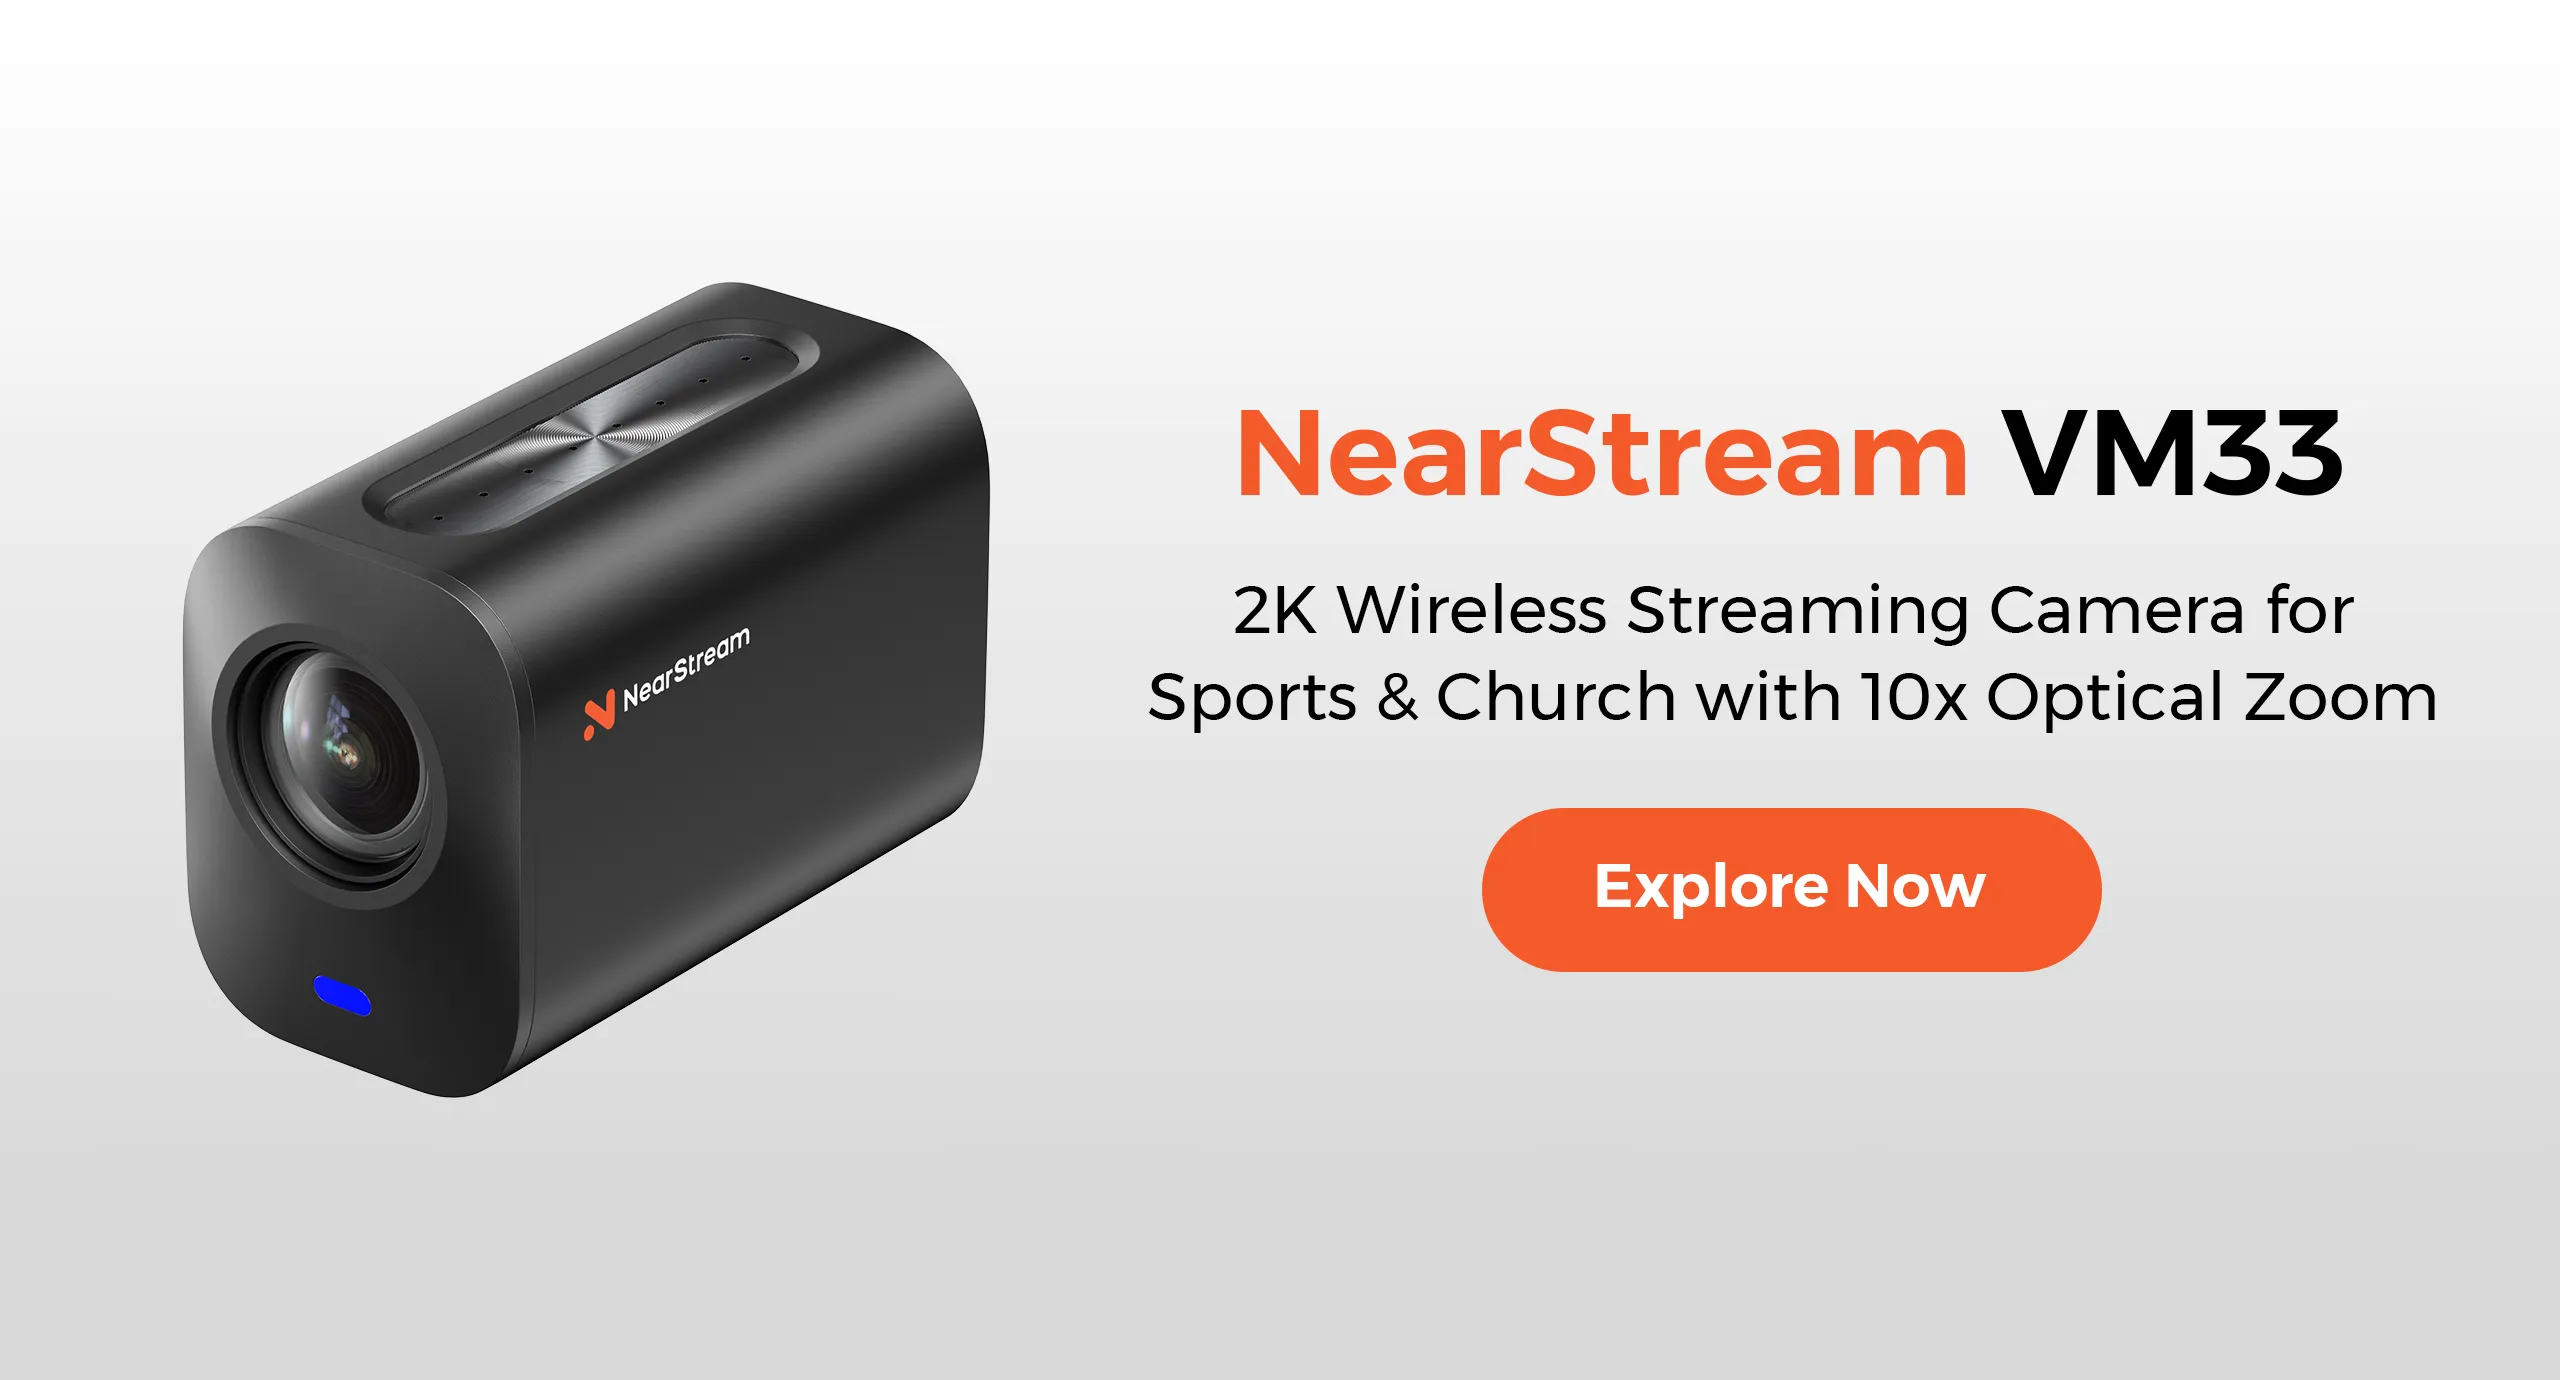
The NearStream VM20 4K wired streaming camera is built for this use case. It connects via USB-C, streams directly into OBS or Riverside, and is designed for multi-camera podcast setups without requiring a video switcher or capture card.
Recording Software: The Free Foundation
You do not need to pay for recording software to start. Audacity (free, open-source, cross-platform) handles everything a beginner needs: recording, basic editing, noise reduction, and export to MP3. GarageBand (free on Mac) offers a friendlier interface with similar capabilities.
For remote interviews, invest in a platform that records each participant locally — Riverside, Descript, or Zencastr — rather than recording over Zoom. Zoom compresses audio heavily and gives you one merged track. Local recording platforms capture separate, uncompressed audio files per person. This single choice does more for audio quality than any microphone upgrade.
Budget Tiers: Three Realistic Starting Points
Starter Setup ($150–$250)
Hybrid USB/XLR microphone (condenser or dynamic, matched to your room)
Closed-back wired headphones
Basic boom arm or desktop stand
Foam windscreen or pop filter
Audacity or GarageBand for recording
Your smartphone as a video camera (if doing video)
This setup produces professional-sounding audio and respectable video. The focus should be on consistency — publishing 20 episodes with this gear teaches you more about your actual needs than researching upgrades.
Serious Setup ($500–$800)
Hybrid microphone with onboard processing
Professional boom arm with cable management
Dedicated video podcast camera with USB-C streaming
Key light or softbox lighting
Acoustic treatment (panels, rug, heavy curtains)
Remote recording platform subscription
This tier adds video polish and audio refinement. The camera and lighting upgrade makes the show look intentional on YouTube. Acoustic treatment — even basic panels — tightens the sound significantly.
Studio Setup ($1,500–$2,500+)
Multiple microphones (one per local host)
Multi-input mixer or interface with independent headphone feeds
Two or more dedicated streaming cameras
Three-point lighting system
Professional boom arms for each mic position
Acoustic treatment for the entire room
This is for regular in-person panel shows or professional co-hosted formats. The investment only makes sense when you have proven consistency and a growing audience.
The Hidden Cost Most Guides Ignore: Integration
Here is what most equipment lists miss: the cost of making everything work together. Buying a Sony camera, a Shure microphone, a Focusrite interface, and Elgato lighting gives you excellent individual components. It also gives you four different software ecosystems, four power adapters, incompatible cable types, and no single source of support when something fails.
An integrated kit — where camera, microphones, mixer, stands, and cables are designed to work together — removes this integration tax. One USB-C protocol carries video and audio. One support team understands the full signal chain. One purchase decision replaces a month of compatibility research.
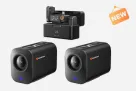
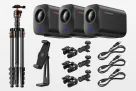
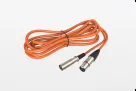
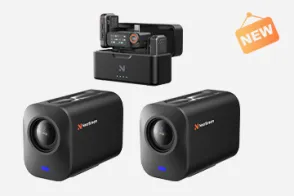
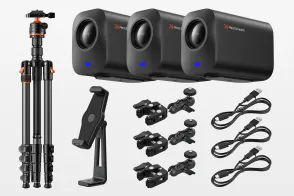
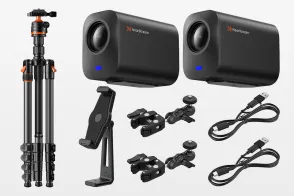
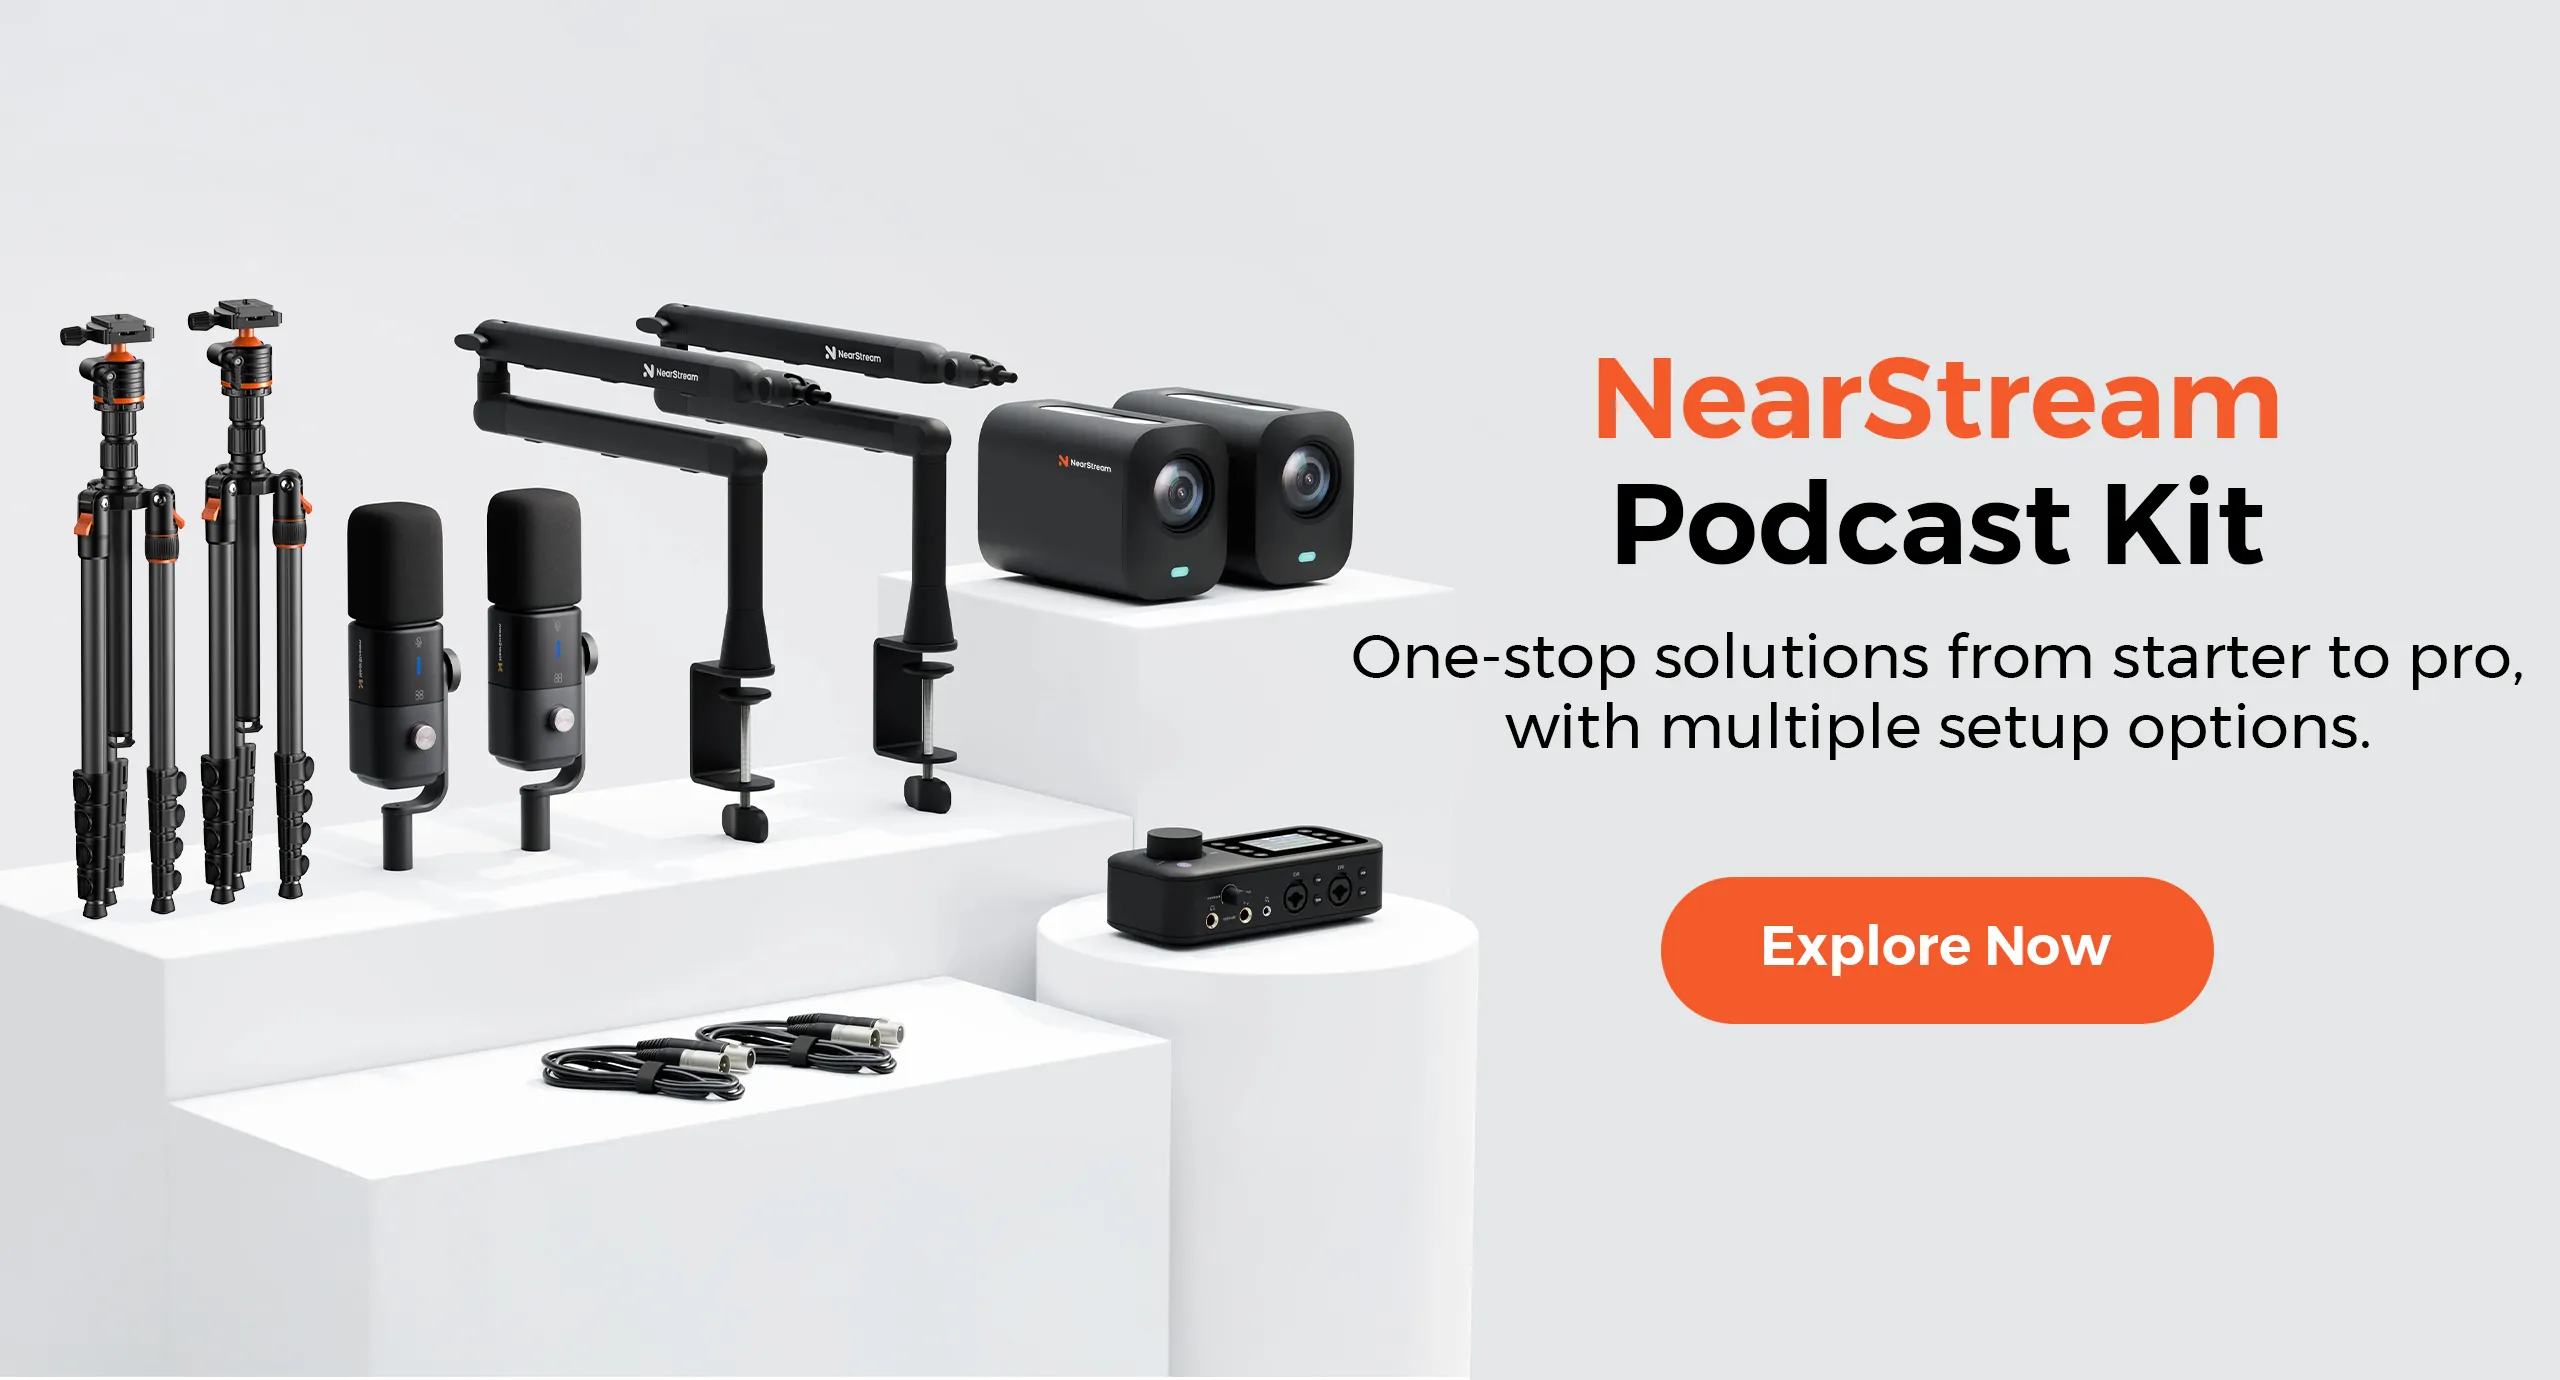
For creators who want to skip the integration headache entirely, NearStream's podcasting solutions provide a modular video podcasting kit. The components — VM20 cameras, AM25X microphones, AMIX40U mixer, ST20 boom arms, and XLR cables — are designed to connect seamlessly, scaling from a solo desk setup to a four-person multi-camera studio without replacing core gear.
Why the "Best" Microphone Depends on Your Room (Not Your Budget)
Here is a three-layer why chain that most guides never unpack:
Layer 1: You want a microphone that makes your voice sound clear and professional. Layer 2: Clarity depends on signal-to-noise ratio — the ratio of your voice to background sound. A mic with excellent frequency response still sounds bad if the noise floor is high. Layer 3: The noise floor is determined primarily by your room, not your microphone. Hard walls, bare floors, and reflective surfaces create reverb that raises the noise floor.
The common misconception: expensive microphones fix bad rooms. They do not. They reveal bad rooms in higher fidelity. This is why a modest microphone in a closet full of clothes often sounds better than a premium mic in an empty office.
The practical implication: before buying any microphone, treat your recording space. Hang a heavy blanket behind you. Put a rug on the floor. Fill bookshelves with books. These zero-cost changes lower your noise floor more effectively than any hardware upgrade. With basic treatment in place, a condenser microphone's detail and clarity become assets rather than liabilities.
The Video Podcast Upgrade Path: When Audio-Only Stops Being Enough
Most successful podcasts eventually add video. The reason is not vanity — it is distribution. YouTube is the second-largest search engine in the world, and short-form video clips (TikTok, Instagram Reels, YouTube Shorts) are now the primary discovery mechanism for new podcasts. A purely audio show misses this entire channel.
The transition from audio to video is where many creators make expensive mistakes. They assume they need a complete studio rebuild. They do not. The upgrade path is incremental:
Phase 1: Audio-only foundation. Master your microphone technique, room treatment, and editing workflow. Publish 20+ episodes. Prove consistency.
Phase 2: Add one camera. A single USB-C streaming camera positioned at eye level, plus one soft light, transforms your audio show into a video show. Your existing microphone and software workflow remain unchanged.
Phase 3: Add a second camera angle. A second camera — perhaps a wide shot showing your desk and background — gives you editing flexibility. You can cut between angles to maintain visual interest during long conversations.
Phase 4: Multi-person video. Only when you have regular in-person co-hosts or guests does a multi-camera, multi-microphone setup become necessary. At this stage, an integrated kit with unified connectivity saves significant setup time.
The non-intuitive dimension: video quality matters less than you think in the early phases. A well-lit, stable 1080p shot with good audio outperforms a shaky 4K shot with echoey sound. Invest in lighting and audio first. Upgrade resolution later.
Cable Management: The Unsung Hero of Professional Podcasting
Here is something no gear review mentions: cable mess kills momentum. When your desk is a tangle of USB cables, power adapters, and headphone wires, setting up for each recording session feels like chore. When setup feels like chore, you skip sessions. When you skip sessions, your show dies.
The solution is not buying more gear — it is designing your signal chain for cleanliness from the start. Route cables behind your desk using adhesive cable clips. Use a single USB-C hub for all connections rather than plugging directly into your computer. Label every cable at both ends. Keep a "recording mode" and "work mode" desk configuration, and switch between them in under two minutes.
For multi-person setups, this becomes even more critical. Four microphones, four headphones, two cameras, and a mixer create a cable web that looks like a server room. An integrated kit with unified USB-C connectivity — where one cable carries multiple audio channels and video feeds — reduces this to a manageable handful of connections.
Stands and Mounts: The Foundation Everything Sits On
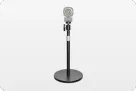
A microphone without a proper stand is like a camera without a tripod — technically functional, practically frustrating. Desktop tripod stands that ship with starter microphones place the capsule too far from your mouth, pick up keyboard vibrations, and force you to lean forward unnaturally. A boom arm solves all three problems simultaneously.
The key specification to check is reach. A boom arm needs to extend from its mounting point to your mouth position without stretching to its limit. Arms that are fully extended vibrate more and sag over time. Mounting position matters too — clamping to the back edge of your desk gives the arm room to arc naturally, while side mounting creates awkward angles.
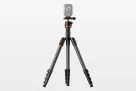
For video podcasts, camera stability is equally important. A shaky camera — even slightly — signals amateur production instantly. A weighted desktop stand with adjustable height keeps your camera at eye level without wobbling during animated conversations. For wider shots or multi-angle setups, a tripod with a fluid head allows smooth panning if you need to reframe mid-show.
The NearStream Camera Desk Stand uses a circular weighted base that stays planted during desk bumps, with adjustable height to match your seating position. For floor-mounted wide shots, the ST30 heavy-duty tripod provides the stability needed for professional framing without the wobble of lightweight consumer tripods.
The "Buy Once, Cry Once" Trap in Podcast Gear
There is a philosophy in audio equipment circles: "buy once, cry once," meaning you should purchase the highest quality you can afford to avoid upgrading later. This advice is well-intentioned but often misapplied by beginners.
The problem: you do not yet know what you actually need. A beginner who buys a $400 microphone because they were told to "buy once" may discover after ten episodes that they actually need a different polar pattern, or that their room makes any mic sound mediocre, or that they prefer remote interviews and never needed the premium in-person setup they purchased.
The smarter approach: buy for your current format with an upgrade path. A hybrid USB/XLR microphone, an adjustable boom arm, and software-based recording give you a foundation that adapts. You are not "crying" when you upgrade — you are making an informed decision based on actual usage, not speculation.
This is why modular kits make sense for uncertain beginners. You start with the solo configuration. When you add a co-host, you add a second microphone and cable. When you add video, you add a camera and light. Each addition builds on the existing foundation rather than replacing it.
When This Advice Is Wrong (And What to Do Instead)
The guidance above assumes you are recording spoken-word content in a home or office environment. There are legitimate exceptions:
Exception 1: You record music or highly dynamic vocals. If your podcast includes live musical performances, singing, or dramatic voice acting, a condenser microphone is definitely the right choice — and the AM25X's detailed capsule excels here. In this case, budget for acoustic treatment first, then leverage the condenser's full capability.
Exception 2: You record exclusively in treated studios. If you have access to a professionally treated room, a condenser microphone is the clear winner. It reveals the detail, air, and presence that treated spaces make possible.
Exception 3: Your show is audio-only and you never plan to add video. In this case, you can ignore camera and lighting entirely. Invest the savings in acoustic treatment and a higher-tier microphone. The audio-only path is simpler and less expensive.
Exception 4: You podcast in unpredictable locations (field reporting, events). Portable recorders with built-in microphones, wireless lavalier systems, and battery-powered cameras become essential. The studio-focused advice above does not apply.
Related Guides
Ready to go deeper? These focused guides break down specific decisions:
For a step-by-step checklist before you buy, see our podcast equipment checklist — it separates essentials from nice-to-haves and includes a pre-purchase verification flow.
For the complete microphone decision framework, read our guide on how to choose the best budget podcast microphone — it covers dynamic vs. condenser, USB vs. XLR, and room-specific recommendations.
Frequently Asked Questions
What is the one piece of podcast equipment I should buy first?
A hybrid USB/XLR microphone. It is the single biggest lever on audio quality and gives you an upgrade path without replacement. Everything else — boom arm, headphones, software — can be added incrementally. If your room has basic treatment (rug, curtains, blanket behind you), a condenser like the AM25X delivers exceptional clarity. If your room is completely untreated and noisy, start with a dynamic mic and treat the room before upgrading.
Can I use a gaming headset microphone for podcasting?
Technically yes, but it is not recommended. Gaming headset mics are designed for voice chat clarity, not broadcast quality. They lack the frequency response and noise rejection of dedicated podcast microphones. If budget is extremely tight, use your phone's voice recorder app instead — it often sounds better than a headset mic.
How do I know if my room is "treated" enough for a condenser mic?
Clap your hands sharply in the center of the room. If you hear a distinct echo or ringing decay, your room needs more treatment. Add soft surfaces (rugs, curtains, bookshelves, blankets) until the clap sounds dull. A condenser microphone will reveal untreated room sound more than a dynamic, but with a boom arm keeping the mic close to your mouth and basic soft surfaces in place, most home offices work fine.
Is it better to buy a complete podcast kit or individual components?
If you enjoy researching compatibility and have time to troubleshoot integration issues, individual components let you optimize each piece. If you want to start recording this week with minimal technical overhead, a complete kit designed for podcasting removes the guesswork. The "right" answer depends on whether your bottleneck is budget or time.
Do I need a separate camera operator for a video podcast?
Not with modern streaming cameras. USB-C connected cameras like the NearStream VM20 feed directly into recording software without a capture card or operator. For multi-camera setups, software switching in OBS or dedicated podcast platforms handles camera cuts automatically. The traditional three-person AV crew model is no longer necessary for most podcast formats.
How much should I budget for my first podcast setup?
A solid starter setup costs between $150 and $250. This covers a hybrid microphone, headphones, boom arm, and pop filter. If you are adding video, budget an additional $300–$500 for a dedicated camera and lighting. The key is starting with essentials and upgrading based on actual needs after you have published consistently.
What is the difference between a mixer and an audio interface?
An audio interface converts analog microphone signals to digital and sends them to your computer. A mixer does the same but adds real-time level control, EQ, and routing for multiple microphones. For solo podcasters, an interface is sufficient. For multi-person shows, a mixer gives you independent control over each voice during recording.
Start With What You Have, Upgrade With Intention
The best podcast equipment is the gear that gets out of your way and lets you focus on content. Start minimal, publish consistently, and let your first 20 episodes teach you what you actually need. The microphone matters most. The room matters second. Everything else is optimization.
When you are ready to add video, expand to multiple hosts, or simply want a setup that works together without a engineering degree, explore NearStream's integrated podcasting kits — designed to scale from solo shows to full studios without replacing your core investment.












 sales@nearstream.us