How to Choose a Podcast Microphone: Dynamic vs. Condenser, USB vs. XLR, and the Room Factor
Stop guessing which podcast microphone to buy.
best budget microphone for podcasting
podcast microphone guide
Updated: Aug 4, 2026 · 8 minutes read
Modular Video Kits for Growing Business.
Finding the best budget microphone for podcasting isn't about price — it's about matching your room and format. This podcast microphone guide breaks down dynamic vs. condenser, USB vs. XLR, and why a condenser with basic room treatment often beats a dynamic in an empty office.
You have read the reviews. You have watched the shootouts. You have seen the SM7B described as "the industry standard" and the Blue Yeti recommended as "perfect for beginners." And you are more confused than when you started. Here is why: most microphone guides compare microphones as if they exist in a vacuum. They do not. A microphone interacts with your room, your voice, and your recording format. Ignore any of those three, and you will buy the wrong mic.
Choosing a podcast microphone comes down to three decisions: dynamic vs. condenser (based on your room), USB vs. XLR (based on your format and upgrade plans), and polar pattern (based on how many people you are recording). This guide gives you a decision framework for each — plus the non-obvious factors that separate a good purchase from an expensive mistake.
Dynamic vs. Condenser: The Room Decides, Not the Budget
This is the most important microphone decision, and most beginners get it backwards. They choose based on price or brand reputation instead of the one factor that determines everything: their recording environment.
Dynamic Microphones: Forgiveness in Noisy Spaces
Dynamic microphones use a moving coil to generate an electrical signal. They are less sensitive than condensers, which makes them forgiving in untreated, noisy rooms. They reject off-axis sound, handle high sound pressure levels without distorting, and mask room echo and background noise.
Choose dynamic if:
You record in a completely untreated room with hard floors and bare walls
You have significant background noise (street traffic, loud HVAC, shared living space)
You move around a lot while speaking and cannot maintain consistent mic distance
You need maximum isolation and do not want to think about room treatment
Condenser Microphones: Detail That Rewards Good Setup
Condenser microphones use a charged diaphragm that is more responsive to subtle sound variations. They capture more detail, more air, and more high-frequency presence. They are more sensitive to room sound — which means they reward good room treatment and proper mic technique, but they are not the disaster in home offices that some guides claim.
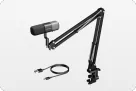
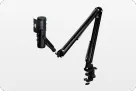
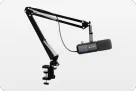
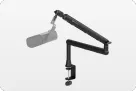
Here is the nuance most guides miss: a condenser with a tight cardioid pattern, positioned close to your mouth on a boom arm, in a room with basic soft surfaces (rug, curtains, a blanket behind you), performs excellently for podcasting. The sensitivity becomes an asset — your voice sounds fuller, more present, and more professional. The problems only arise when you place a condenser three feet away on a desk in an empty room.
Choose condenser if:
Your room has basic treatment (rug, curtains, soft furniture, blankets)
You can position the mic close to your mouth (2–4 inches) on a boom arm
You want the detail and presence that make voices sound broadcast-quality
You record music, singing, or dramatic voice acting alongside spoken word
The non-intuitive dimension: the "dynamic vs. condenser" debate is often overstated. With a boom arm maintaining close distance and basic room treatment, a condenser microphone delivers noticeably better sound for podcasting. The key is not avoiding condensers — it is setting them up correctly.
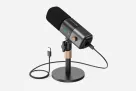
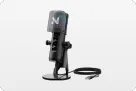
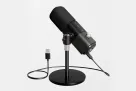
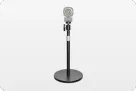
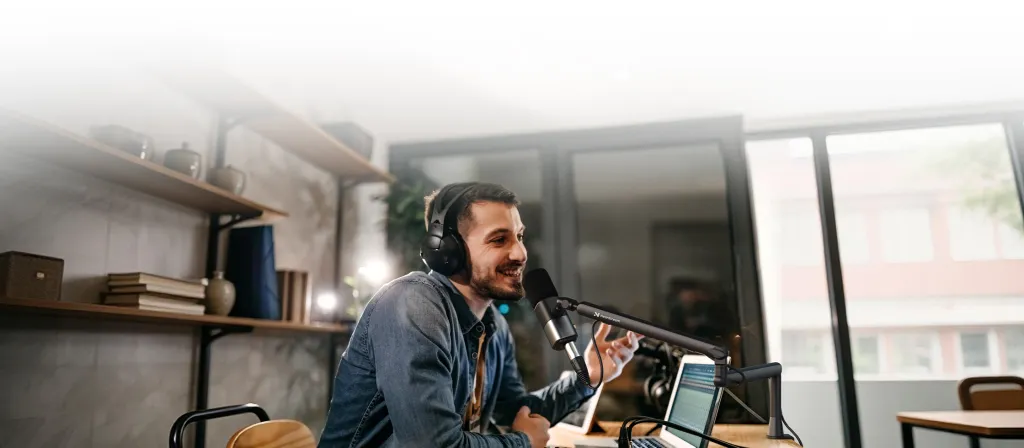
The NearStream AM25X is a hybrid USB/XLR condenser microphone designed for podcasters and streamers. Its condenser capsule captures the detail and presence that make voices sound professional, while its cardioid pattern and side-address design keep room noise manageable when paired with a boom arm and basic treatment. For video podcasters, the side-address form factor sits naturally in a camera frame without dominating the shot.
USB vs. XLR: The Format and Future-Proofing Decision
This decision is less about sound quality and more about workflow, scalability, and upgrade path.
USB Microphones: Simplicity First
USB microphones have a built-in analog-to-digital converter and preamp. You plug them into your computer and they work. No interface, no cables, no gain staging. This simplicity makes them ideal for beginners and solo podcasters.
Advantages:
Zero setup complexity
No additional hardware needed
Lower total cost (no interface or mixer)
Portable — works with any computer
Limitations:
One mic per computer (cannot easily record multiple USB mics simultaneously)
Built-in preamps are adequate but not exceptional
No upgrade path — when you outgrow USB, you replace the mic
XLR Microphones: Scalability and Quality
XLR microphones output an analog signal that requires an audio interface or mixer to convert to digital. This adds complexity and cost but unlocks professional-grade preamps, multi-mic recording, and outboard gear.
Compatible with compressors, EQ, and other outboard processing
Upgrade the interface without replacing the microphone
Limitations:
Requires additional hardware (interface or mixer)
More cables and setup complexity
Higher total entry cost
The Hybrid Solution: USB and XLR in One Mic
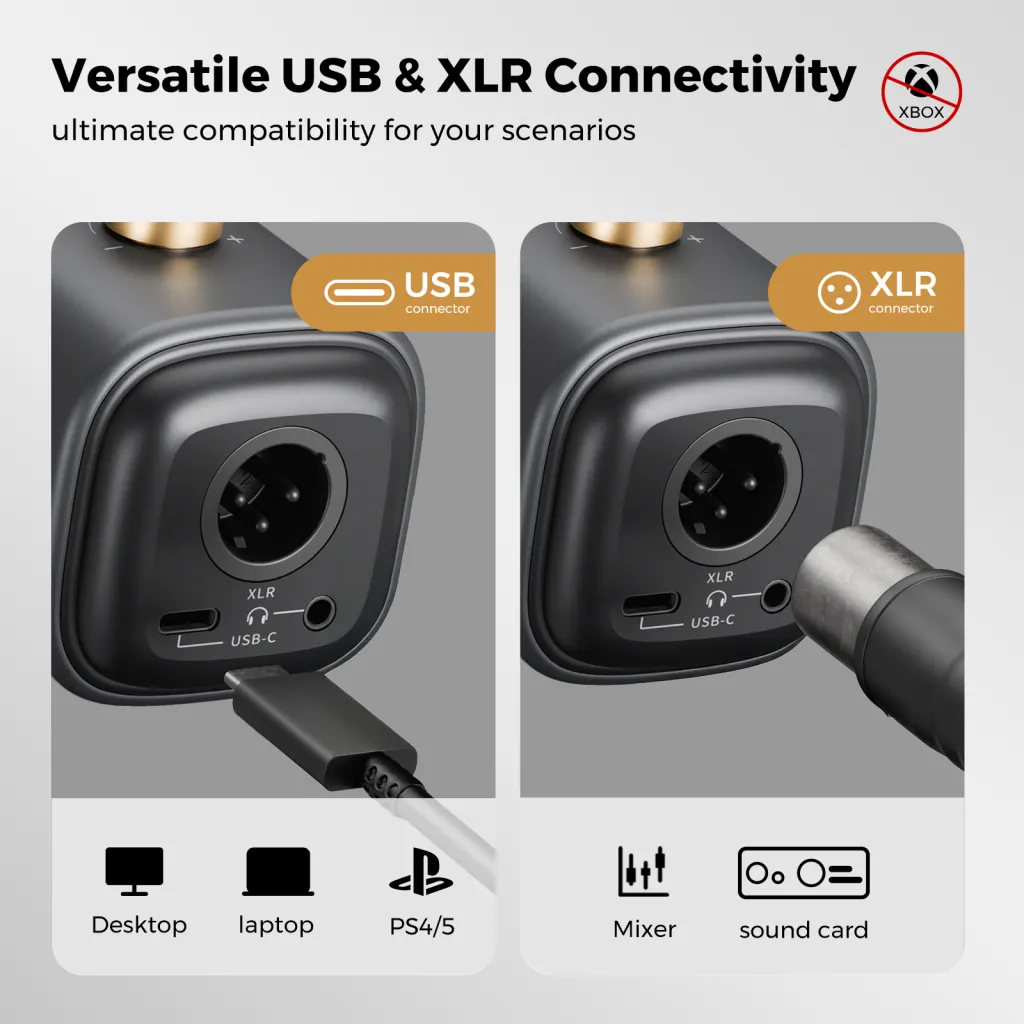
The smartest choice in 2026 is a microphone that offers both USB and XLR outputs. Start in USB mode for zero-friction recording. When you are ready to add an interface, record multiple people, or access better preamps, switch to XLR without buying a new microphone.
This removes the "USB or XLR?" paralysis entirely. You are not committing to a dead-end technology, and you are not overbuying complexity you do not yet need.
The NearStream AM25X is built around this hybrid philosophy. It functions as a plug-and-play USB microphone for solo recording and switches to XLR for multi-mic setups through a mixer. Its condenser capsule delivers broadcast-level detail whether you are in USB or XLR mode.
Polar Patterns: Why Cardioid Is the Default (And When to Break the Rule)
Polar pattern describes where a microphone "listens." It is the third critical decision after dynamic/condenser and USB/XLR.
Cardioid: The Podcast Standard
Cardioid microphones capture sound primarily from the front, reject sound from the sides, and strongly reject sound from the rear. This creates an isolation bubble around your mouth, reducing room echo and background noise.
When to use cardioid:
Solo recording
Each person has their own microphone
You want to minimize room sound
You are in an untreated or semi-treated space
Supercardioid and Hypercardioid: Tighter Focus
These patterns are even more directional than cardioid, with a tighter front lobe and slightly more rear sensitivity. They offer more isolation but require stricter mic technique — move off-axis, and your voice drops off sharply.
When to use supercardioid/hypercardioid:
Noisy environments where maximum rejection is needed
Multi-person recording with mics placed close together
You have consistent mic technique and do not move while speaking
Omnidirectional: Rarely Right for Podcasting
Omnidirectional microphones capture sound equally from all directions. They are useful for roundtable discussions where one mic must cover multiple people, but they capture every sound in the room equally. For most podcasters, omnidirectional is the wrong choice.
When omnidirectional makes sense:
One microphone for multiple people in a treated room
ASMR or ambient recording
You want to capture room ambience intentionally
Pattern
Front Sensitivity
Side Rejection
Rear Rejection
Best For
Cardioid
High
Moderate
Strong
Solo podcasting, standard use
Supercardioid
Very high
Strong
Moderate
Noisy environments, close mic placement
Omnidirectional
Equal all around
None
None
Roundtables in treated rooms
Three Real-World Scenarios: Which Mic for Which Situation
Scenario 1: Solo Podcaster in a Home Office
You record alone at your desk. Your room has a wood floor, one window, and a computer that runs during recording. You have added a rug and hung a curtain.
Recommended approach: Condenser cardioid microphone in USB mode on a boom arm. The condenser captures the detail and presence that make your voice sound professional. The cardioid pattern focuses on your voice. The boom arm keeps the mic 2–4 inches from your mouth, maximizing direct sound and minimizing room sound. USB mode keeps setup simple.
Common mistake: Buying a dynamic microphone because you were told "condensers are for studios." With basic treatment and a boom arm, a condenser sounds noticeably better for spoken word. The detail and air it adds are exactly what separate amateur-sounding podcasts from professional ones.
Scenario 2: Co-Hosted Show with Two People in the Same Room
You and a co-host sit across a table. You have a small spare bedroom with carpet and curtains — semi-treated, but not a studio.
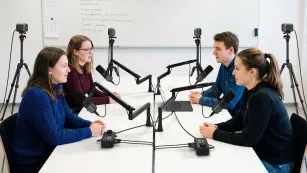
Recommended approach: Two condenser cardioid microphones on boom arms, positioned close to each speaker's mouth (2–4 inches). The tight cardioid pattern minimizes bleed — your mic picks up your voice, not your co-host's. A compact mixer with two XLR inputs and USB-C output feeds both mics into your computer as separate tracks.
Common mistake: Buying one omnidirectional microphone for both people. The omni captures both voices, the room, and every background sound equally. You cannot edit the voices independently, and room noise is amplified.
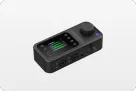
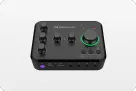
The NearStream AMIX40U handles this exact scenario — multiple XLR inputs with independent gain knobs, USB-C output to your computer, and a compact footprint that fits on a desk between two hosts.
Scenario 3: Video Podcaster Upgrading from Audio-Only
You have a successful audio podcast and want to add video for YouTube and short-form clips. You need a microphone that sounds good and looks professional on camera.
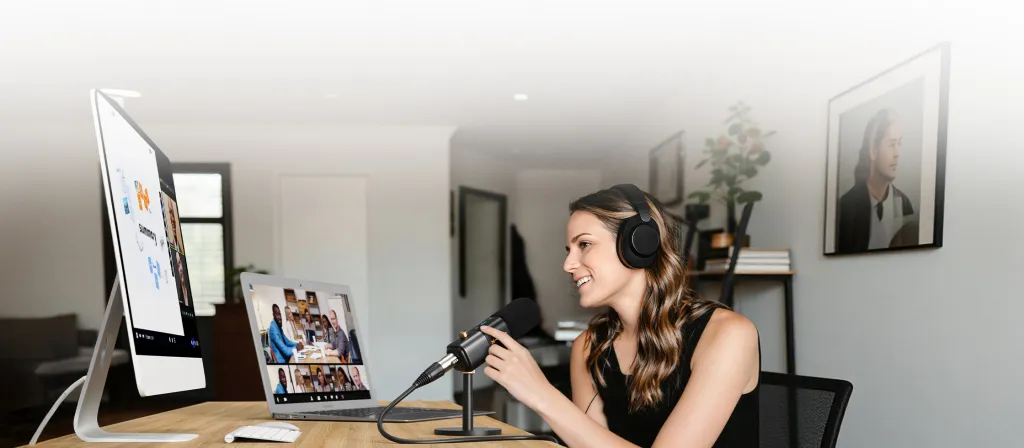
Recommended approach: Hybrid USB/XLR condenser microphone with a side-address design. The side-address form factor looks intentional on camera — like the microphones you see on professional talk shows — rather than the top-address "podcasting mic" look that can appear amateur. The condenser capsule delivers the detail that translates well to video platforms where audio quality is judged more harshly. USB mode maintains your existing workflow. When you add a second host or upgrade to XLR, the same microphone adapts.
Common mistake: Choosing a microphone based on audio quality alone, ignoring how it appears on camera. A microphone that sounds excellent but looks like a gaming headset or a chunky USB blob undermines the visual professionalism you are trying to achieve with video.
Budget Tiers: What You Get at Each Price Point
Entry Level ($60–$100)
At this price, you are buying reliability and basic sound quality. Microphones in this range use cardioid patterns and USB connectivity. They are perfectly adequate for spoken-word podcasting.
What you get: Consistent sound, decent noise rejection, plug-and-play simplicity. What you do not get: Exceptional detail, upgrade path, or premium build quality.
Mid-Range ($100–$200)
This is the sweet spot for most podcasters. Microphones in this range offer hybrid USB/XLR connectivity, better capsules, and more refined frequency response tuned for voice. Build quality improves, and accessories like shock mounts and pop filters are often included.
What you get: Hybrid connectivity, improved clarity, better accessories, upgrade path. What you do not get: Studio-grade detail or broadcast-level noise floor.
Premium ($200–$400)
Premium microphones target creators who have proven consistency and want the best possible sound. These are typically XLR-only microphones with broadcast heritage — the mics you see in radio stations and professional studios.
What you get: Exceptional build quality, refined frequency response, professional noise floor, status signaling. What you do not get: A guarantee that listeners will notice the difference. In blind tests, most audiences cannot distinguish between a $150 and a $400 microphone when both are properly used.
The Frequency Response Trap: Why Spec Sheets Mislead Beginners
Microphone marketing loves to show frequency response graphs — smooth curves spanning 20Hz to 20kHz with gentle bumps in the "presence" range. Here is why those graphs matter less than you think for podcasting.
Frequency response describes how a microphone reproduces different pitches. A mic with a "flat" response reproduces all frequencies equally. A mic with a "boosted" presence range (around 3–5 kHz) adds clarity and intelligibility to speech. This sounds desirable — and it is — but the graph does not tell you how that boost interacts with your specific voice.
If you have a naturally bright, nasal voice, a microphone with a strong presence boost will exaggerate those qualities and make you sound harsh. If you have a deep, mellow voice, the same microphone might give you the perfect amount of cut and clarity. The "best" frequency response is the one that complements your voice, not the one with the flattest graph.
This is why microphone shootouts on YouTube are misleading. The reviewer is evaluating the mic with their voice, their room, and their technique. Your results will differ. The practical workaround: buy from retailers with generous return policies, record a test episode in your actual space, and return what does not flatter your voice.
The Proximity Effect: Your Secret Weapon (Or Hidden Enemy)
The proximity effect is a physical phenomenon where directional microphones (cardioid, supercardioid) boost bass frequencies as the sound source moves closer to the capsule. At 2 inches, your voice sounds rich and full. At 6 inches, it sounds thinner.
This is both a tool and a trap. Experienced podcasters use the proximity effect intentionally — leaning in for emphasis, pulling back for a more conversational tone. Beginners often place the mic too close, creating boomy, muddy audio that is difficult to fix in post-production.
Rule of thumb: Start at 4 inches. This captures a natural, balanced tone without excessive bass. Move closer only for specific dramatic effect, and be aware that plosive risk increases with proximity. A pop filter becomes essential when working closer than 3 inches.
Microphone Maintenance: The Habit That Extends Lifespan
A well-maintained $100 microphone outlasts a neglected $300 microphone. Condenser microphones are electronically more delicate than dynamics, but with proper care they last for years.
After every recording session:
Wipe the grille with a dry microfiber cloth to remove moisture and oil
Check the cable connection for looseness
Retract the boom arm to its storage position to reduce spring fatigue
Monthly:
Inspect the foam windscreen or pop filter for dust buildup
Check cables for kinks or fraying
Test record and listen for changes in sound quality (early warning of capsule issues)
Annually:
Replace foam windscreens (they degrade and harden over time)
Professional cleaning if the grille shows corrosion or heavy buildup
Re-evaluate whether your mic still matches your format and room
When an Expensive Microphone Is a Waste of Money
There are three situations where spending more on a microphone produces zero audible improvement:
Situation 1: Your room is untreated. A $400 microphone in an empty office sounds worse than a $100 microphone in a treated space. The expensive mic simply reveals the room's flaws in higher fidelity. Treat the room first, then upgrade the mic.
Situation 2: Your technique is inconsistent. If you sway back and forth, vary your distance from the mic, or speak off-axis, an expensive microphone will punish these inconsistencies more harshly than a forgiving budget mic. Master technique first.
Situation 3: Your content is not compelling. The most expensive microphone in the world cannot fix boring content, poor pacing, or weak interviewing skills. Listeners forgive mediocre audio if the content is exceptional. They do not forgive exceptional audio with mediocre content.
Should I buy the Shure SM7B as my first podcast microphone?
The SM7B is an excellent microphone — for the right user. It is a low-output dynamic mic that requires significant clean gain, meaning you either need a high-end interface or a cloud lifter (additional $150). For beginners, a more sensitive condenser mic with hybrid USB/XLR connectivity offers excellent sound quality with far less complexity and cost. Consider the SM7B only after you have outgrown your first mic and have a treated room.
Is the Blue Yeti a good podcast microphone?
The Blue Yeti is a popular USB condenser microphone, but it is rarely the right choice for podcasters. Its default cardioid mode helps, but the multiple pattern options confuse beginners, and the desk stand encourages poor positioning (too far from the mouth). For podcasting, a dedicated cardioid condenser on a boom arm — like the AM25X — delivers better results.
Can I use my phone as a podcast microphone?
For testing your format and recording a few experimental episodes, yes. Modern smartphones record surprisingly good audio in quiet environments. For a published show, a dedicated microphone provides consistency, better noise rejection, and the ability to position the capsule optimally. Use your phone to validate your concept; upgrade to a mic when you commit to regular publishing.
What is phantom power, and do I need it?
Phantom power (48V) is electrical power sent through XLR cables to operate condenser microphones. Dynamic microphones do not need it. If you choose a condenser mic and use it in XLR mode, your interface or mixer must provide phantom power. In USB mode, the computer supplies power through the USB cable, so phantom power is not needed. This is one reason hybrid condenser mics are convenient — you get condenser quality without thinking about power supplies when in USB mode.
How close should I be to my podcast microphone?
For most condenser microphones used in podcasting, position your mouth 4–6 inches from the capsule. This distance captures a full, present sound while minimizing room noise and avoiding excessive bass from the proximity effect. Closer than 3 inches risks plosives and boominess. Farther than 8 inches lets room sound dominate. Use a boom arm to maintain consistent distance without leaning.
The Bottom Line: Room First, Mic Second, Price Third
Choosing a podcast microphone is not about finding the "best" microphone — it is about finding the right microphone for your specific situation. Your room determines whether dynamic or condenser makes sense. Your format determines USB vs. XLR. Your recording style determines polar pattern. Get those three decisions right, and any microphone in the $60–$150 range will serve you well.
If you want a condenser microphone that delivers broadcast-level detail and adapts as your show grows — from solo USB recording to multi-person XLR setups — the NearStream AM25X offers hybrid connectivity with a capsule designed for voice clarity. Start with what your room and format demand, and let your content — not your gear — be the reason listeners subscribe.



























 sales@nearstream.us