


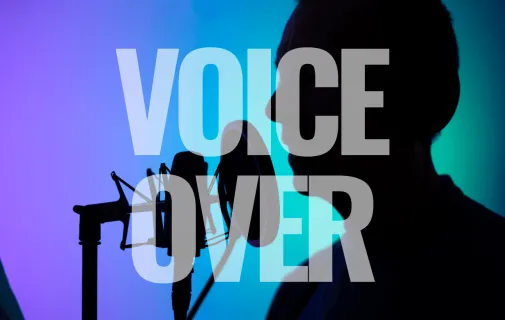
Adding a voice over to your video is one of the most effective ways to enhance storytelling, improve clarity, and elevate your content's professionalism. Whether you're making YouTube tutorials, product explainers, or corporate training videos, a well-produced voice over can transform a good video into a great one.
In this guide, you'll learn how to record a voice over, what equipment you need including trusted tools, and how to add voice over to video content using both desktop and mobile editors. We'll also cover best practices to ensure your narration sounds crisp, natural, and engaging.
Why Use Voice-Over in Your Videos?
Use Cases: YouTube Tutorials, Explainers, Vlogs, Corporate Training Videos
Voice overs serve a wide variety of purposes across creative and professional content types:
YouTube Tutorials: Step-by-step guidance enhanced with narration makes tutorials easier to follow and more relatable.
Explainer Videos: Simplify complex ideas with a clear voice that walks viewers through the visuals.
Vlogs: Use voice overs during B-roll or quiet scenes to add reflection or personal commentary.
Corporate Training: Maintain consistency and professionalism in internal communications and e-learning modules.
By using a voice over instead of or in addition to on-screen narration, creators can focus viewers' attention where it matters most.
Voice Overs vs. On-Screen Narration — Pros and Cons
Voice OverOn-Screen Narration
| Voice Over | On-Screen Narration |
| No need to appear camera-ready | Offers more personal, visual engagement |
| Easier to revise and re-record | May connect better for emotional storytelling |
| Viewers focus on visuals | Adds authenticity to informal content |
| Better for animation, screencasts | Harder to edit or replace sections |
Ultimately, your choice depends on your content style, audience, and production goals.
Equipment Essentials for Voice Over Production
Getting great sound starts with great gear. Here are the essentials, featuring recommended tools from NearStream:

Microphone Types: Condenser vs. Dynamic
Condenser Microphones are ideal for studio-style voice recordings. They offer:
High sensitivity and frequency response
Crystal-clear vocal capture
USB & XLR dual output for flexibility
Dynamic Microphones are better suited for live environments or when background noise is a concern.
If you're creating podcasts, voice overs, or voice-based tutorials, a condenser mic is your best bet.
Audio Mixers: When and Why You Need One
An audio mixer helps you fine-tune audio levels, apply EQ, and reduce background noise in real-time.
Why use a mixer?
Real-time monitoring
Gain control and signal clarity
Multi-device support
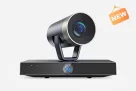
We recommend the NearStream AMIX40U — a portable, USB-enabled mixer that's great for solo creators and podcast setups alike.
Software Options for Voice Recording
You'll need software to record, edit, and polish your voice overs. Options include:
Audacity (Free): Great for beginners. Offers basic tools like noise reduction, EQ, and trimming.
Adobe Audition (Paid): Industry-grade, with multi-track editing and advanced plugins.
GarageBand (Mac): A solid choice for Apple users, good for clean narration tracks.
Other Tools That Help
Pop filter: Stops harsh "P" and "T" sounds from distorting your audio.
Shock mount: Isolates the microphone from desk vibrations.
Foam or fabric panels: Soundproof your space for cleaner voice capture.
Tip: Even a closet filled with clothes can work as a makeshift vocal booth!
Step-by-Step: How to Record Voice Over Like a Pro

1. Write a Voice Over Script with Timing in Mind
Don't "wing it." Your script should:
Be clear and conversational
Include pauses and emphasis cues
Align with your video length (1 minute ≈ 125–150 spoken words)
Read it aloud several times to ensure flow.
2. Set Up Your Mic and Mixer Properly
Connect your AM25X condenser mic to the AMIX40U mixer
Adjust gain until peaks stay below -6dB
Use headphones to monitor live input — this prevents pops, clipping, or unwanted background sounds
Pro Tip: Record in 48kHz sample rate for video compatibility.
3. Record in Takes or Sections
Break your recording into logical chunks:
Intro
Main points or segments
Conclusion
This allows for easier re-dos and smoother edits.
4. Post-Process: Clean and Polish
Even with perfect gear, editing helps polish your voice:
Noise Reduction: Remove hum, hiss, or air conditioner sounds.
EQ (Equalization): Boost mids (around 1-2 kHz) for vocal clarity.
Compression: Balances out loud and soft parts to maintain consistent volume.
All major audio editors offer these tools.
How to Add Voice Over to a Video (Desktop Editors)
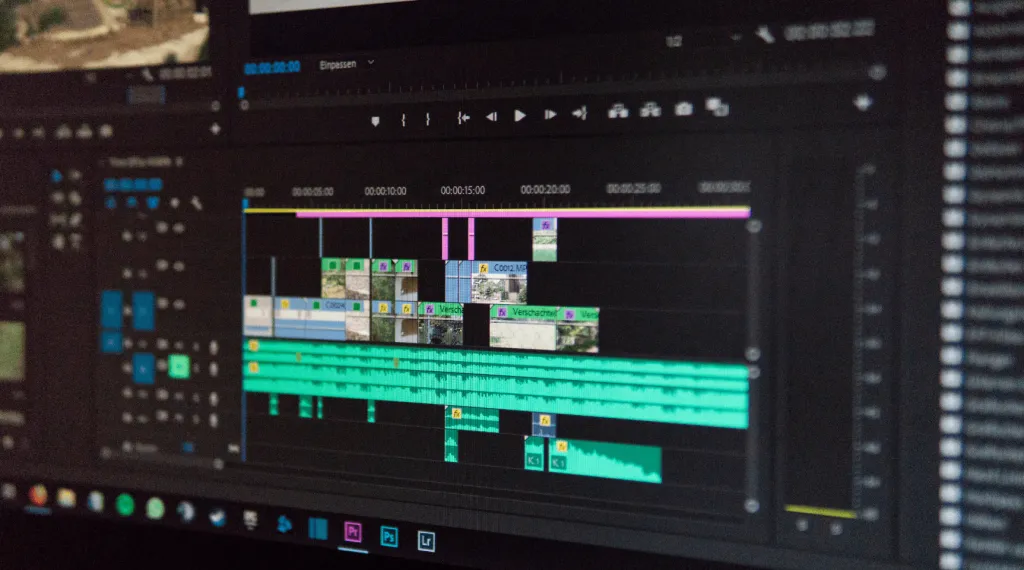
Best Editors: Premiere Pro, Final Cut Pro, DaVinci Resolve
Each of these lets you easily import and sync your narration with your video:
Adobe Premiere Pro: Industry standard, with advanced audio mixing.
Final Cut Pro: Mac-exclusive, fast for timeline edits.
DaVinci Resolve: Free and pro versions; excellent audio tools.
Importing and Syncing Your Voice Track
Steps to add voice over to video:
Import your recorded audio into the video project.
Drag the audio track beneath the corresponding visuals.
Match waveforms to visual cues or use a clap sync.
Fine-tune alignment frame by frame.
Audio Fading, Ducking, and Balancing
Fade In/Out: Prevent abrupt cuts
Audio Ducking: Automatically lower background music when speaking
Balancing: Set your voice to be 3–5dB louder than background audio
Export Settings
Format: MP4 with AAC audio or MOV with WAV audio
Sample rate: 48kHz (video standard)
Bitrate: 192 kbps or higher for voice clarity
Mobile Voice Overs: Record and Add on the Go
Mobile editing tools are becoming powerful enough for creators on the move.
Best Mobile Apps
InShot: Intuitive timeline editor with voice recording
CapCut: TikTok-style editing with multiple audio layers
iMovie: For Apple users, simple and free
Connecting External Mics to Phones
Enhance audio quality by using external mics:
Use NearStream AWM20T wireless mic for flexible, cable-free recording
Plug USB condenser mic via OTG adapter
Adapters:
iPhone: Lightning to USB or TRRS
Android: USB-C OTG cables
Sync Tips for Mobile Editors
Use a hand clap before speaking to create a visual and audio sync point
Record voice over first, then align with the video in-app
Use earbuds or wireless monitoring to preview the sync
Best Practices for Strong Voice Overs
Creating a compelling voice over requires more than just reading a script. To truly connect with your audience and sound like a professional, you need to master the art of delivery, tone, pacing, and audio balance.
Here are the best practices every content creator should follow to elevate their voice over game:
1. Use Natural Pacing and Vocal Emphasis
Pacing is the rhythm and speed of your speech—and it plays a huge role in how your message is received.
Avoid rushing: Speak at a pace that allows your audience to absorb the information. This is especially important for explainer videos and educational content.
Pause intentionally: Add short pauses after key points, transitions, or statistics. These silent moments give your audience time to reflect and absorb the message—and they make your delivery sound more thoughtful.
Emphasize key words: Change your tone, pitch, or volume to highlight important words or phrases. This helps maintain listener engagement and improves clarity.
Smile while recording: Believe it or not, your smile can be heard. Smiling slightly during your delivery helps you sound more upbeat and warm, making your narration feel more friendly and approachable.
Pro tip: Practice your script out loud a few times before recording. Mark areas for emphasis and pauses directly on your script to guide your delivery.
2. Match Your Tone to the Video Type and Audience
Every type of content requires a different emotional tone. Matching your voice to the mood and purpose of your video is essential for authenticity and connection.
Friendly and Energetic for Tutorials or Product Demos
Use an upbeat, enthusiastic tone to keep the viewer engaged. Let your energy reflect your excitement about what you're teaching or demonstrating.
Calm and Professional for Corporate Videos or Training
When creating corporate training materials or internal communications, opt for a neutral, confident, and steady voice. This projects authority and professionalism while avoiding any unnecessary distractions.
Casual and Personal for Vlogs or Storytelling
Use a more relaxed and conversational tone when narrating personal stories, vlogs, or behind-the-scenes footage. Imagine you're speaking directly to a friend or community.
Pro tip: Before recording, visualize your ideal listener. Are they a beginner trying to learn something? A professional looking for clear instruction? This mental image can help guide your tone naturally.
3. Use Background Music and Sound Effects Strategically
Adding background music or sound effects can greatly enhance your voice over—when done correctly. The key is balance. Your voice should always be the star of the show.
Choose music that complements your message. For example, soft piano works well for emotional content, while electronic beats add energy to tech-related content.
Set background music volume between -20dB and -25dB. This ensures the music adds ambiance without overpowering your voice.
Keep your voice over between -6dB and -3dB to ensure clarity and prominence.
Use subtle fades and transitions when the music starts and ends. Abrupt changes can be jarring and disrupt the listening experience.
Preview with headphones to hear the true balance of your mix. Laptop speakers can be misleading when mixing audio layers.
Pro tip: In educational content, avoid music with vocals. Lyrics can distract from the information being spoken.
4. Monitor Your Audio Levels in Real Time
One of the biggest mistakes creators make is recording without monitoring their levels live. Real-time audio monitoring helps you catch problems like peaking, clipping, background noise, or weak input before it's too late.
The NearStream AMIX40U Audio Mixer makes this easy:
Built-in LED level meters let you visually monitor your input volume as you speak.
Adjust gain and EQ settings in real time to optimize your sound on the fly.
Connect headphones directly to the mixer for zero-latency monitoring and instant feedback.
Pro tip: Aim for a vocal peak that doesn't exceed -3dB during loud passages. If your audio is consistently hitting 0dB, it will likely distort.
Frequently Asked Questions (FAQ)
Can I record a voice over without a mixer?
Yes, you can record a voice over without a mixer, but it may not sound as clean or professional. A mixer like the AMIX40U lets you control your voice volume, adjust sound levels, and hear yourself while recording. This helps you fix problems right away. Without a mixer, you may need to spend more time editing later. So, while it's not required, using a mixer makes the process easier and gives better sound quality.
What's the best free software to add voice over to video?
Some of the best free tools for adding voice overs to videos are DaVinci Resolve for computers and CapCut for phones. Both let you add your voice, trim clips, and adjust audio levels. If you just need to record and edit your voice, Audacity is a great free option. It's easy to use and works well for cleaning up audio. With these tools, you can create high-quality videos without spending any money.
Can I use a gaming headset to record voice overs?
You can use a gaming headset to record voice overs, but the sound won't be very clear or professional. Headsets are made for chatting, not recording. They often pick up background noise and don't capture your voice very well. If you want your videos or podcasts to sound better, it's a good idea to use a real microphone. A mic like the AM25X will give you clear, rich sound and make your voice overs much more enjoyable to listen to.
Final Thoughts
A good voice over can make your videos sound more professional, interesting, and easier to follow. Whether you're a YouTuber, teacher, podcaster, or marketer, knowing how to record and add a voice over is a great skill to have.
To make your voice overs sound great, it helps to use the right tools and follow a clear process. Start with a good microphone like the NearStream AM25X, which gives you clear and high-quality sound. Use an audio mixer like the AMIX40U to control your sound levels and make real-time adjustments while recording.
After recording, take some time to clean up your audio. Remove background noise, adjust the sound with EQ and compression, and line it up perfectly with your video. These steps can make a big difference in how your final video sounds.
Want to improve your full setup? Check out NearStream's creator kits for easy-to-use tools that help you record, stream, and make better videos.