


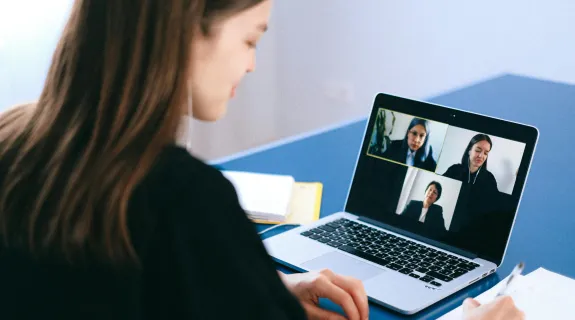
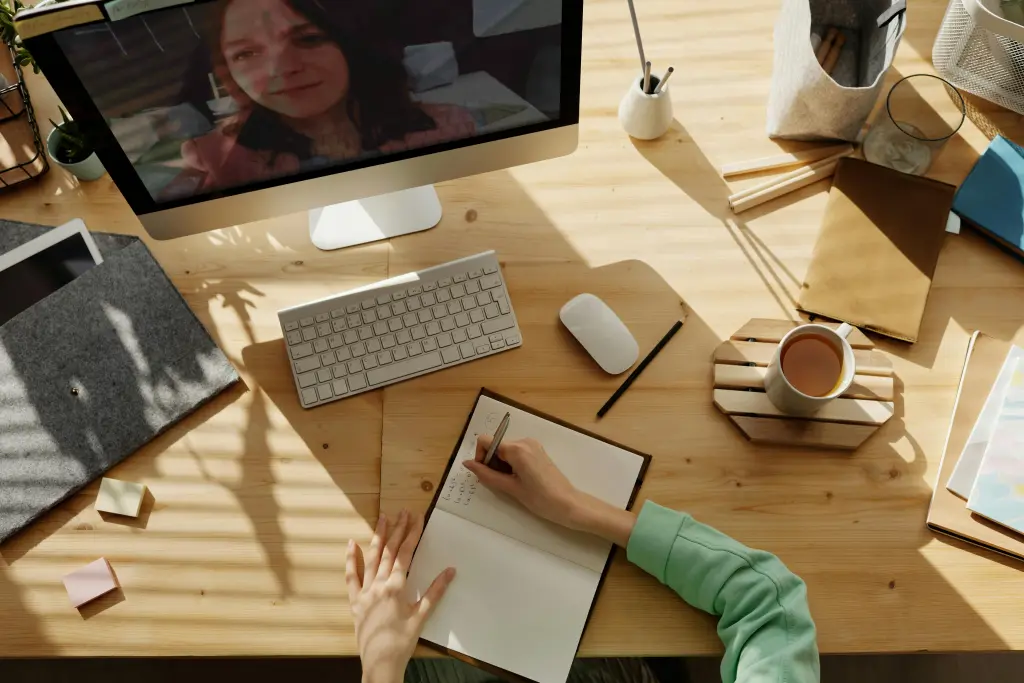
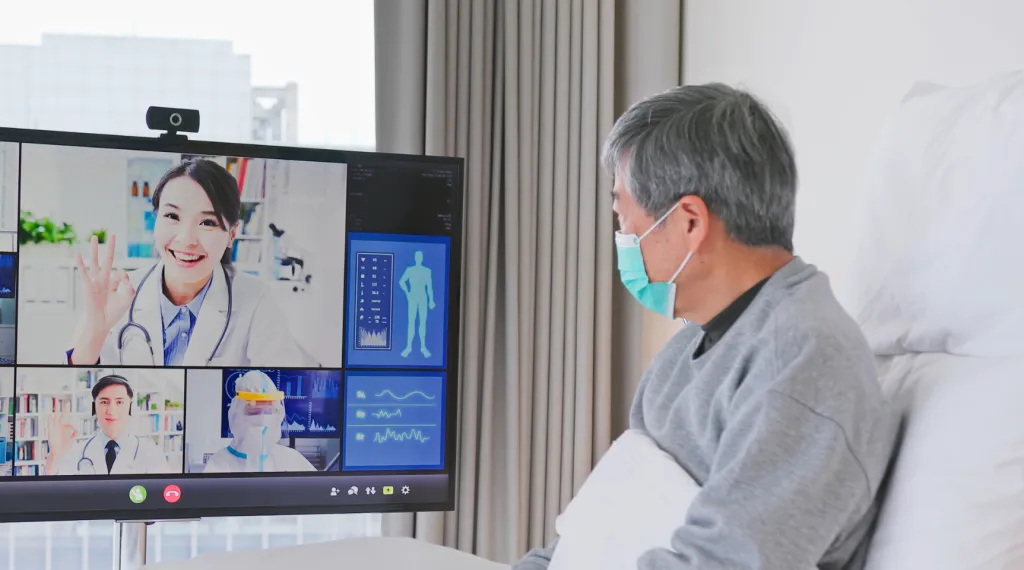
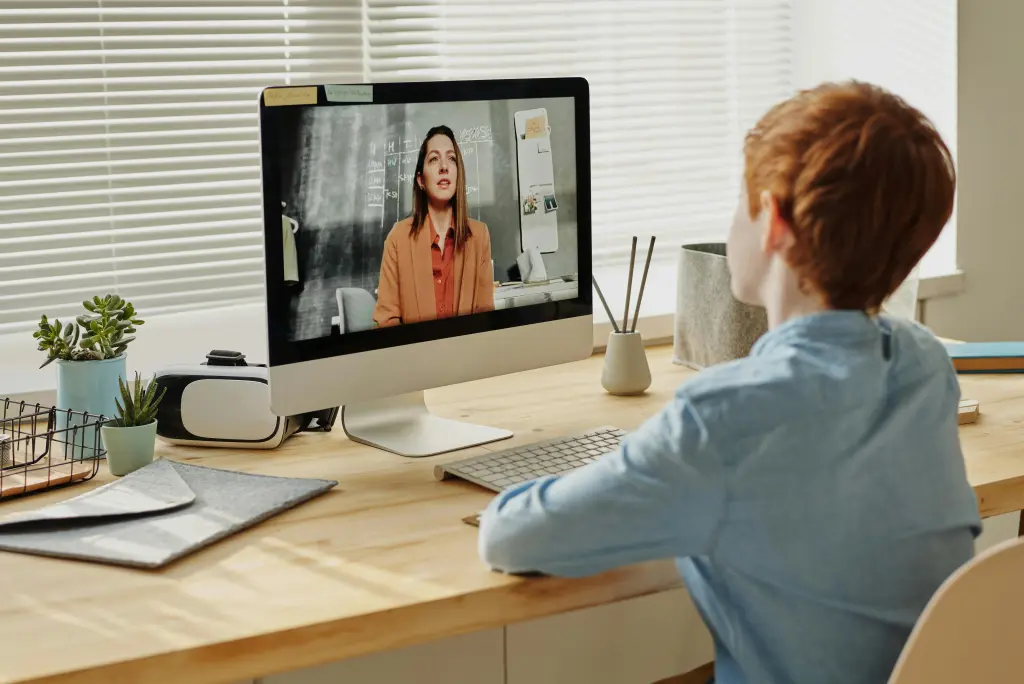
In the era of remote work, your video feed is your digital handshake. Yet, millions of professionals attend high-stakes meetings using the grainy, washed-out webcam built into their laptops. It creates an unprofessional impression.
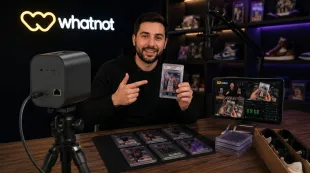
If you have a DSLR or Mirrorless camera (like a Canon, Sony, or Nikon) gathering dust on a shelf, you are sitting on a goldmine. You can transform that camera into a broadcast-quality webcam that blows any Logitech device out of the water. But how do you connect it? In this guide, we will compare the "Free Software" method against the "Professional Hardware" method and explain why a tool like the NearStream capture card is the missing link in your home office setup.
The Problem: Why Your Laptop Webcam Isn't Enough
Before we dive into the "How-to," it is important to understand why we are doing this. Why does a $2,000 MacBook Pro still have a webcam that looks fuzzy in low light?
The Physics of Sensors
The answer is physics. Laptop webcams use tiny sensors (smaller than a grain of rice). They cannot capture enough light, leading to "digital noise" (that static/grainy look).
In contrast, a DSLR or Mirrorless camera uses an APS-C or Full-Frame sensor, which is 15 to 30 times larger.
- Depth of Field (Bokeh): A real camera creates natural background blur, separating you from your messy room.
- Low Light Performance: A real camera makes you look bright and clear, even if your room lighting is dim.
- Color Science: Professional cameras render skin tones accurately, making you look healthier and more energetic.

Method A: The "Free Software" Route (and Why It Fails)
When people first search how to use dslr as webcam, they often stumble upon software solutions provided by camera manufacturers.
- Canon EOS Webcam Utility
- Sony Imaging Edge Webcam
- Nikon Webcam Utility
How It Works:
You connect your camera to your PC via a standard USB cable. The software tricks your computer into thinking the camera is a webcam.
The Hidden Downsides (The Trap):
While "free" sounds good, these utilities are notoriously unreliable for a professional video conferencing setup.
- Low Resolution: Most utilities cap the resolution at 576p or 720p. You are taking a 4K camera and forcing it to output DVD-quality video.
- Low Frame Rate: The USB connection often throttles the video to 15-20 frames per second (fps). This results in "choppy" motion that looks like a bad internet connection.
- No Audio: USB tethering typically only transfers video. You cannot use your camera's high-quality microphone.
- High Latency & CPU Usage: The software relies on your computer's CPU to encode the video, which can slow down your laptop during a Zoom call.
Verdict: Great for a casual chat with friends, but unacceptable for a client presentation.
Method B: The "Hardware" Route (The Professional Standard)
If you want 1080p60 or 4K quality with zero lag, you need a hardware interface. This is where the HDMI Capture Card comes in.
How It Works:
- Your camera outputs uncompressed video via its HDMI port.
- The capture card receives this signal.
- The capture card converts it into a digital USB Video Class (UVC) signal.
- Your computer sees the capture card as a "Premium Webcam."
This method bypasses the limitations of USB tethering, giving you the raw, full-quality video feed from your camera's sensor.
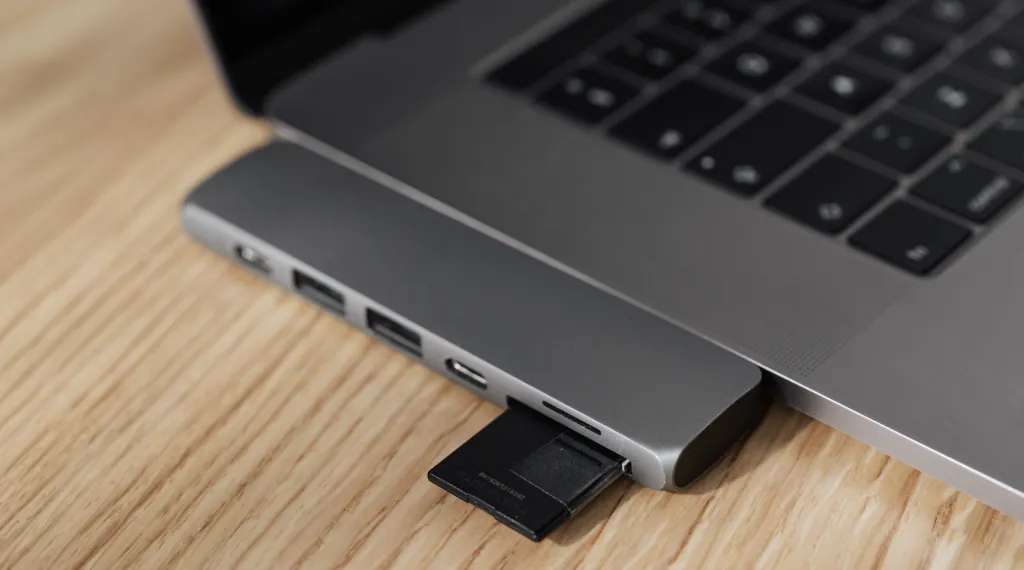
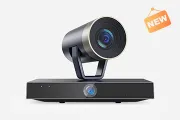
Why NearStream CCD30 Capture Card is the Best Capture Card for Video Conferencing
Not all capture cards are built for work. Gamers prioritize different specs than professionals. For a home office setup, reliability is king. Here is why the NearStream CCD30 capture card is the superior choice for Zoom and Teams users.
A. The Power of UVC (Plug & Play / Driverless)
This is the single most important feature for corporate employees.
- The Issue: Many corporate laptops (IT-managed devices) block you from installing drivers or third-party software. If you buy a capture card that requires a driver installation, it simply won't work on your work laptop.
- The NearStream Solution: NearStream uses the UVC (USB Video Class) protocol. It requires zero drivers. You plug it in, and Windows/macOS immediately recognizes it as a camera. It bypasses IT restrictions seamlessly.
B. 4K Input for Sharper 1080p
Even if Zoom compresses your video to 1080p or 720p, feeding it a 4K signal matters.
- Supersampling: When the NearStream card takes a 4K signal from your Sony/Canon camera and downscales it to 1080p for the stream, the resulting image is significantly sharper and has better color data than a native 1080p signal. This is called supersampling.

C. Thermal Management (No Overheating)
Meetings can last 3-4 hours.
- Dongles: Cheap "USB Stick" capture cards (and even some expensive ones like Cam Link) are prone to overheating because they lack surface area for heat dissipation. When they overheat, your video freezes.
- NearStream: Features a robust aluminum casing designed for heat dissipation, ensuring rock-solid stability for marathon all-hands meetings.
Comparison Table: Software vs. Dongle vs. NearStream
| Feature | Canon/Sony Utility (Software) | Cheap USB Dongle ($20) | NearStream Capture Card |
|---|---|---|---|
| Connection | USB Data Cable | HDMI to USB-A | HDMI to USB-C 3.1 |
| Max Resolution | 576p / 720p | Fake 1080p (Upscaled) | 4K Input / 1080p60 Output |
| Frame Rate | 15-20 fps (Choppy) | 30 fps | 60 fps (Smooth) |
| Latency | High (Laggy) | Medium | Ultra-Low (Real-time) |
| Driver Required | Yes (Software Install) | No | No (Plug & Play) |
| Reliability | Low (Often Crashes) | Low (Overheats) | High (Professional Grade) |
Step-by-Step Guide: How to Use DSLR as Webcam
Ready to build the ultimate video conferencing setup? Follow these steps precisely.
Phase 1: The Gear Checklist
Before you start, ensure you have the following:
- DSLR/Mirrorless Camera: Any camera with a "Clean HDMI" output (Sony A6000+, Canon M50, Panasonic Lumix, etc.).
- NearStream Capture Card: The bridge between camera and PC.
- HDMI Cable: Usually Micro-HDMI to HDMI (check your camera's port type).
- Continuous Power (Dummy Battery): Crucial. Batteries die in 45 minutes. A dummy battery (AC Power Adapter) keeps your camera running forever.
- Mounting Solution: A small tripod or a desk-clamp mount to position the camera at eye level.
Phase 2: Camera Settings (The "Clean HDMI" Secret)
If you just plug your camera in, your colleagues will see all your camera settings (battery icon, ISO, focus box) on your face. You need "Clean HDMI."
- Sony Users: Menu > HDMI Settings > HDMI Info. Display > Off.
- Canon Users: Menu > Shooting Settings > HDMI Info Disp > Clean / FHD Output.
- Nikon Users: Setup Menu > HDMI > Advanced > Live View On-Screen Display > Off.
- Auto-Focus: Ensure "Face/Eye Detection AF" is turned ON.
- Auto-Power Off: Go to settings and turn OFF the "Power Saving" or "Auto Power Off" timer to prevent the camera from shutting down mid-meeting.
Phase 3: The Connection
- Plug the Dummy Battery into your camera and plug it into a wall outlet.
- Connect the HDMI cable to your camera's HDMI output.
- Connect the other end of the HDMI cable to the HDMI IN port on the NearStream capture card.
- Connect the NearStream card to your computer using the provided USB-C 3.1 cable.
Phase 4: Software Setup (Zoom / Teams / Meet)
- Open your conferencing app (e.g., Zoom).
- Go to Settings > Video.
- Click the dropdown menu for "Camera."
- Select "NearStream Capture Card".
- Pro Tip: Uncheck "Mirror my video" if text in your background appears backward to you (though others usually see it correctly).
Advanced Video Conferencing Tips
Now that you have the hardware, use these video conferencing tips to perfect the look.
1. Eye-Level Positioning
The most common mistake is having the camera too low (the "nose hair" angle) or too high. Use a desk mount to position the camera lens exactly at your eye level. This creates a psychological feeling of equality and engagement with other participants.
2. Lighting is 50% of the Image
Even a great camera looks bad in the dark.
- Avoid having a bright window behind you (this makes you a silhouette).
- Place a light source (window or LED panel) in front of you, slightly to the side.
3. Audio Matters
While the NearStream card can carry audio from your camera's microphone, camera mics are usually mediocre.
- Best Practice: Use the NearStream card for Video Only. Use a dedicated USB microphone (like a Blue Yeti) or a headset for Audio. Select these separately in Zoom's audio settings.
Conclusion
Upgrading your home office setup with a DSLR and a capture card is an investment in your personal brand. In a world where face-to-face interactions are rare, your video presence is how you demonstrate professionalism, attention to detail, and competence.
While software utilities offer a tempting free fix, they are fraught with lag, low resolution, and compatibility headaches. For a reliable, "set it and forget it" solution that works on any corporate laptop, the NearStream capture card is the definitive choice. It unlocks the full potential of the camera you already own, ensuring you always look your best when the "Recording" light turns on.
FAQ: Frequently Asked Questions
Q1: Does the NearStream capture card work with Microsoft Teams and Google Meet?
A: Yes. Because NearStream uses the standard UVC protocol, it is recognized as a generic webcam by all video software, including Teams, Slack, Skype, Google Meet, and even OBS.
Q2: Will using my DSLR as a webcam damage the sensor?
A: Generally, no. Modern mirrorless cameras are designed for video. However, heat is the enemy. Ensure you flip the LCD screen out (away from the body) to help with heat dissipation, and use a dummy battery instead of charging the internal battery via USB while streaming, which generates extra heat.
Q3: My camera shuts off after 30 minutes. How do I fix this?
A: This is usually a setting called "Auto Power Off" or "Eco Mode." Dig into your camera's setup menu and set "Auto Power Off" to "Disable" or "Never." Also, ensure you are in "Video Mode" on the dial, as "Photo Mode" often has shorter standby timers.
Q4: Can I use a GoPro with the NearStream capture card?
A: Absolutely. Any device with an HDMI output works. For GoPro (Hero 8 and newer), you need the "Media Mod" to get an HDMI output port. It makes for a fantastic wide-angle webcam.
Q5: Why does my video look delayed?
A: If you see a delay between your lips moving and your voice, it's usually an audio processing issue in the computer, not the capture card (NearStream has ultra-low latency). To fix this, ensure you are not running heavy background apps. In OBS, you can add a "Sync Offset" to the audio, but in Zoom, it is automatic.