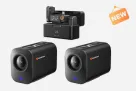
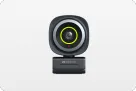
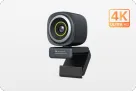
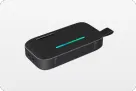
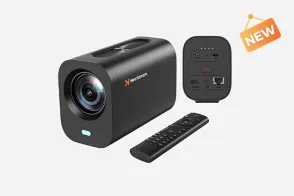
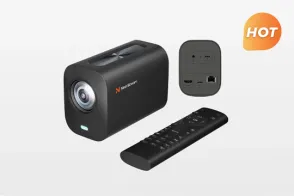
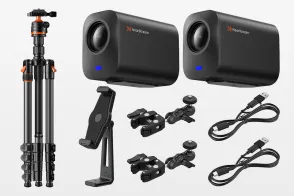
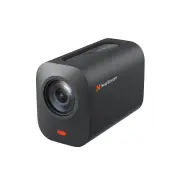
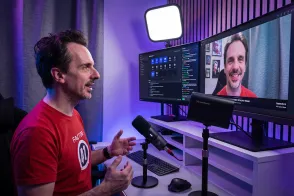
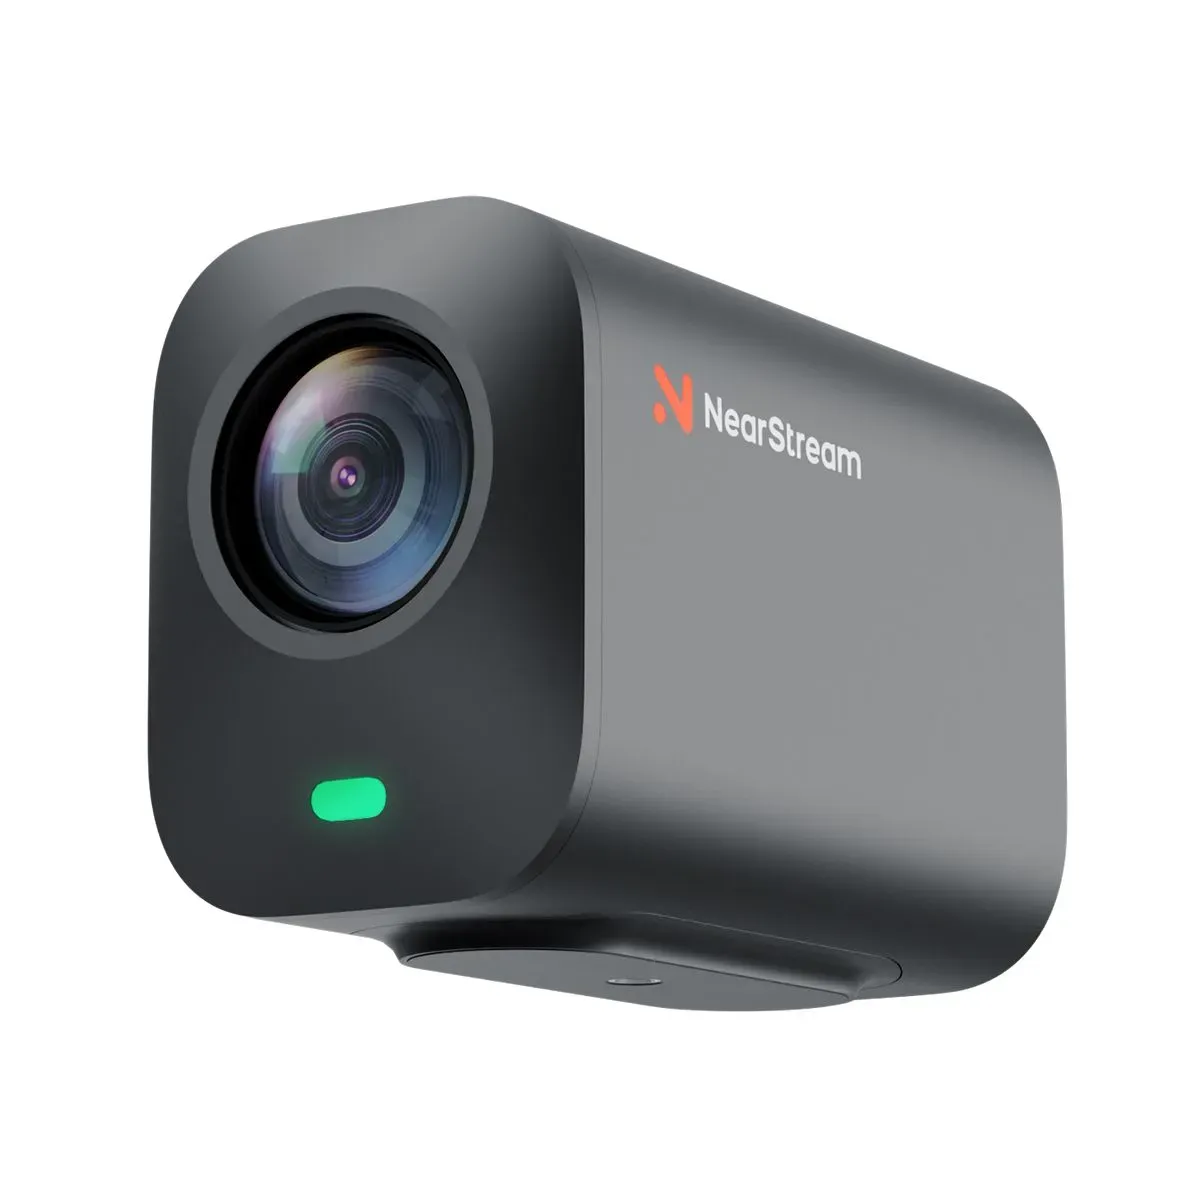
The VM20 is a cutting-edge, USB live streaming camera designed for both professional and casual streamers. With features like plug-and-play functionality, 8 mems mic array, and 4K resolution, the VM20 delivers crisp, high-quality video and audio for all your streaming needs. Whether you're broadcasting live on social media, recording professional content, or hosting remote meetings, this versatile camera is equipped to meet a wide range of requirements.The 40x feature allows for precise control over your shot, while dual USB & HDMI outputs provide flexibility in connecting to various devices.
Product Features
Plug and Play with USB connectivity for effortless setup and immediate use
8 mems mic array for crystal-clear audio during live streams or recordings
4K Resolution for ultra-high-definition video quality that enhances the streaming experience
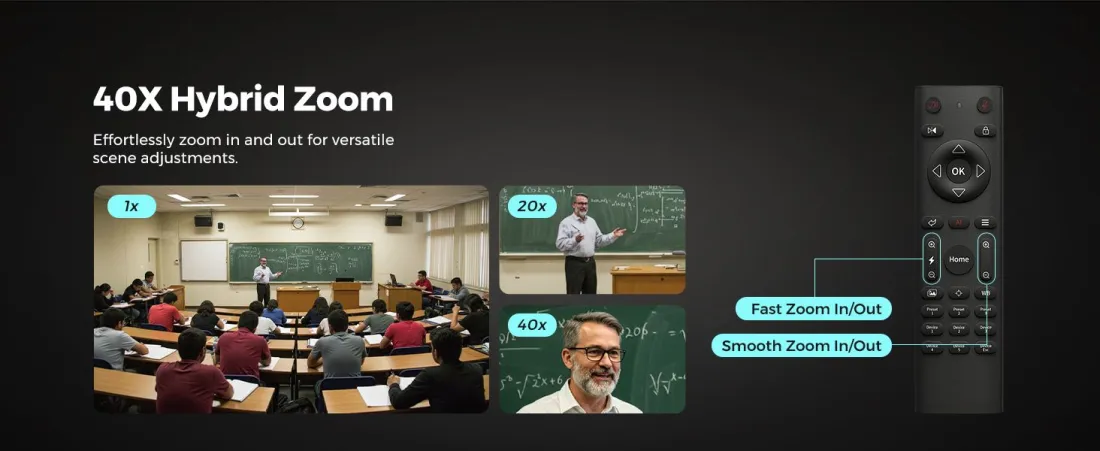
40x to adjust the field of view for dynamic shots and precise framing
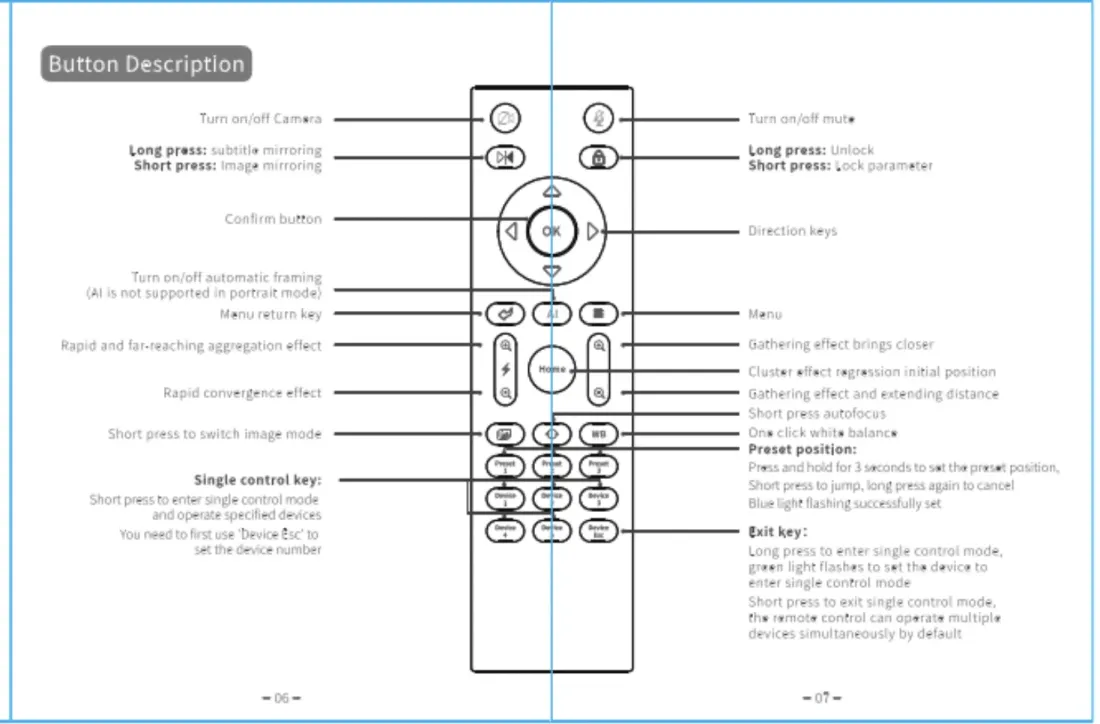
Remote Control for easy operation and camera angle adjustments from a distance
Dual USB & HDMI Outputs for flexible connection options to various devices and streaming setups
Product Introduction
1. Power
a. Power Supply
Use the included USB cable to connect the camera’s OTG USB-C port to a mobile phone, computer, or other device. If the device’s USB output power is below 1A, connect an external adapter to the camera’s 5V-1A port for additional power.
For use with a powered switch, simply connect the camera directly to the network port, as the switch will provide the necessary power for operation.
b. Power On/Off
Connect one end of the USB cable to the mobile phone or computer and the other end to the camera’s OTG/5V-1A port. The camera will turn on automatically.
Connect one end of the Ethernet cable to the network port and the other end to a powered switch. The camera will automatically receive power.
After connecting to a device, use the remote to turn the camera on.
2.Basic Settings
a. Display setting via remote
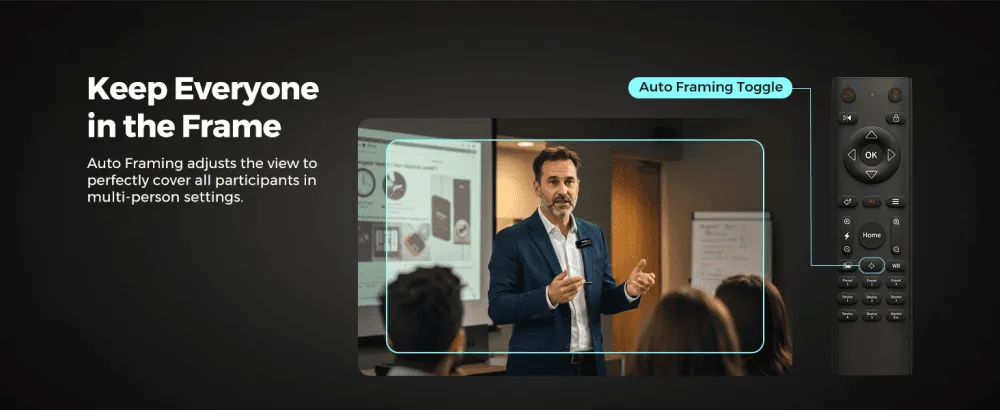
Auto framing
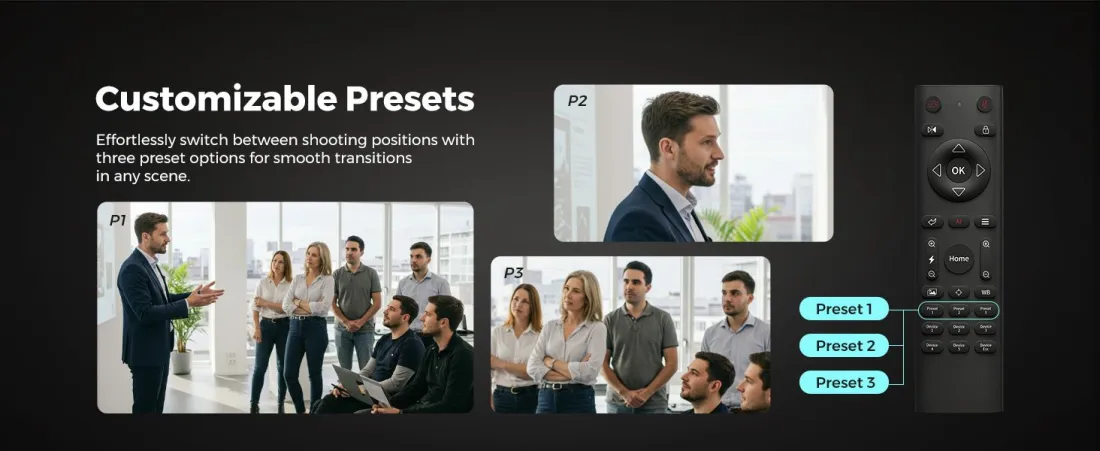
Customizable presets
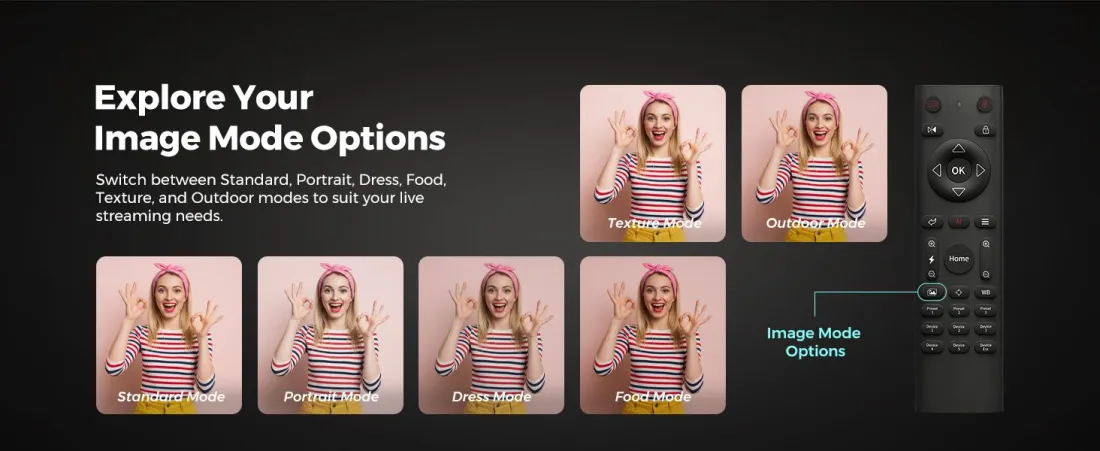
Image mode options
Zoom control
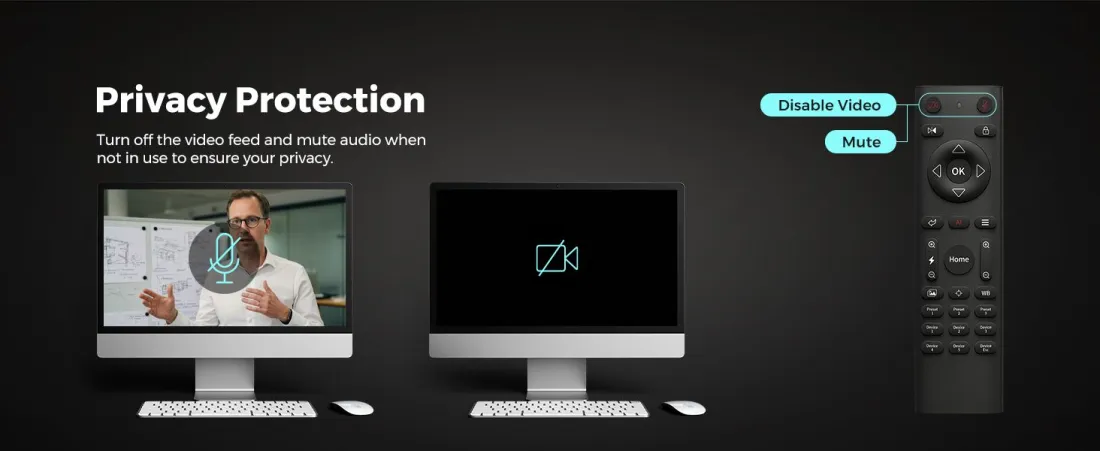
Privacy protection
b. Display setting via application
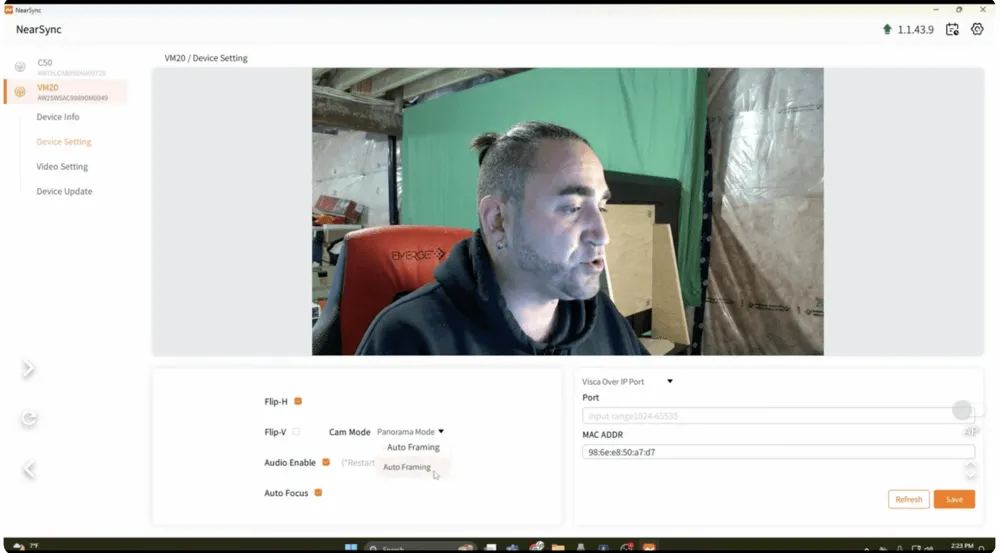
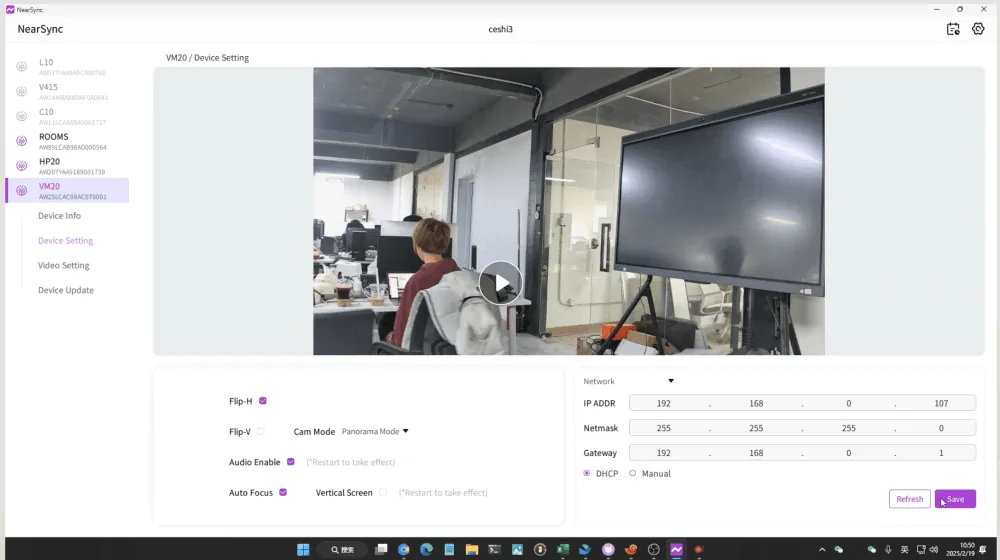
Device setting
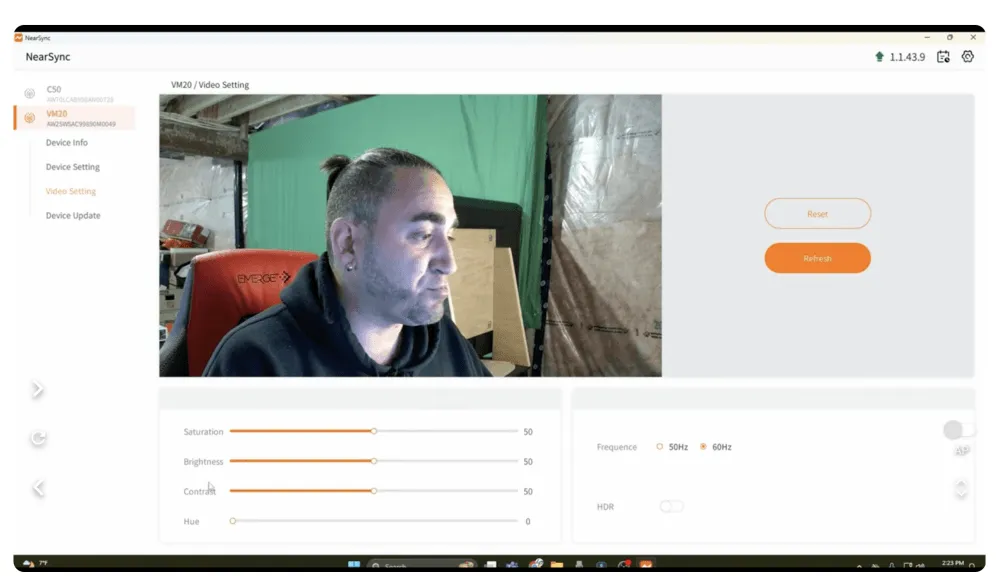
Video setting
Network connection
Make sure you have an Ethernet cable (RJ45 connector on both ends).
i. Use an Ethernet cable to connect the VM20 to the router.
ii. Use a USB/OTG cable to connect the VM20 and your PC.
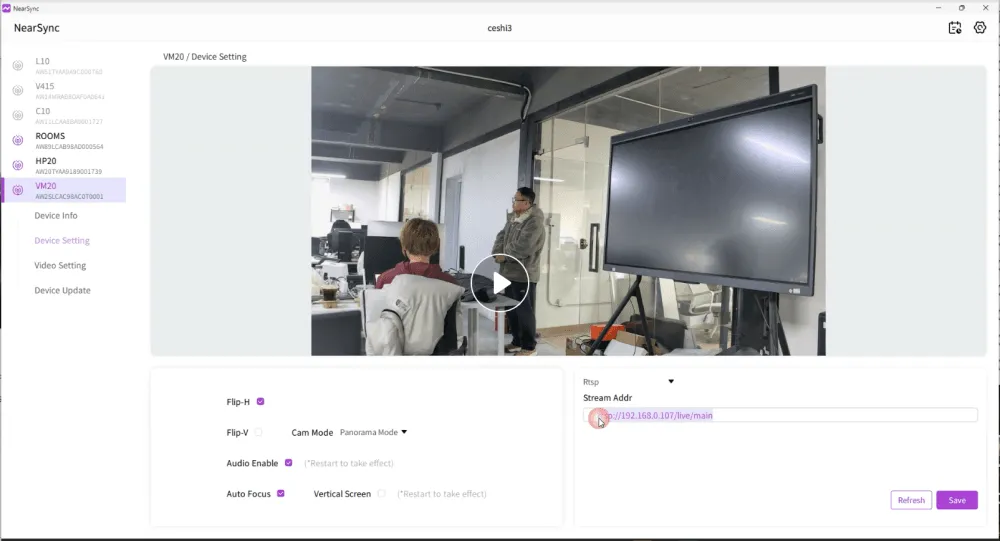
iii. Use the NearSync app to detect the VM20's IP address. The default IP address is 192.168.0.86. Click 'Auto Obtain' and then click 'Refresh' after noting the camera’s IP address. You can then disconnect the USB cable.
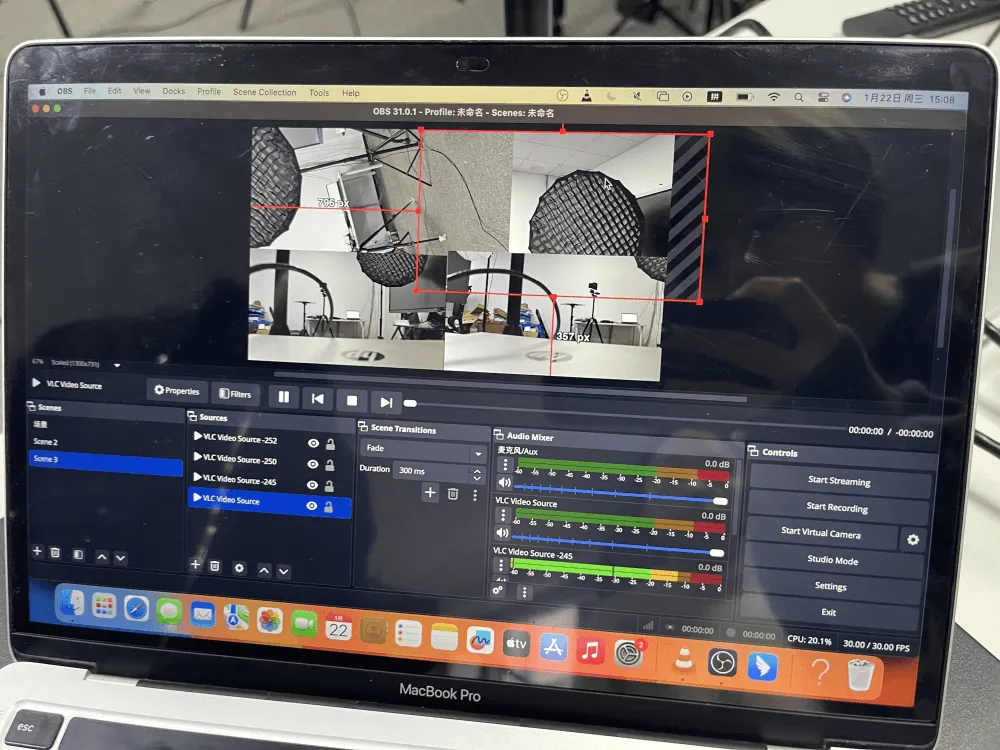
Connect to OBS
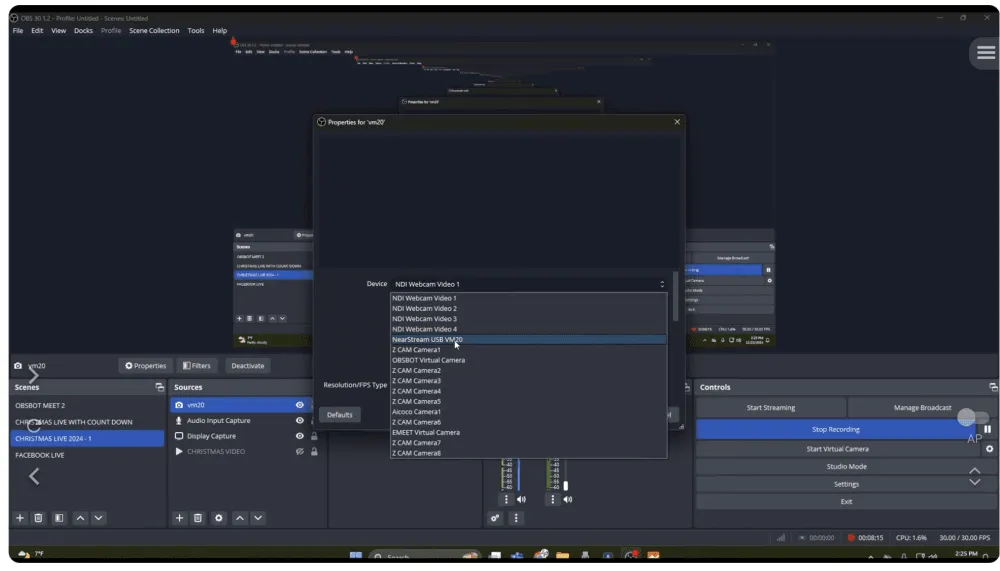
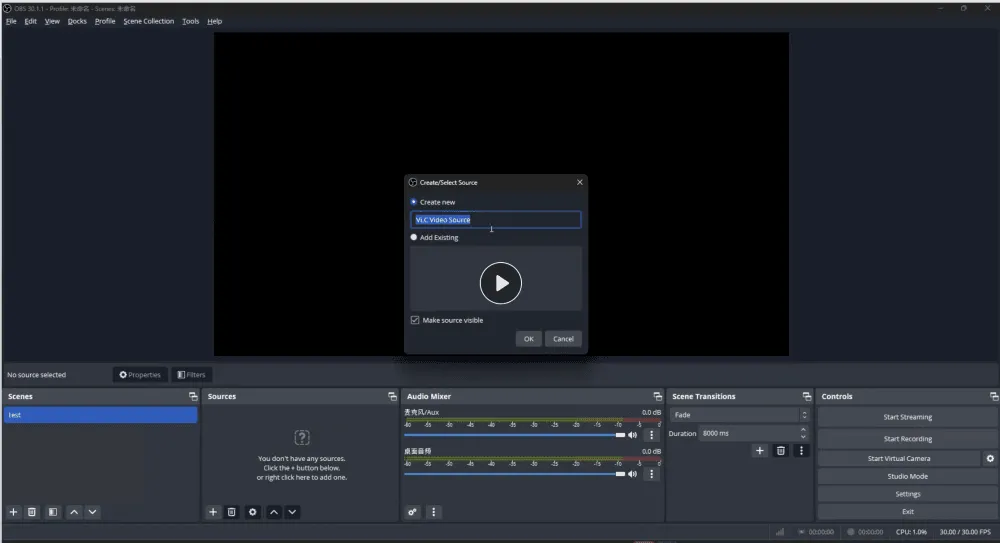
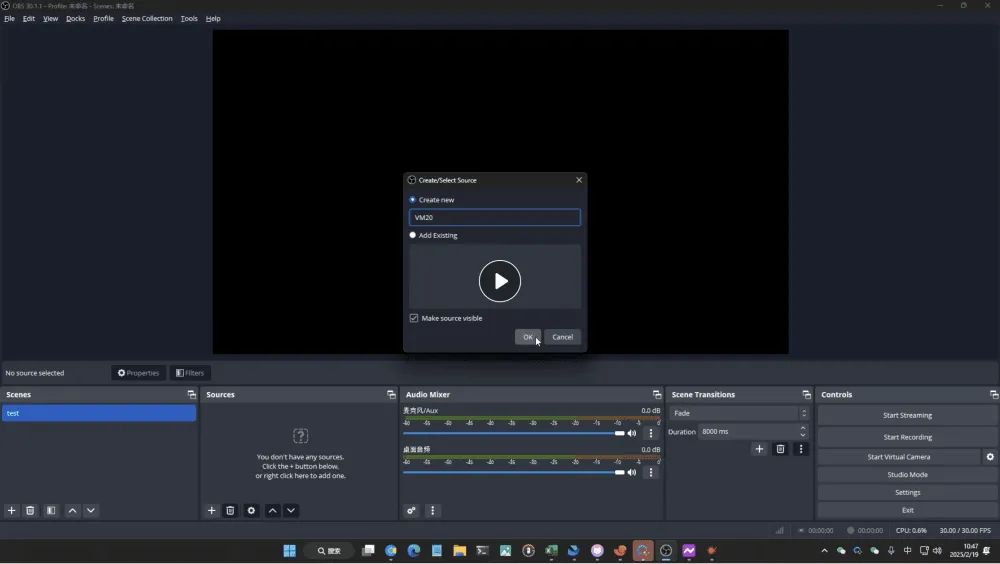
i. Rename device (optional), then click OK.
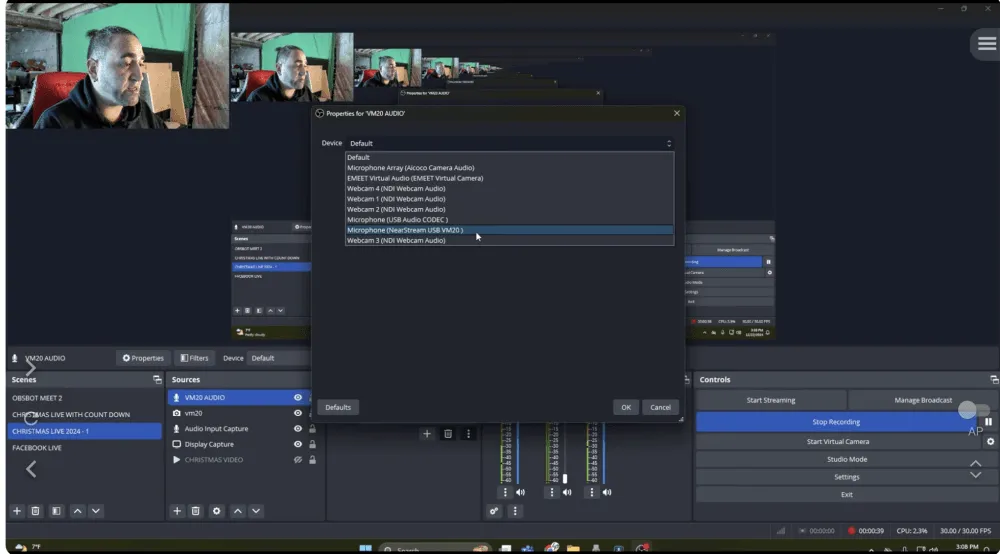
ii. Select VM20 as your video capture device.
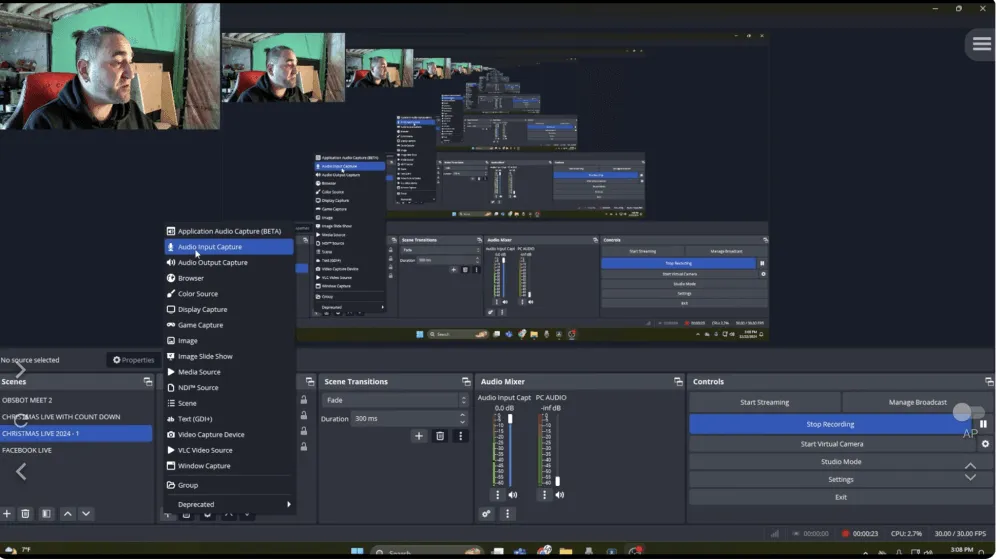
iii. Add VM20 internal microphone signal into OBS
Stream retrieval
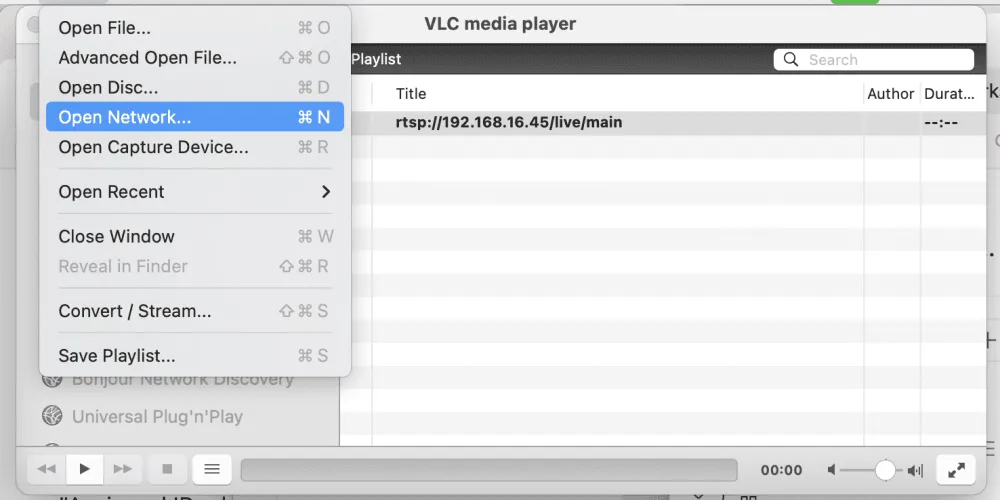
i. Download VLC
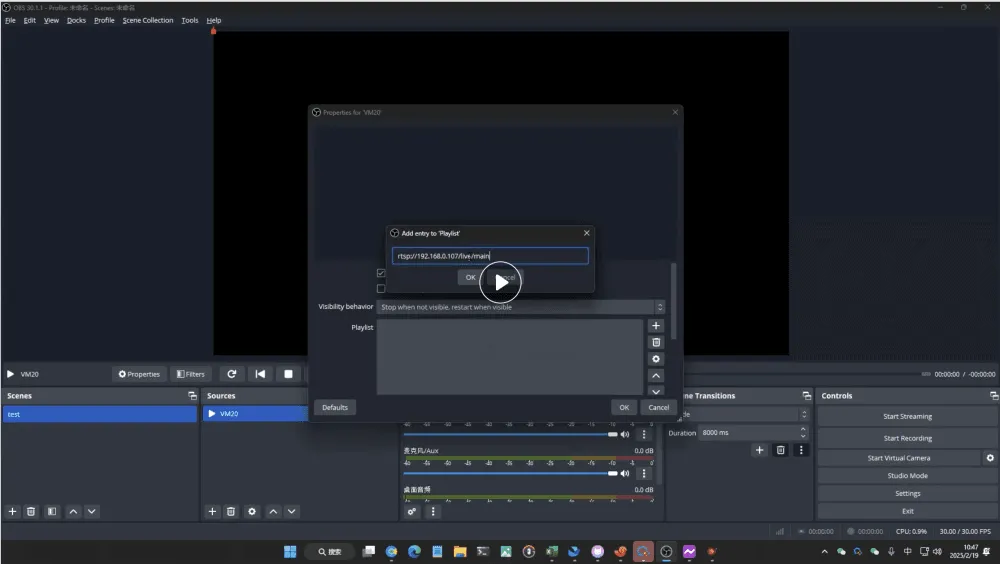
ii. Copy RSTP address
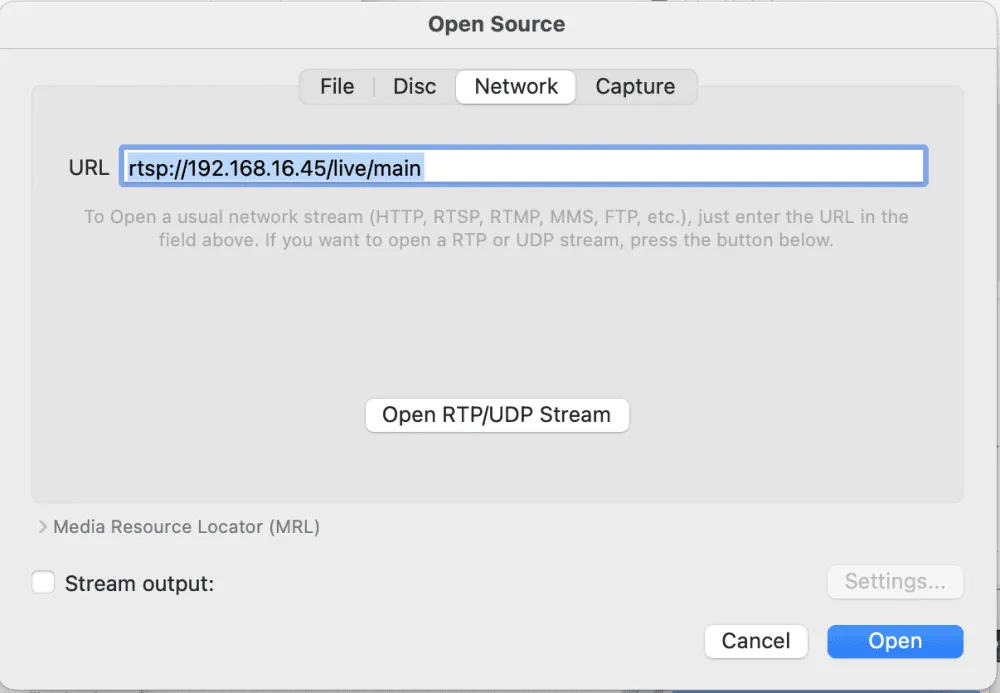
iii. Paste address in VLC
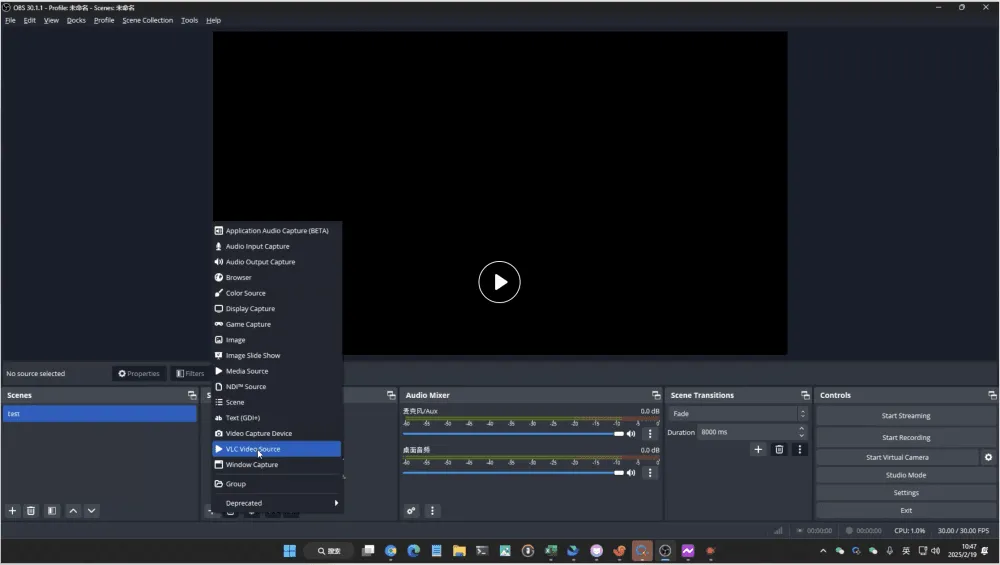
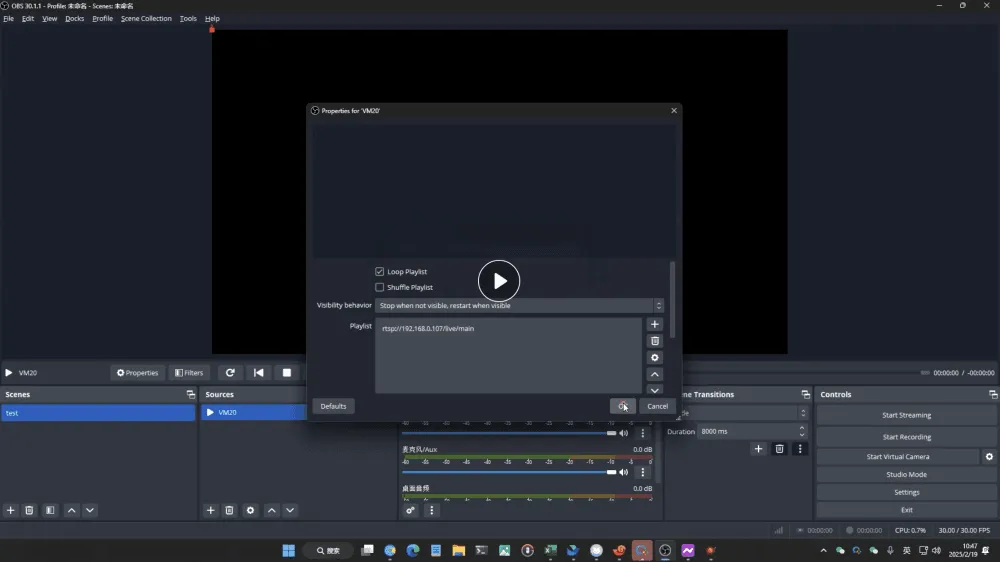
Push the stream to OBS
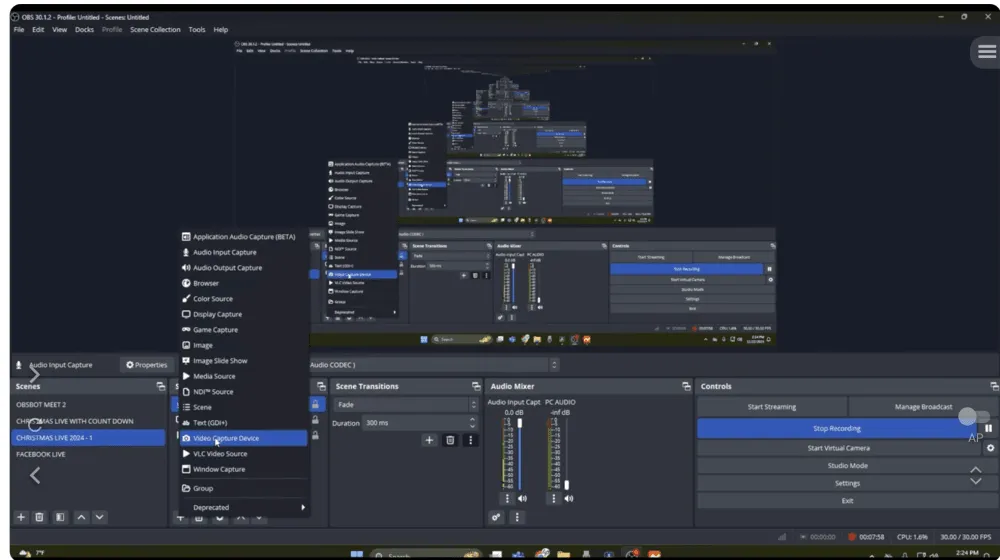
i. Click "+" in 'source.'
3. Firmware Upgrade
a. Connect the mixer’s 5V-1A port to the computer’s USB port using a USB cable and turn it on.
b. Visit NearStream website, download the NearSync upgrade tool (Win/Mac), and install it.
c. Open NearSync after installation, locate the VM20 device, select Device Update, click Update, and wait for the upgrade to complete. The mixer will restart automatically.
Compare to others
Abundant Connectivity and Expandability The VM20 offers versatile connectivity, including dual USB & HDMI outputs, 4K resolution, and multiple control options via remote and app, supporting multiple cameras for live streaming. Compared to the Hikvision U168R, which offers HDMI and USB connections but lacks app control, the VM20 stands out for its user-friendly app-based multi-camera switching. Logitech's StreamCam offers good video quality but lacks HDMI output, limiting its connectivity.
Noise Cancellation and Remote Control The VM20 features 8 mems mic array with noise reduction for clearer audio during streaming. In contrast, the OBSBOT Tiny also offers 4K but lacks dual mics and noise reduction. The AVMATRIX Eagle T10 supports USB & HDMI outputs but doesn't offer noise cancellation, making the VM20 a better choice for sound quality.
App Control and Multi-Camera Switching The VM20's app-based control for multi-camera switching provides a more flexible live-streaming setup compared to competitors like the Eagle T10 and Logitech StreamCam, which lack this feature. The ability to control camera angles and manage multiple feeds directly from a mobile device makes VM20 a superior option for live streamers.
Connect one end of the USB cable to the VM20’s OTG/USB port.
Connect the other end to your computer or mobile device (ensure your device is powered if necessary).
b. Via HDMI (for additional display or output)
Connect one end of the HDMI cable to the VM20’s HDMI output port.
Connect the other end to your display or device supporting HDMI input.
OBS software setup
a. add video
To add a video source, click the "+" button under the "Sources" tab and select "Video Capture Device" to add your camera.
b. Add Audio
Built-in Microphone:
Click the "+" button under the "Sources" tab.
Select "Audio Input Capture" and choose “microphone (NearStream USB VM20)” from the list of available devices.
External Microphone:
Click the "+" button under the "Sources" tab.
Select "Audio Input Capture."
Choose your external microphone from the list of available devices, ensuring it is properly connected to your computer.
Notes
If you're connecting to a phone, make sure to use the 5V/1A power supply. When connecting to a computer, avoid using both the OTG port and the USB power port simultaneously.
Ensure that the display device is set to the correct HDMI input source for the VM20 to show the output properly.
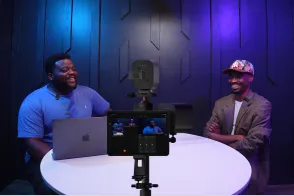
Multi-Camera HDMI Live Streaming Setup
Basic steps
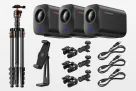
Connect Multiple VM20 Cameras to Your Device
a. Via HDMI (for each camera):
Connect one end of the HDMI cable to the HDMI output port of each VM20 camera.
Connect the other end of the HDMI cable to a device that supports HDMI input, such as an HDMI switcher and capture card
You can switch between different screen layouts by changing the mode on the switcher.
OBS Software Setup for Multiple Cameras:
a. Add Video for Each Camera:
To add video sources for each camera, click the "+" button under the "Sources" tab in OBS.
Select "Video Capture Device" and choose each connected VM20 camera one by one.
b. Add Audio:
Built-in Microphone (for each camera): ⅰ. Click the "+" button under the "Sources" tab. ⅱ. Select "Audio Input Capture" and choose "Microphone (NearStream USB VM20)" for each camera’s built-in microphone from the list of available devices.
External Microphone (if needed): ⅰ. Click the "+" button under the "Sources" tab. ⅱ. Select "Audio Input Capture." ⅲ. Choose your external microphone from the list of available devices, ensuring it is properly connected to your computer.
Notes
When connecting multiple VM20 cameras via HDMI, make sure each camera is connected to a separate HDMI input source on your capture card or switcher.
For multi-camera switching, you can use the app-controlled multi-camera switching feature of the VM20 to easily switch between different camera angles during the live stream.
Single Ethernet Port RTSP Live Streaming Setup
Basic steps
Connect VM20 to the network:
Set Up RTSP Stream:
Ensure your device is connected to the same network as the VM20.
Copy the provided RTSP stream URL in NearSync.
OBS software setup:
Open OBS and click the "+" button under the "Sources" tab.
Select "Add".
In the settings, enter the RTSP stream URL you copied earlier.
Click "OK" to add the stream to OBS.
Notes
Ensure VM20 and PC are connected to the same network.
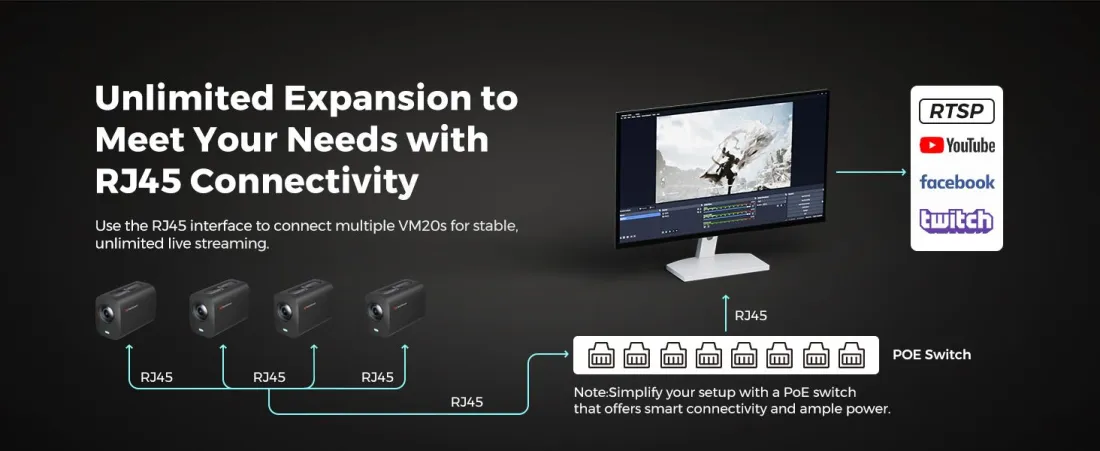
Multi-device RTSP live streaming via Ethernet port (POE switch)
Basic steps
Connect the POE switch to the router.
Use Ethernet cables to connect the POE switch to all cameras.
Use the NearSync app to obtain each camera's assigned IP address.
Push the stream into OBS.
Use devices with HDMI input ports to externally display multiple scenes.




















 sales@nearstream.us