Podcast Equipment: What You Actually Need for Audio and Video Podcasting
A practical solo podcast equipment checklist: start with clear audio, decide when an interface is useful, and add only the video gear your show needs.
podcast equipment
solo podcast setup
audio podcast equipment
Updated: Nov 13, 2026 · 8 minutes read
Modular Video Kits for Growing Business.
A solo podcast can start with a quiet room, an iPhone recording, and headphones to check the result. Add an external microphone when voice quality needs improvement. Choose an interface or mixer for an XLR workflow, then add one stable camera shot and usable light if the show moves to video.
Key Takeaways
For a first solo audio test, use a phone recording and listen back before buying equipment.
A USB microphone can connect directly to a compatible computer; a typical XLR setup needs an interface or mixer.
Start solo video with one camera angle and a stable mount; add lighting when the room cannot illuminate your face evenly.
OBS Studio records and streams video; use a separate editor when an episode needs detailed post-production.
Shopping for podcast equipment can feel harder than starting the show itself. One list recommends a USB microphone; another adds an audio interface, a mixer, a boom arm, feedback control devices, and several accessories you have never heard of. How do you know which pieces will actually help you record your first episode?
Start with the format. For a solo audio podcast, you need a way to capture your voice, listen back to it, and save the recording. A quiet room, an iPhone's built-in microphone and Voice Memos app can be enough for a first test episode. For a more dependable setup, add one external microphone and wired headphones. A stand improves mic placement. An interface or mixer becomes relevant when you choose an XLR microphone or need more control.
For a solo video podcast, keep that audio setup and add a camera, a stable mount, enough light, and a way to record video. You can begin with a phone camera, then move to a dedicated streaming camera when you want a repeatable desk or studio setup. As a practical target, keep your first dedicated audio setup to roughly three to five pieces and allow about an hour to connect and test compatible gear. This guide explains the categories, the purchase order, and where extra gear earns its place.
The solo podcast equipment checklist
Equipment
Solo audio
Solo video
When to buy it
Microphone
Phone mic for a first test; external mic for consistent results
Same audio choice
Upgrade when your recordings sound distant, noisy, or inconsistent
Wired headphones
Recommended for checking the recording
Recommended
Use them to hear problems before publishing; live monitoring depends on your setup
Recording device and software
iPhone with Voice Memos, or a computer with recording software
Computer or phone with video recording software
Start with what you already own
Boom arm or mic stand
Helpful, especially with an external mic
Helpful and keeps positioning repeatable
Buy when the mic cannot stay close to your mouth without handling noise
Audio interface or mixer
Needed for a typical XLR-to-computer workflow; optional for a simple USB mic
Same
Add it for the inputs and controls your workflow requires
Camera and stand
—
Needed to capture and stabilize video; a phone can serve as the camera
Start with one shot
Light
—
Add if daylight or room lighting does not illuminate your face evenly
A single soft light is often a sensible first step
Video recording and editing tools
—
Recording software; editor if you need post-production cuts
OBS Studio can record and stream; use an editor for detailed cuts
The table is a buying sequence, not a requirement to purchase every row. A solo creator can make a worthwhile first episode with gear already at home. The main investment is learning how to place the mic, control room noise, and check the result.
Start with audio: what each piece does
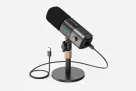
Microphone: choose USB for simplicity or XLR for a flexible signal path
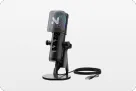
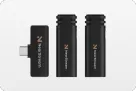
A USB microphone connects directly to a compatible computer. It usually gives a solo beginner the shortest route from unboxing to a test recording: connect the mic, choose it as the input in your recording app, set the level, and record. Some USB mics can work with phones, but check the microphone, cable, phone, and app compatibility before buying. A USB connector alone does not guarantee that every phone will recognize it.
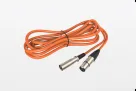
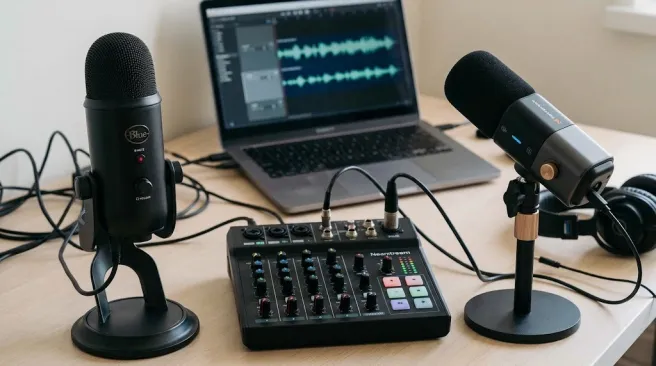
An XLR microphone connects by an XLR cable to an audio interface or mixer, which then sends audio to a computer or compatible recording device. That adds hardware and cables, but can be useful if you want physical gain controls, more inputs later, or a consistent studio workflow. Check whether your microphone needs phantom power and whether the interface supplies it. You do not need an XLR setup just because other podcasters use one.
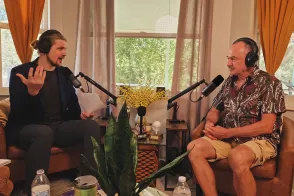
Either type can work well. Listen for the result in your room. A sensitive microphone may pick up keyboard taps, air conditioning, and room echo along with your voice. A quieter space and correct mic placement may improve intelligibility more than a costly upgrade. Keep the mic at a consistent distance, angle it slightly away from strong breath sounds, and record a short test before a full session.
The relevant question is: What problem does a new mic solve in your current recording? If a phone test sounds clear enough for your format, publish a short episode and learn from it. If you cannot keep your voice clear and consistent, an external mic is a useful next purchase.
Headphones: check what listeners will actually hear
Wired headphones let you review a test recording for hiss, echo, clipping, low volume, and interruptions. They avoid the extra connection and latency questions that wireless headphones can introduce. If your microphone or interface has a headphone output, you may also be able to monitor your voice while recording. Check that feature before promising yourself live monitoring: plugging headphones into a phone does not automatically mean you can hear the mic live through Voice Memos.
Closed-back headphones can reduce sound leaking into the microphone. You do not need an expensive pair to make a useful decision. Record 30 seconds, listen back, and fix the loudest problem before you record the episode.
Audio interface or mixer: buy one when your signal path calls for it
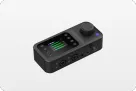
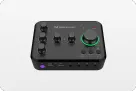
An audio interface brings an analog microphone signal into a computer and may provide gain adjustment, headphone monitoring, and phantom power. A mixer can offer additional input handling and hands-on control. Some products combine both functions, so the label on the box is less useful than the connection diagram.
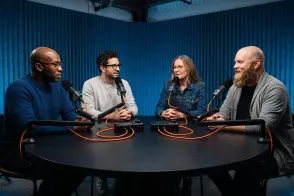
For a solo USB microphone plugged straight into a computer, you can often skip this purchase. For a typical XLR microphone, you need a compatible interface, mixer, or recorder with an XLR input. Count the microphone inputs you need now and the inputs you might reasonably use later; avoid buying channels without a plan. Also check power requirements, connector types, and how the device reaches your recording computer.
This is where setup friction often appears. In a small research sample of 35 Amazon reviews of one starter podcast bundle, buyers valued clear sound and having the parts together, while some described a learning curve, cable clutter, missing parts, or a faulty mic channel. These comments describe that bundle, not the whole market. They point to a practical pre-purchase check: confirm the included cables, each input's job, the required power source, and a clear setup guide before you buy a more complex audio chain.
Boom arm or microphone stand: keep the mic where it sounds good
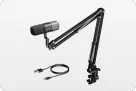
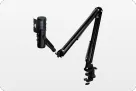
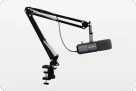
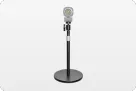
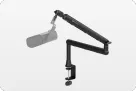
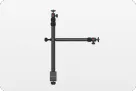
A stand is a positioning tool. It keeps the mic near your mouth without forcing you to hold it, and helps you reproduce the same placement every episode. A desk stand is compact; a boom arm can move the mic out of the way when you are not recording. Check the mic's weight, mounting thread, desk thickness, and whether the arm blocks your screen or camera view.
Accessories such as pop filters or shock mounts are useful when they address a real problem: breath bursts, desk vibrations, or handling noise. They are not a substitute for moving the mic or choosing a quieter location. You do not need to buy every accessory before your first test.
Can you record a solo podcast with iPhone Voice Memos?
Yes. Apple's Voice Memos instructions describe recording with the iPhone's built-in mic, supported headphones, or a compatible external mic. For a first audio-only episode, put the phone on a stable surface, silence notifications, sit in a soft-furnished room, and make a short recording. Listen back with headphones. If the voice is clear, record your episode and export the file for editing or publishing.
There are limits. Holding the phone changes the mic distance and can add handling noise. The app gives you a simple recording workflow, not the same physical controls as an interface or mixer. An XLR microphone does not plug directly into an iPhone: it needs compatible audio hardware and the right connection. If you plan to use a computer-based NearStream kit, treat that as a separate workflow from the phone-only starting point.
The aim of this first recording is to learn whether your topic, delivery, and room work together. It does not need to sound like a treated studio on day one.
Build a solo audio setup for your budget
Use what you have. Record with your phone's built-in mic and Voice Memos, then review with wired headphones you already own. Spend time finding the quietest room and a consistent phone position. This route is ideal for testing a concept before making a purchase.
Make one focused upgrade. Add a USB microphone that works with your recording device and a stable stand. Keep your existing headphones. This is a reasonable choice when the phone recording sounds too distant or varies as you move. Check the connector and recording app before ordering.
Build a more controllable desk setup. Choose an XLR microphone, a compatible audio interface or mixer, an XLR cable, a stand, wired headphones, and a computer-based recording app. Buy this path when you want its input options or controls, and budget for the cables and power it requires. More hardware should solve a specific workflow problem.
Whatever the budget, do a complete test: record one minute, play it back, verify that the correct microphone was captured, and save the file. That short check is more valuable than adding another accessory to an untested setup.
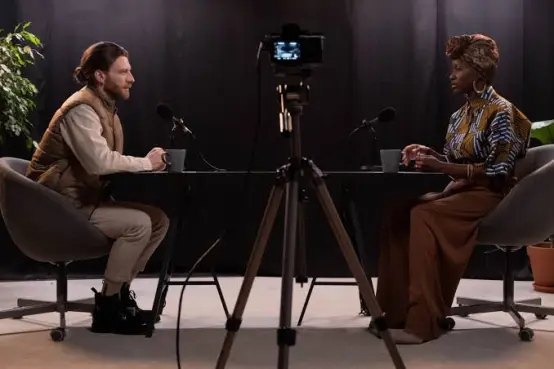
Video podcast equipment: what changes when you add a picture?
Video adds a visual production path to the audio setup above. It does not remove the need for clean sound. A viewer may accept a simple single-camera shot, but a hard-to-hear voice makes the conversation difficult to follow.
Camera: start with one useful angle
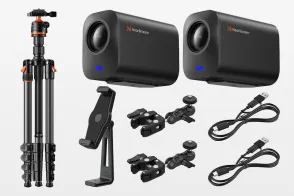
A phone camera can capture a first solo video podcast. If you want a dedicated desk setup, choose a streaming camera whose output works with your computer and recording software. Check its connection type, framing options, power needs, and whether it can record for the length of your typical episode. Put the lens at roughly eye level and frame the space you need around your face and hands.
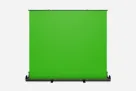
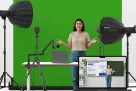
One camera is enough to begin. A second camera, video switcher, or green screen becomes useful only when the show format calls for additional angles or a specific visual style.
Camera stand: make the shot repeatable
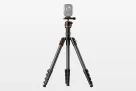
A stable desk stand or tripod prevents movement and saves time before each session. Verify that the mount fits the camera, supports its weight, and reaches the height you want. This matters more than an elaborate background: a steady, well-framed shot looks intentional.
Lighting: fix the room before adding fixtures
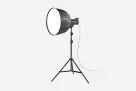
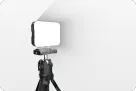
Face a window for a daylight test and avoid a bright window directly behind you. If the light changes during long recordings or your face remains dim, add one soft, controllable light. Place it so your face is visible without harsh glare. A larger lighting kit and backdrop can wait until you know why the first light is insufficient.
Software: record with OBS; edit when you need to
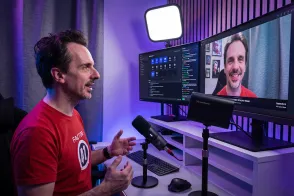
OBS Studio is free software for video recording and live streaming. It can bring a camera and microphone into one scene, help you check levels, and save a local recording. Before an episode, confirm the camera source, audio input, recording location, and a short playback test. OBS is not a full post-production video editor. If you want to trim mistakes, add captions, or rearrange sections afterward, use a separate editing tool.
If you record audio separately from video, clap once at the start so you have an easy sync point in editing. For a simple solo show, capturing both sources in one OBS recording may be easier once you have checked that they stay in sync.
Where a modular kit fits
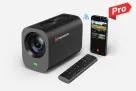
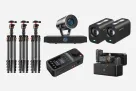
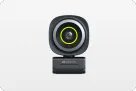
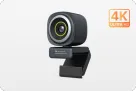
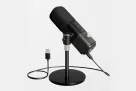
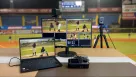
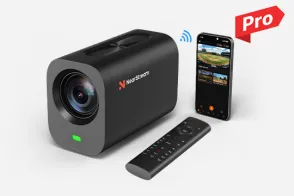
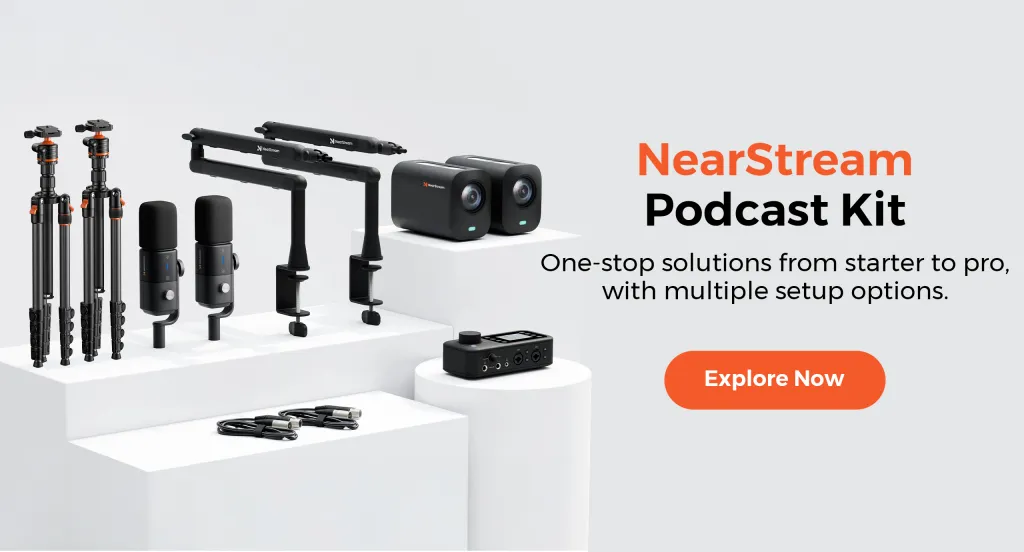
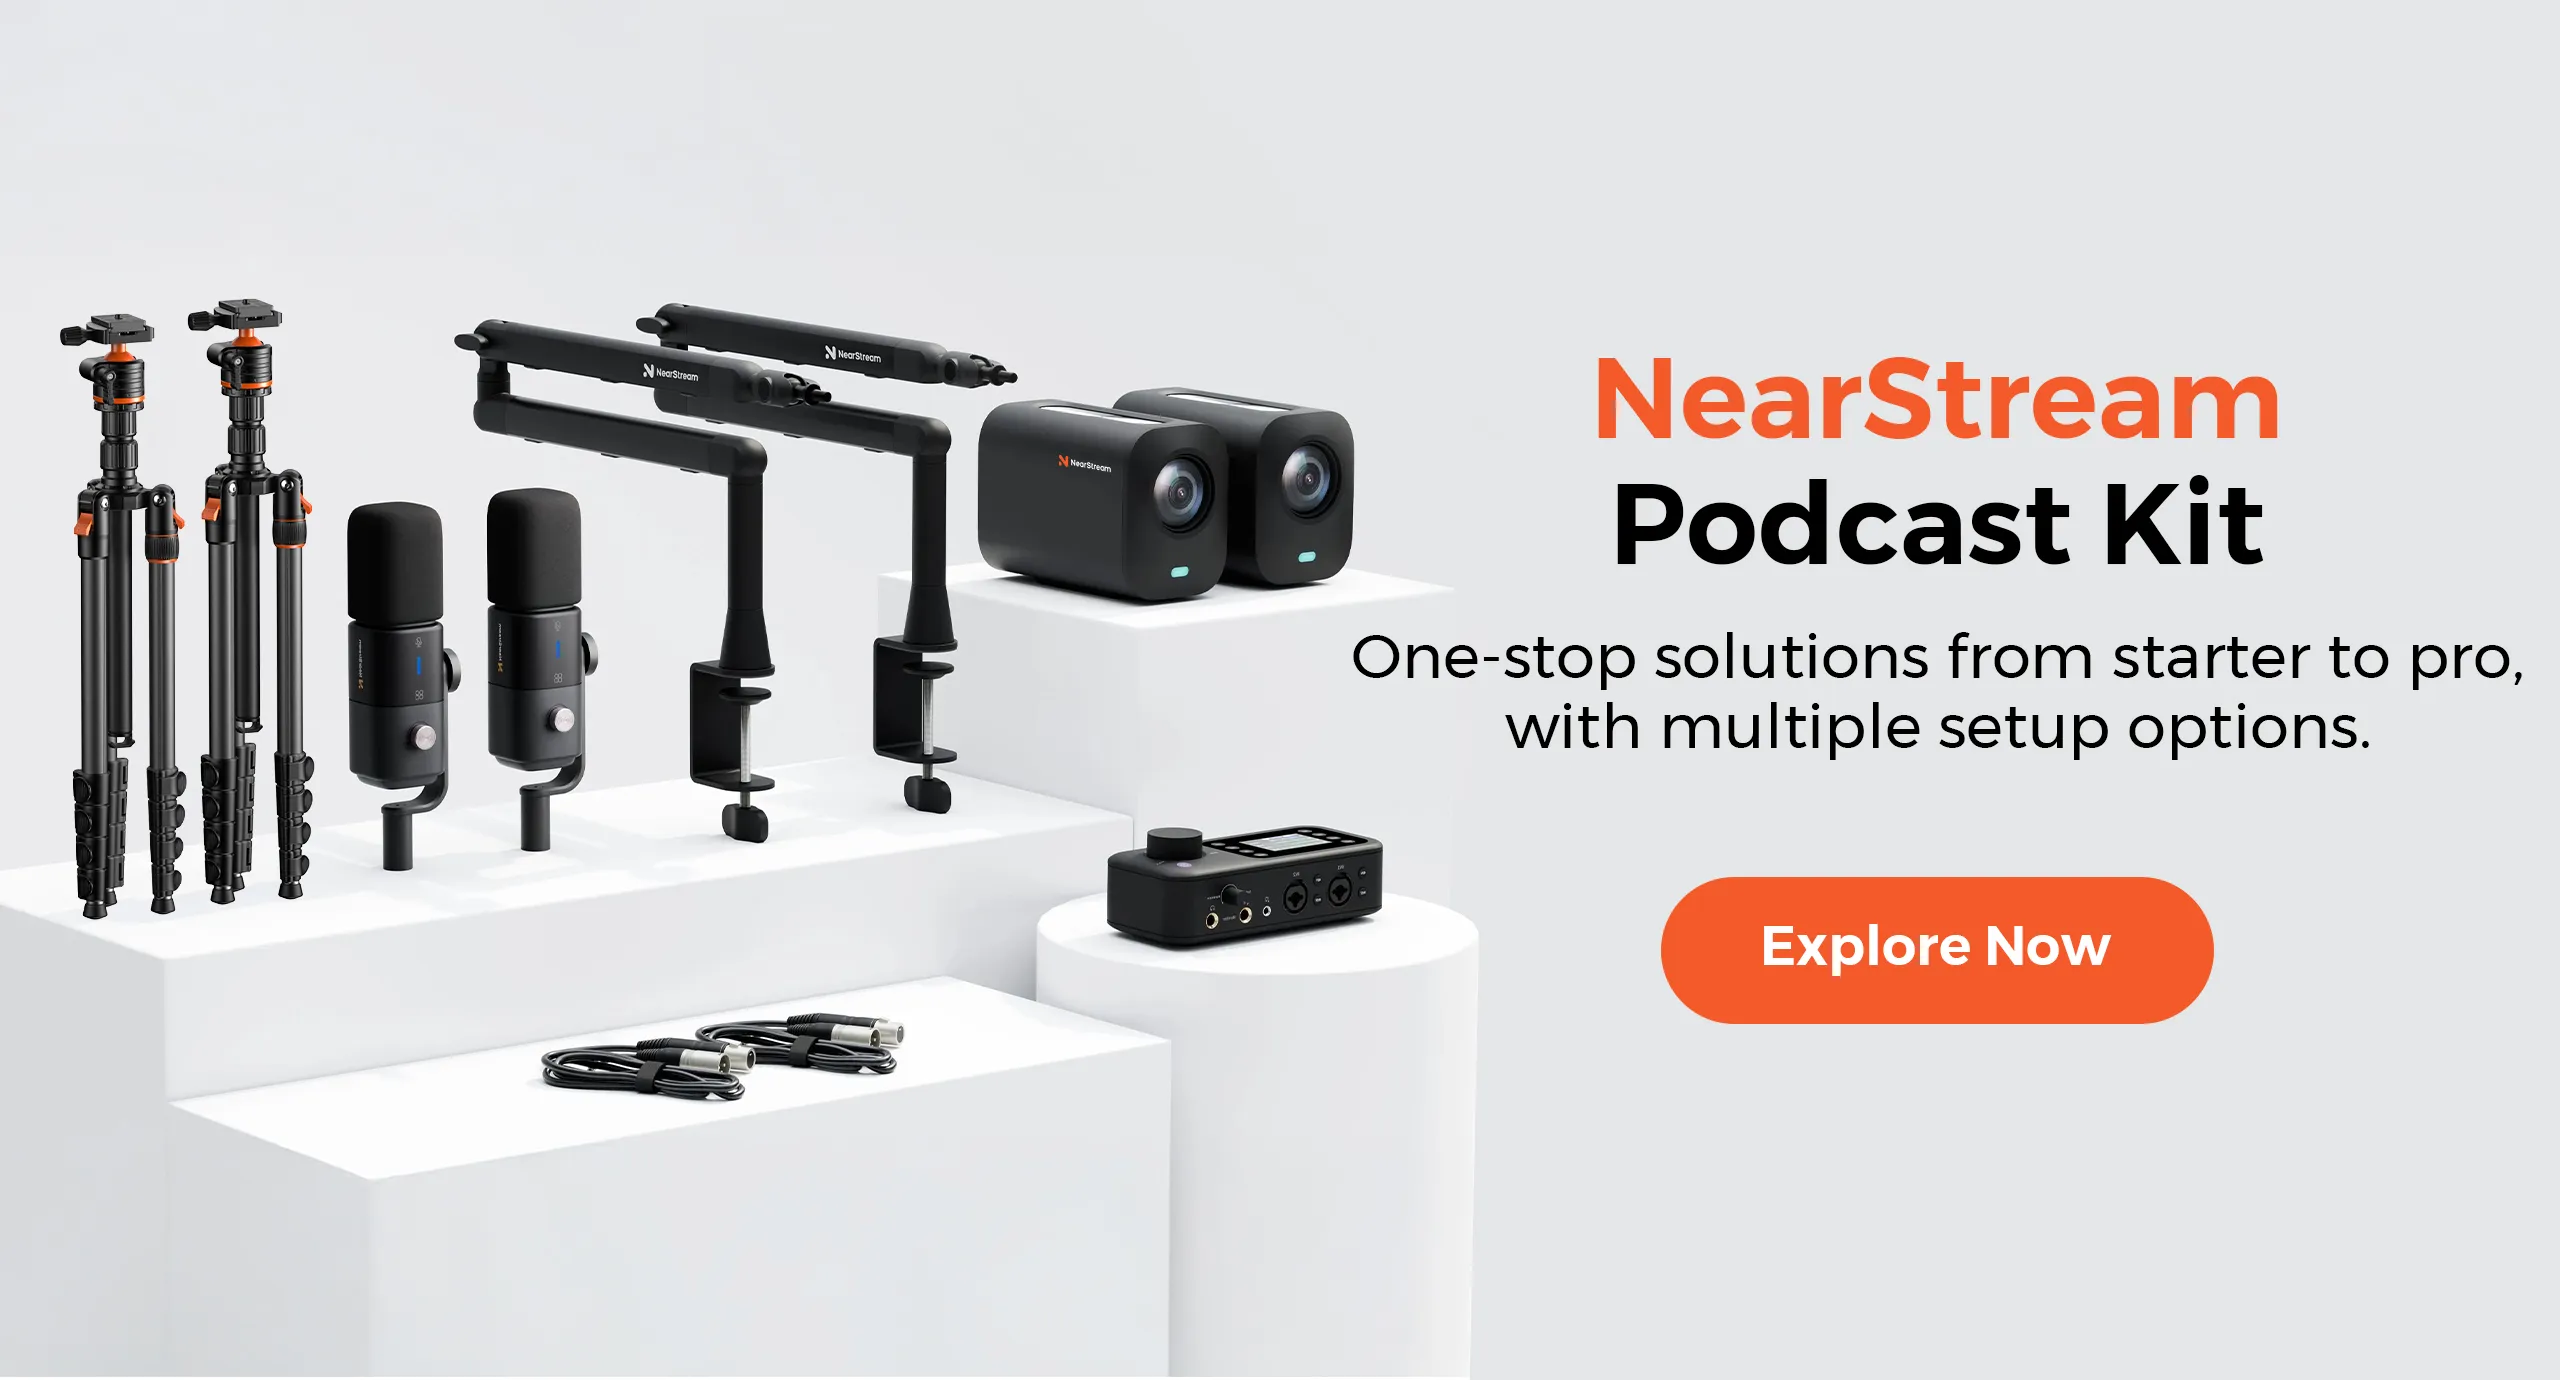
After testing a phone or a simple USB mic, you may decide that you want a repeatable desk setup and a clearer upgrade path. NearStream's podcasting solutions let you explore solo audio and video configurations built around compatible product categories. For example, its solo configuration shows an AM25X microphone, ST20 boom arm, AMIX40U mixer/interface, XLR cable, VM20 Pro camera, and camera stand. Its solution page also lists lighting as an optional addition.
That is a computer-based setup, not the same thing as recording directly into iPhone Voice Memos. Check the selected items and quantities before buying; a modular product page can include components you may not need for your own audio-only or video workflow. The advantage of looking at a connected system is seeing how the microphone, audio control, camera, mounts, and cables fit together. The decision still starts with your format and room.
A first-episode setup you can finish today
Choose audio or video. Write down where you will publish and whether anyone needs to see you on screen.
Pick the quietest available room. Close the door, stop avoidable noise, and record a brief voice test before buying acoustic accessories.
Connect one microphone path. Use the phone mic, a compatible USB mic, or an XLR mic through an interface. In the recording app, select and verify the input.
Position the mic and listen back. Keep the distance consistent, use headphones to hear the test, and adjust the room or mic placement first.
If making video, add one stable camera shot and usable light. Record a short sample in OBS or your phone's video app, then play the saved file back to check both picture and sound.
If the test passes, record the episode. You can upgrade after you know what slowed you down or what your audience could not hear or see.
Frequently asked questions
Do I need a mixer for a solo podcast?
Usually not for a USB microphone connected directly to a computer, or for a phone-only recording. A mixer or interface becomes useful when you choose an XLR microphone, need its monitoring and controls, or plan to add more inputs. Check the specific device's connections and power requirements.
Can I connect an XLR microphone directly to an iPhone?
No. You need a compatible audio interface or recorder and the correct phone connection. Check the complete signal path, including power, before buying the mic.
Do I need a camera to start a podcast?
No. An audio-only podcast can start without one. For video, a phone camera is a reasonable first test; a dedicated camera is an upgrade when you need more consistent framing or a computer-based workflow.
Is OBS enough to make a video podcast?
OBS can record or live stream your camera and audio. If your episode needs substantial trimming, captions, or rearranged segments, plan for a separate video editor.
What should I upgrade first if my recording sounds poor?
Listen for the cause. Move closer to the mic and reduce room noise or echo first. If the built-in phone mic still cannot give you a clear, consistent recording, consider an external microphone. Buy an interface or mixer only when your chosen mic or workflow needs one.
Start small, then add the gear your show proves it needs
For a solo audio show, begin with a clear voice recording and a way to check it. For a solo video show, keep that audio foundation and add one camera, a stable mount, enough light, and recording software. A short test episode will tell you more about your next purchase than a long equipment list.
Next, we will compare specific podcast kits and show how their included parts, connections, and upgrade paths differ. That will make it easier to choose a matched setup when you are ready to move beyond the basics.








 sales@nearstream.us