How to Connect a PTZ Camera to Your Computer in Minutes: A Beginner's Guide
Learn how to set up a PTZ camera with your computer in under 10 minutes.
ptz camera
ptz video camera
usb ptz camera
Updated: May 28, 2026 · 8 minutes read
Modular Video Kits for Growing Business.
If you have ever stood in front of a room full of people wondering whether your camera will actually work, you are not alone. For churches, schools, event organizers, and content creators, a ptz camera is one of the most powerful tools you can add to your production setup. But here is the challenge most beginners face: actually getting that ptz video camera connected and working. Ask anyone who has tried to set up traditional broadcast equipment, and you will hear stories about IP addresses, subnet masks, network switches, PoE injectors, and hours of frustrating troubleshooting.
The good news is that those days are firmly behind us. Modern usb ptz camera models have completely changed the game, making the process remarkably simple without sacrificing professional features. With a single USB cable, you can go from unboxing to live streaming in under ten minutes. This guide walks you through the fastest, most reliable way to connect a PTZ camera to your computer.
What You Need Before You Start
A smooth ptz camera setup starts with having the right equipment within reach. There is nothing worse than getting halfway through an installation only to realize you are missing a cable or power adapter. Before you connect anything, gather the following items in one place and verify each one is in good working condition:
PTZ camera with USB output — This is the centerpiece of your setup. The NearStream PTZ includes a USB Convert Cable (B to A) right in the box, so you are ready to connect the moment you unpack it. Verify that the camera supports USB Video Class (UVC), which ensures plug-and-play compatibility with virtually all modern operating systems and software.
Computer with a free USB port — Any modern Windows PC or Mac with USB 3.0 or higher will handle 4K video without dropped frames or performance issues. If your laptop only has USB-C ports, a simple USB-C to USB-A adapter will work perfectly. Make sure the computer has enough processing power for your chosen streaming or recording software.
Tripod or mount — A standard tripod with a 1/4-inch screw mount works perfectly for portable setups and temporary installations. Wall and ceiling mounts are also available if you need a permanent positioning solution. The key is stability; a shaky mount will ruin even the best camera footage.
Power adapter — Included with the NearStream PTZ. Alternatively, Power over Ethernet (PoE) can supply power through a single network cable if you are using NDI or IP-based workflows. Having a backup power source nearby is always a good idea for critical events.
Remote control — Also included with the NearStream PTZ. This gives you instant access to presets, zoom controls, and tracking features without ever touching the camera or diving into software menus. For volunteer-run productions, the remote is often the primary control method.
Streaming or recording software — OBS Studio is free, open-source, and widely used by streamers of all experience levels. Zoom, Microsoft Teams, vMix, Wirecast, and Ecamm Live also work seamlessly with most USB PTZ cameras. Choose the software that best fits your workflow and budget.
That is genuinely all you need. No capture cards, no managed network switches, no IT certification, and no frustration.
Figure 1: Everything you need for a quick PTZ camera setup comes right in the box.
Step-by-Step: Connect Your PTZ Camera in Under 10 Minutes
Follow these six steps in order, and you will have a fully functional PTZ camera connected to your computer before your coffee gets cold. Each step includes specific details to help beginners avoid the most common stumbling blocks.
Step 1: Mount the Camera in Position
Choosing the right location for your ptz video camera is the foundation of great video. Look for a position that gives you a clear, unobstructed view of the area you want to capture. For most churches and event spaces, the back of the room or a raised corner with an elevated vantage point works best. This positioning maximizes the camera's pan and tilt range while keeping cables safely out of foot traffic.
The NearStream PTZ offers flexible mounting options to suit virtually any environment. A tripod is ideal for portable use, allowing you to move the camera between rooms or events with minimal effort. Wall mounts work well for permanent installations in conference rooms and classrooms. Ceiling mounts are popular in churches and auditoriums where an overhead angle provides the most comprehensive room coverage. Whichever method you choose, attach the camera securely and use a bubble level to ensure it is perfectly horizontal. A tilted camera will require constant software correction and can cause tracking issues.
Before proceeding, do a quick visual check of the entire space. Make sure no decorative elements, lighting fixtures, or architectural features will block the camera's movement range once it is powered on.
Step 2: Connect Power
Plug the included power adapter into the camera's power input and then into a reliable wall outlet. If your facility has unstable power or frequent outages, consider using a surge protector or uninterruptible power supply to protect your investment. If you are using PoE (Power over Ethernet), connect a single Ethernet cable to the camera's LAN port and to a PoE-enabled network switch or injector. This single cable carries both power and data, dramatically reducing cable clutter and setup time.
When you first apply power, the camera will perform a brief initialization routine. You will see the lens move through its full range of motion as the internal motors calibrate. This startup sequence is completely normal and typically lasts about 15 to 20 seconds. Once complete, the camera settles into its home position and the status LED indicates it is ready for connection. Do not attempt to move the camera manually during this initialization period.
Step 3: Connect the USB Cable to Your Computer
This is where the simplicity of a usb ptz camera really shines compared to traditional broadcast workflows. Take the USB Convert Cable included in the box and connect the camera's USB output port to an available USB port on your computer. For best performance and maximum video quality, use a USB 3.0 port, which provides enough bandwidth for smooth 4K video at 30 frames per second without compression artifacts. USB 3.0 ports are typically identified by their blue interior plastic, though some newer systems use other colors.
If you must use a USB 2.0 port, the camera will still function, but you may need to reduce the output resolution to 1080p or 720p to maintain smooth frame rates. For most streaming applications, 1080p at 30fps is perfectly adequate and delivers excellent visual quality.
Your operating system should recognize the camera automatically within a few seconds. It appears as a standard video capture device in your system settings. There is no driver installation required for Windows 10, Windows 11, macOS, or most Linux distributions. The camera uses the universal UVC (USB Video Class) protocol, which is natively supported by all modern operating systems.
Figure 2: A single USB cable handles both video and control, making this the easiest connection method for beginners.
Step 4: Launch Your Software and Select the Camera
With the physical connection established, it is time to tell your software which camera to use. Open your streaming or video conferencing application and navigate to the video source settings.
In OBS Studio, click the plus icon under the Sources panel and select "Video Capture Device." Give your source a descriptive name like "PTZ Main Camera," then click OK. In the device dropdown menu, select your ptz camera from the list. You should immediately see the live feed appear in the preview window. If the video looks dark or the colors seem off, check the exposure and white balance settings in the camera properties panel.
In Zoom, open the video settings by clicking the arrow next to the video icon and select your camera from the available devices. Microsoft Teams works similarly through the device settings menu. For vMix and Wirecast, add a new camera input and select the PTZ camera from the capture device list.
You should now see the live feed from your ptz video camera displayed clearly on screen. If the image appears sharp and the frame rate is smooth, your connection is fully successful, and you are ready to move on to camera control.
Step 5: Control Pan, Tilt, and Zoom
One of the defining features of any PTZ camera is the ability to control its movement remotely. With the NearStream PTZ, you have three distinct ways to command the camera, giving you flexibility depending on your comfort level and production needs.
The included remote control is the fastest way to get started. Use the directional pad to pan left and right or tilt up and down. The dedicated zoom buttons let you frame your shot precisely, from wide room views to tight close-ups. The remote also lets you save and recall up to 255 preset positions instantly, which is invaluable during live productions when timing is critical. Most volunteers and first-time users prefer the remote because it requires no software knowledge.
The desktop control software unlocks the camera's full potential. Download the NearStream PTZ control application for access to advanced features including AI auto-tracking, zone following, custom exposure profiles, and detailed image adjustments. The software interface is designed with simplicity in mind, presenting powerful controls in an intuitive layout that does not overwhelm beginners.
Software integration takes your production to the next level. OBS and vMix can send PTZ commands directly through the USB connection, allowing you to automate camera movements between scenes. This means your wide shot can automatically transition to a close-up when you switch scenes, creating a seamless viewing experience for your audience.
Test the full range of motion before your first event. The NearStream PTZ offers an impressive ±175 degrees of pan and ±30 degrees of tilt, giving you comprehensive room coverage from a single mounting position. At the extremes of the pan range, verify that cables have enough slack and nothing interferes with smooth movement.
Figure 3: The desktop control app gives you full command of pan, tilt, zoom, presets, and AI tracking from your computer.
Step 6: Set Your Presets
Presets are saved camera positions that you can recall instantly with a single button press. This feature transforms how you run live productions, eliminating the need to manually pan, tilt, and zoom during an event. For anyone who has tried to operate a camera while also managing audio, switching slides, and monitoring chat messages, presets are nothing short of revolutionary.
Using the remote or desktop software, move the camera to your desired framing and save it as a numbered preset. Give each preset a descriptive name if your software supports it. During your event, a single button press or click moves the camera smoothly and professionally to that exact position.
For a typical church service, most operators configure four to six presets: a wide congregation shot that shows the full room, a medium pulpit shot for the pastor, a worship leader shot for the music portion, a tight close-up for sermon delivery, and an aisle shot for processions or baptisms. Schools and event organizers often add presets for panel discussions, audience reaction shots, stage-wide views, and presenter close-ups.
Spend time dialing in your presets before going live. A well-configured preset should frame the subject with appropriate headroom, follow the rule of thirds for visual appeal, and account for movement during the event. Test each preset multiple times to ensure smooth, accurate transitions.
NearStream PTZ vs. Other Connection Methods
Understanding your connectivity options helps you choose the right workflow for your specific needs today while planning for future growth. Here is how the USB connection method compares to other common ptz camera setup approaches:
Feature
USB Connection
NDI/IP Connection
HDMI + Capture Card
Setup time
Under 5 minutes
15–30 minutes
10–20 minutes
Cable requirements
Single USB cable
Ethernet cable
HDMI cable + capture card
Video quality
Up to 4K/30fps
Up to 4K/30fps
Up to 4K/60fps
Latency
Very low
Ultra-low
Low
Best for
Beginners, single-camera
Multi-camera, broadcast
High frame rate needs
Additional hardware
None
Network switch (optional)
USB capture card required
Computer recognition
Plug-and-play
Requires IP configuration
Plug-and-play
Learning curve
Minimal
Moderate
Minimal
USB is the clear winner for anyone who wants a fast, reliable setup without diving into network configuration or purchasing additional hardware. It is the recommended starting point for churches with volunteer operators, schools with limited technical staff, and content creators who need to get up and running quickly.
As your production grows and your team becomes more comfortable with the equipment, the NearStream PTZ also supports NDI, SDI, and HDMI outputs, giving you a clear upgrade path without replacing your camera investment. You can start with the simplicity of USB today and transition to network-based workflows when your multi-camera vision becomes a reality.
Common Setup Mistakes to Avoid
Even with a plug-and-play usb ptz camera, a few simple oversights can slow you down or degrade your video quality. Watch out for these common issues that trip up first-time users:
Using a USB 2.0 port for 4K video — Older USB ports simply do not provide enough bandwidth for smooth 4K video transmission. If your video stutters, drops frames, or shows compression artifacts, the port is the first thing to check. Try a different port, preferably one with a blue interior indicating USB 3.0 or higher bandwidth capability.
Insufficient or unstable power — If the camera does not initialize properly, randomly disconnects during operation, or behaves erratically, power is the most likely culprit. Verify that the power adapter is securely connected at both ends and that the outlet is functioning. For PoE setups, ensure your network switch actually delivers the required power budget per port.
Blocking the camera's physical movement range — This is one of the most common and easily preventable problems. Before finalizing your mount position, power on the camera and run it through its complete pan and tilt range. Make sure no walls, light fixtures, decorative elements, or cables physically obstruct movement at any point in the rotation.
Forgetting to select the camera in your software — It sounds almost too obvious to mention, but a surprising number of troubleshooting sessions end with the user simply selecting the correct video source in OBS, Zoom, or Teams. Always double-check that your PTZ camera is the active video input, not your laptop's built-in webcam.
Ignoring firmware and software updates — Camera manufacturers regularly release firmware updates that improve auto-tracking accuracy, add new features, fix bugs, and enhance compatibility with streaming platforms. Check the manufacturer's support website every few months to keep your equipment running at peak performance.
Poor cable management — Loose cables are not just unsightly; they are a tripping hazard and can cause connection issues if accidentally tugged. Use cable ties, raceways, or gaffer tape to secure power and data cables along stable paths, keeping them away from foot traffic and moving parts.
Quick Troubleshooting Tips
If you run into issues during your ptz camera setup, work through these solutions systematically before contacting technical support. Most problems have simple fixes that take under a minute to resolve.
The computer does not detect the camera. Start by unplugging the USB cable and trying a different port, ideally on a different section of your computer. Some USB controllers handle video devices better than others. Restart your streaming software completely. If the issue persists, restart your computer with the camera already connected so the operating system can enumerate it during boot.
The video feed is choppy, lagging, or freezing. First, close any unnecessary applications to free up CPU and memory resources. Streaming software combined with 4K video can be demanding on older systems. If performance does not improve, lower the output resolution in your camera settings from 4K to 1080p. Finally, confirm you are using a USB 3.0 port, as USB 2.0 simply cannot sustain high-bandwidth video streams reliably.
The remote control does not respond. Check that there is a clear line of sight between the remote and the camera's infrared sensor window. Replace the batteries in the remote with fresh ones, as weak batteries are a frequent cause of intermittent control issues. For the NearStream PTZ, the desktop control application provides a reliable alternative control method that does not depend on infrared signals.
Colors look incorrect or inconsistent. Most modern ptz video cameras include automatic white balance and exposure algorithms that handle changing lighting conditions. If the image looks too warm (orange tint) or too cool (blue tint), manually adjust the white balance setting through the camera's control software to match your room's primary light source. For mixed lighting environments, custom white balance presets deliver the most accurate colors.
The camera drifts or loses its position. This typically indicates insufficient power or interference with the motor calibration. Power cycle the camera and allow it to complete its full initialization sequence. Verify the mount is completely stable and not subject to vibrations from nearby speakers, HVAC systems, or foot traffic.
Why Beginners Choose the NearStream PTZ
Not every ptz camera on the market is built with non-technical users in mind. Many professional models assume you have a dedicated engineer on staff and a network infrastructure to match. The NearStream PTZ was designed from the ground up to bridge that gap, offering professional broadcast quality without the professional learning curve. Here is why it stands out for churches, schools, and small production teams:
True plug-and-play USB connection — No IP addresses to configure, no network protocols to learn, no complex setup wizards to navigate. Connect the USB cable, and your computer recognizes the camera as a standard video source within seconds. This simplicity makes it accessible to volunteers, students, and anyone who needs reliable video without a technology background.
Dual-lens architecture — Unlike traditional single-lens PTZ cameras, the NearStream PTZ combines a dedicated 120-degree wide-angle panoramic lens with a powerful 20X optical zoom PTZ lens. This dual-lens system captures the full room context and detailed close-ups simultaneously, giving you comprehensive coverage that single-lens cameras simply cannot match.
20X optical zoom with Sony CMOS sensor — The 20X optical zoom delivers crisp, detailed shots from the back of large sanctuaries and auditoriums without the quality loss associated with digital zoom. Combined with a high-quality Sony CMOS sensor, the image remains sharp and vibrant even in challenging lighting conditions common in churches and event venues.
AI auto-tracking — The intelligent tracking system automatically follows presenters, speakers, or performers as they move across the stage. This dramatically reduces operator workload and ensures your subject stays perfectly framed even during dynamic presentations. For churches, this means the pastor can move naturally without worrying about walking out of frame.
Built-in privacy protection — When your session ends or the camera enters standby mode, the lens automatically rotates to face the rear wall. This physical privacy feature is especially valuable for corporate meeting rooms and counseling spaces where confidentiality is essential.
255 programmable presets — Save and recall complex camera positions instantly, even during fast-paced live productions. With 255 available presets, you can create elaborate scene transitions and camera sequences limited only by your creativity.
Multiple connection options — While USB is the recommended starting point for beginners, the camera also supports NDI, HDMI, SDI, and PoE. This versatility means your investment grows with your skills and production requirements.
At $1,799.10 with the current promotional discount applied, the NearStream PTZ occupies a compelling mid-range price point while delivering professional-grade features that competing cameras often reserve for significantly higher-priced models. Factor in the 30-day risk-free trial, 1-year warranty, and lifetime customer support, and the value proposition becomes even stronger for organizations working within tight budgets.
Figure 4: A complete PTZ live streaming setup in action. The camera captures the stage while the operator manages the stream from a laptop.
NearStream PTZ Frequently Asked Questions (FAQ)
Q1: I don’t have a background in network engineering. Can I really install the NearStream PTZ by myself?
A: Absolutely! While traditional broadcast PTZ cameras often require complex IP configurations and network protocols, the NearStream PTZ is designed specifically for non-technical users and volunteers. It offers a true plug-and-play USB experience: simply use the included USB cable to connect the camera to a USB 3.0 port on your Windows PC or Mac. Your operating system will recognize it as a standard video source automatically—no drivers required, and you can be ready to live stream in OBS, Zoom, or Teams in under 5 minutes.
Q2: Why does the NearStream PTZ feature a "dual-lens" architecture? How is it better than a traditional single-lens PTZ?
A: This dual-lens system is a major game-changer. Traditional PTZ cameras feature only one lens, meaning that when you zoom in on a speaker, you completely lose sight of the rest of the room. The NearStream PTZ solves this by combining a 120-degree ultra-wide panoramic lens (which captures the full room context) with a 20X optical zoom PTZ lens (which captures crisp details from afar). Working simultaneously, this dual-lens design allows you to monitor the entire stage while capturing high-definition close-ups, delivering a much more dynamic viewing experience.
Q3: My video feed is choppy, lagging, or dropping frames. How can I fix this?
A: If your video stream isn't smooth, it is usually caused by one of two common issues that you can quickly troubleshoot:
Check your USB port: Transmitting 4K ultra-HD video requires substantial bandwidth. Ensure the camera is plugged into a USB 3.0 port (typically identified by blue interior plastic) or higher. If you must use an older USB 2.0 port, drop your output resolution to 1080p in your software settings to maintain a smooth frame rate.
Free up computer resources: Processing 4K video can be demanding on your computer's hardware. Close any unnecessary background applications to free up CPU and memory for your streaming software.
Q4: How does the AI auto-tracking feature work, and does it require a dedicated camera operator?
A: The AI auto-tracking feature runs completely automatically and requires zero manual operation, making it a lifesaver for small production teams, schools, and churches with limited staff. As a pastor, teacher, or presenter moves across the stage, the camera's intelligent algorithms smoothly track their movement while maintaining perfect framing and appropriate headroom. You can also customize your tracking zones in the desktop software, letting the camera operate completely hands-free while you focus on the rest of your production.
Q5: What are the 255 programmable presets used for, and how should I set them up?
A: Presets allow you to save specific camera angles, pan/tilt coordinates, and zoom levels to a numbered shortcut. During a live event, instead of manually adjusting the camera with a joystick, you simply press a single button to transition the camera smoothly and professionally to that exact framing.
Recommended setup for beginners (4–6 presets):
Preset 1: A wide panoramic shot showing the entire room or congregation.
Preset 2: A medium shot framed on the primary pulpit or podium.
Preset 3: A tight close-up for sermon delivery or presenter close-ups.
Preset 4: A stage-wide view or dedicated area for musical performances/worship leaders. By mapping these out beforehand, even first-time volunteers can switch between scenes seamlessly, giving your stream a high-end, multi-camera production feel.

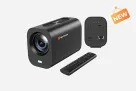
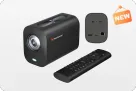
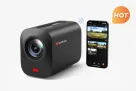
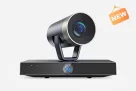
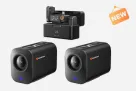
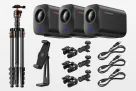
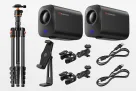

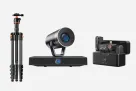
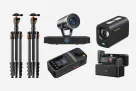
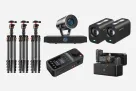
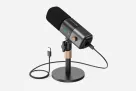
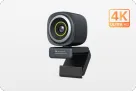
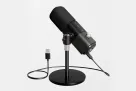
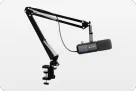
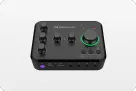
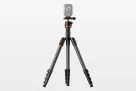
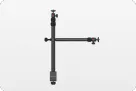
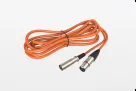

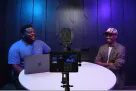
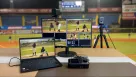
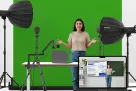
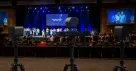


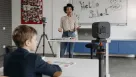
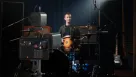

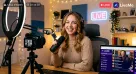

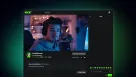



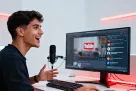




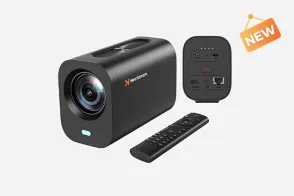
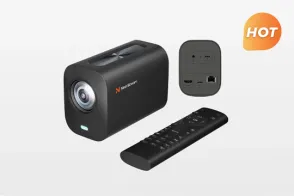
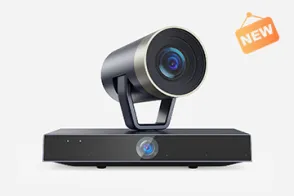
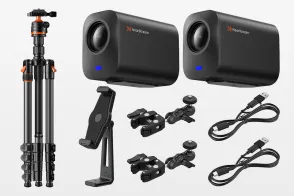
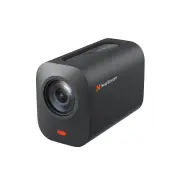


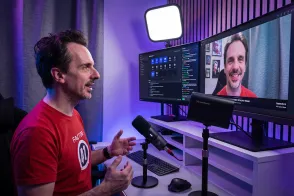
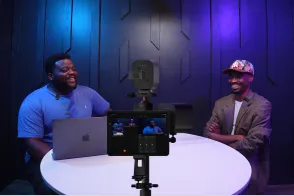
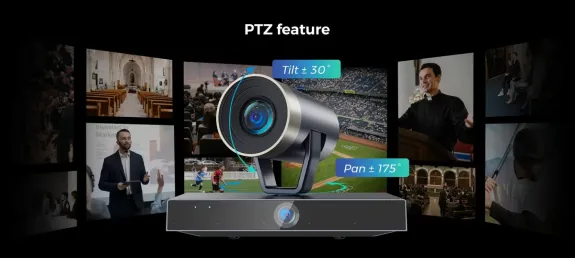
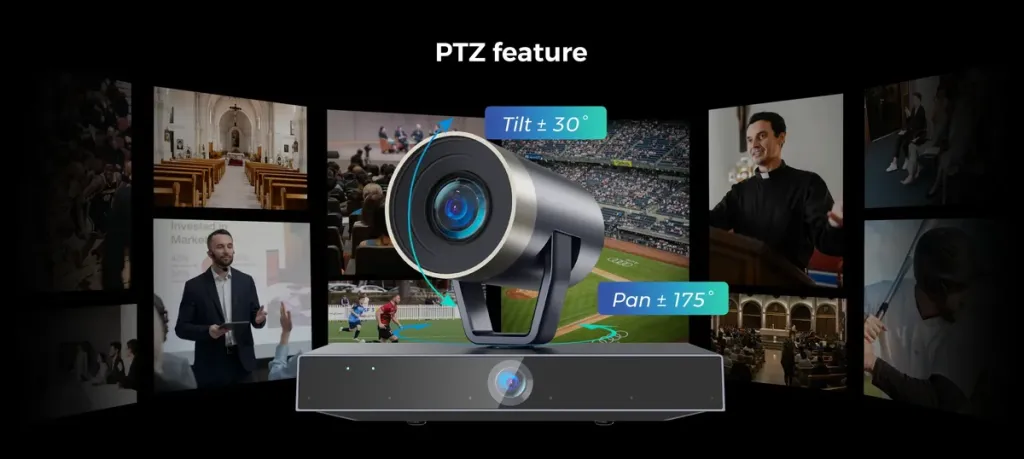
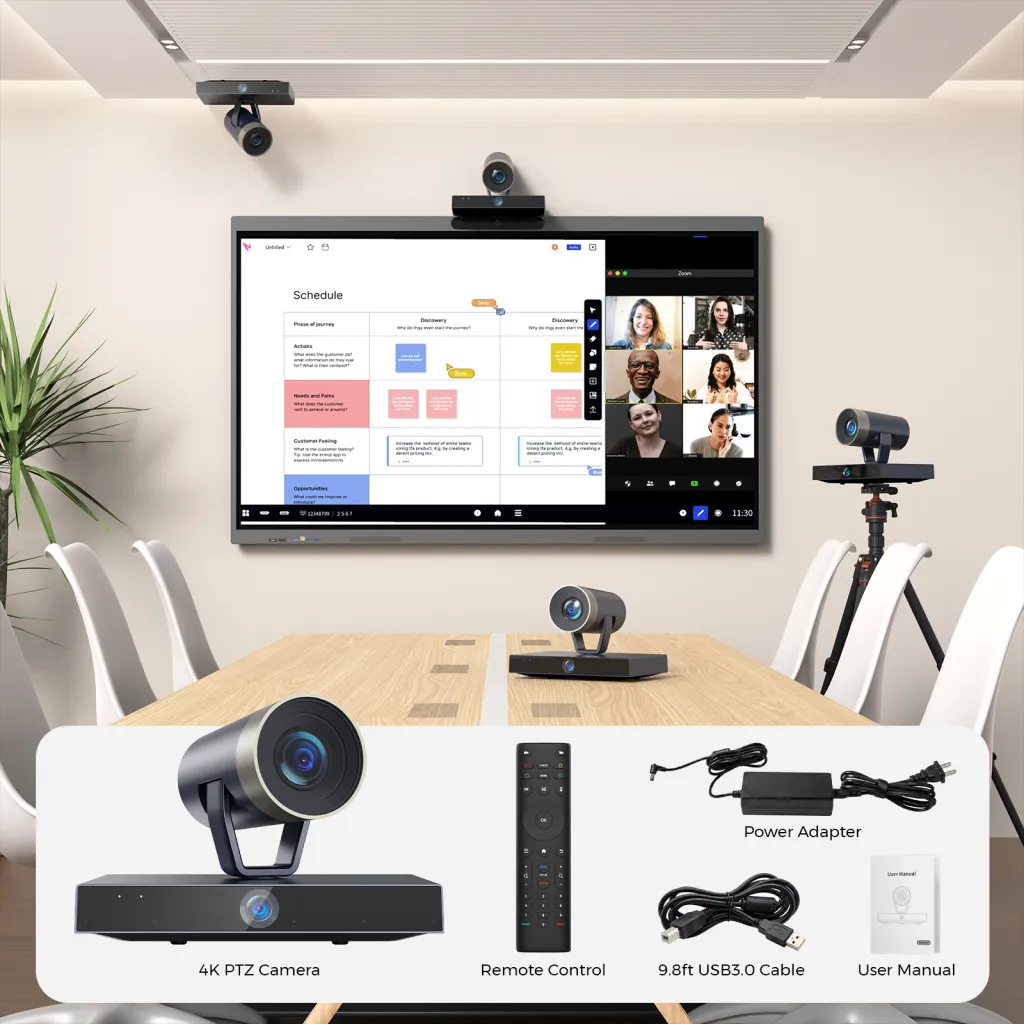 Figure 1: Everything you need for a quick PTZ camera setup comes right in the box.
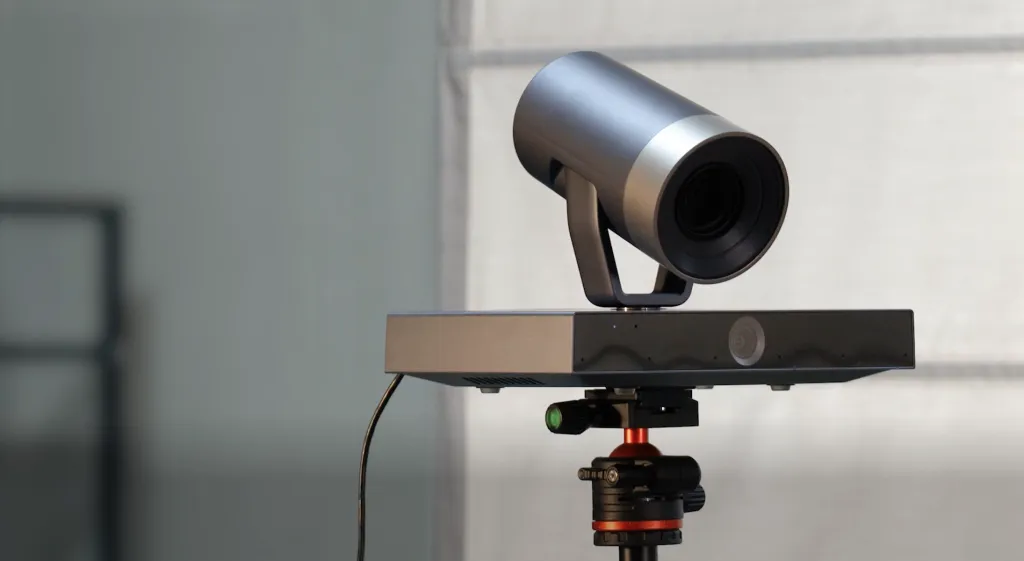
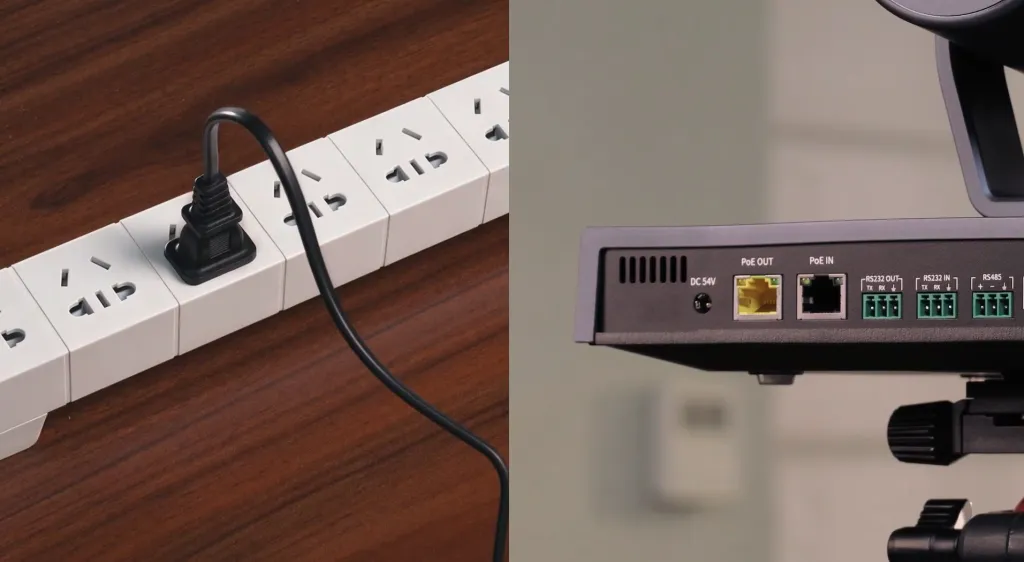
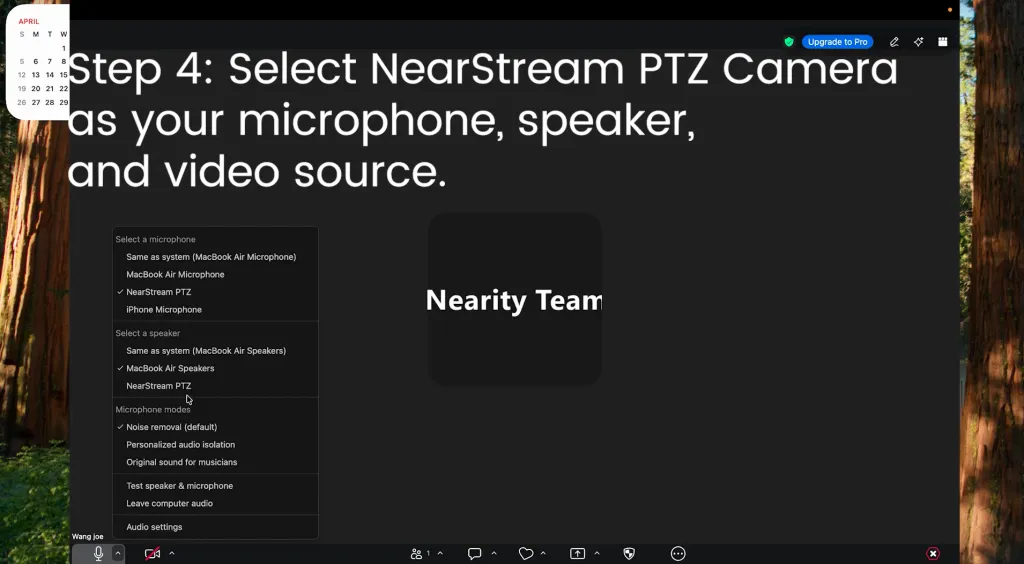
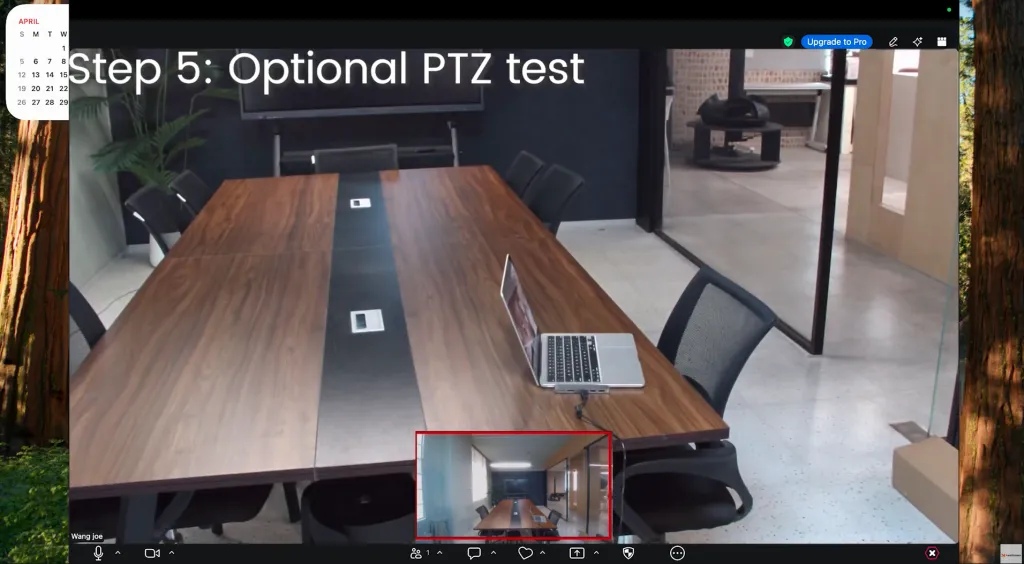 Figure 3: The desktop control app gives you full command of pan, tilt, zoom, presets, and AI tracking from your computer.
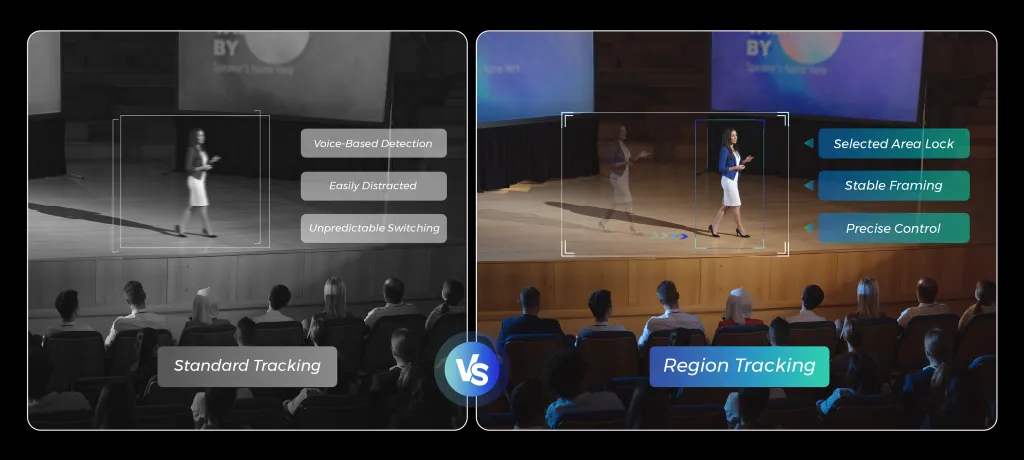
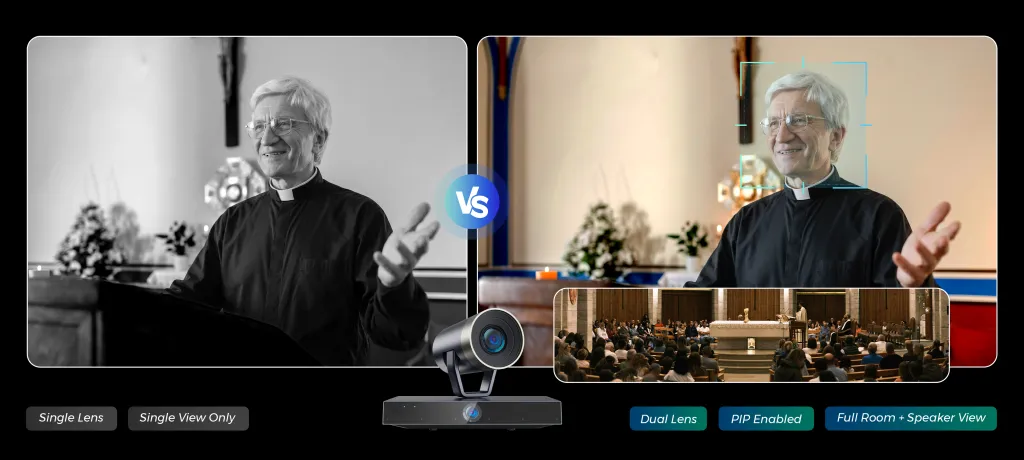
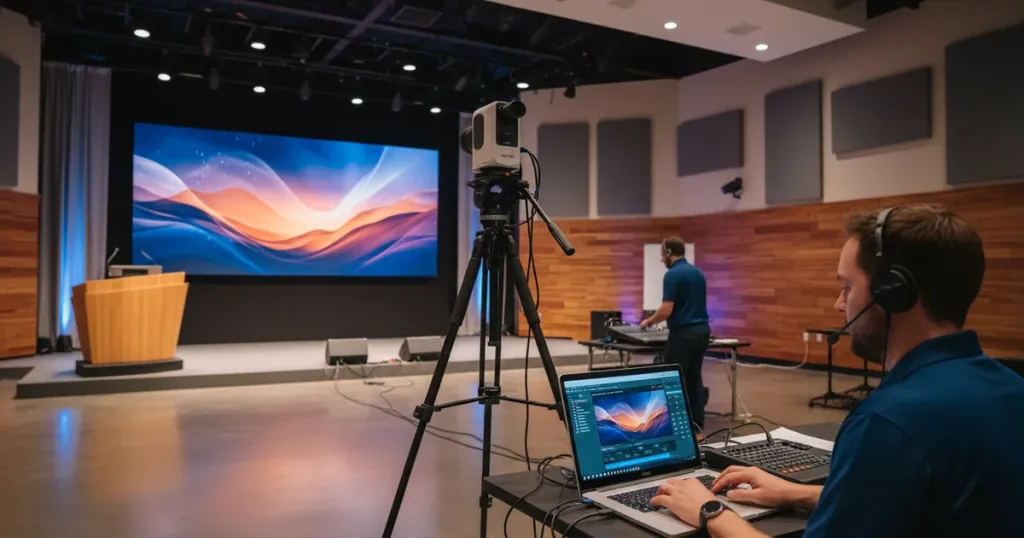 Figure 4: A complete PTZ live streaming setup in action. The camera captures the stage while the operator manages the stream from a laptop.



 sales@nearstream.us